

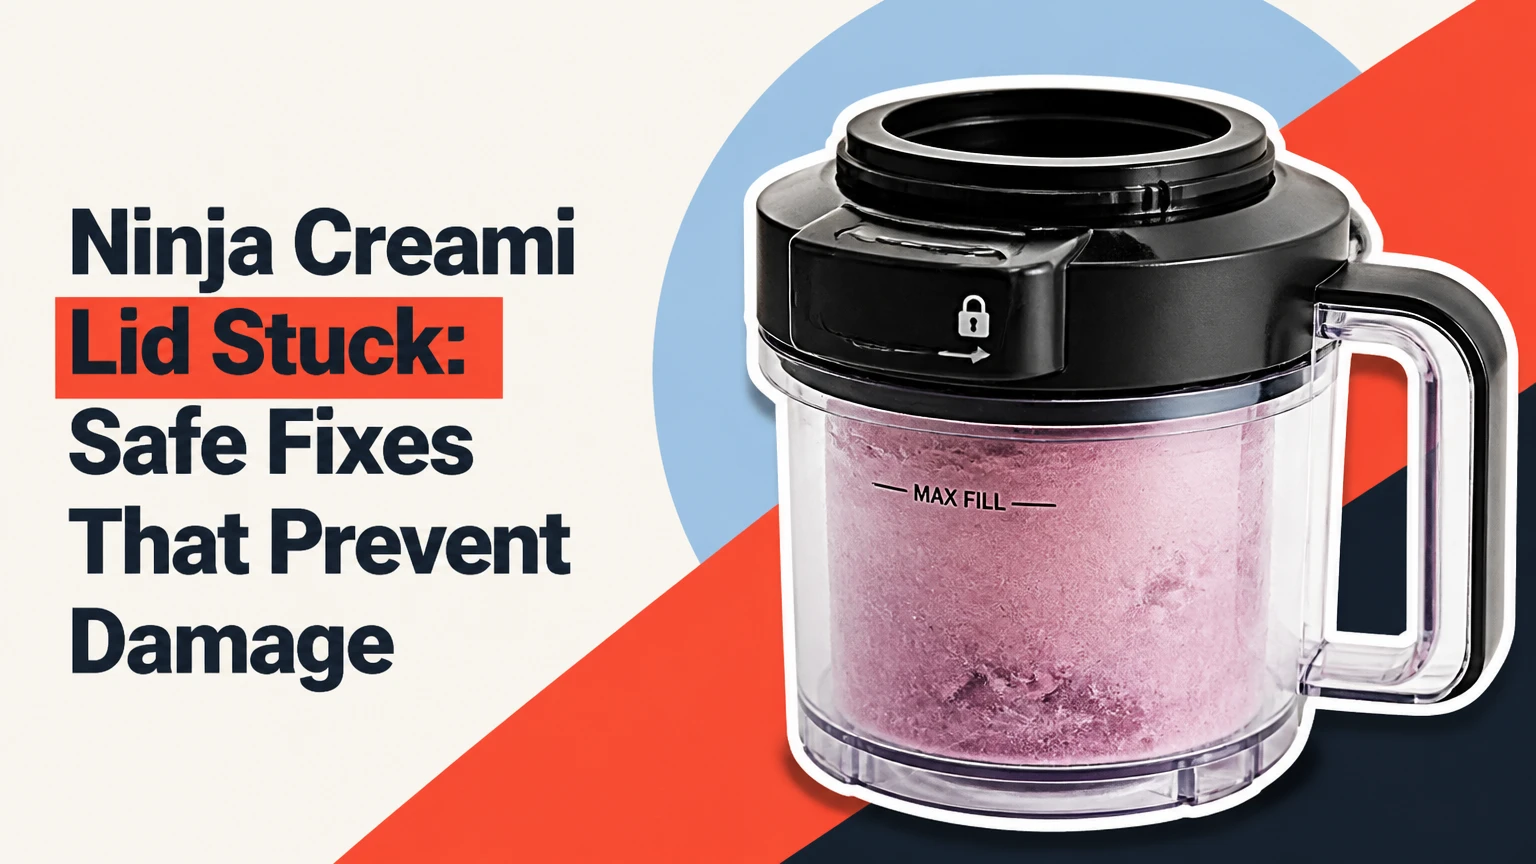
A Ninja Creami lid stuck after processing usually results from frozen food holding the paddle, a paddle that has not returned to its resting position, or ice binding the lid and bowl. Unplug the machine, avoid twisting force, and use controlled warming around the bowl or lid. The safest fix depends on whether the outer bowl remains attached to the motor base.
Key Facts
A Ninja Creami safety interlock can prevent normal release when the bowl or paddle is not in its expected position.
Never pry between the lid and bowl with a knife, screwdriver, or other rigid tool.
Warm the plastic bowl or lid gradually for 5-20 minutes, but keep the motor base and electrical contacts dry.
A fully frozen Creami pint is normally required for processing; routine countertop thawing is not a universal manufacturer instruction.
A raised frozen hump, overfilled pint, angled freezing, or residue on the rim can increase paddle resistance.
Replace a bowl or lid with cracked tabs, distorted locking tracks, exposed metal, or a loose paddle connection.
What Should You Do First When the Lid Is Stuck?
When the Ninja Creami lid will not turn, stop the motor, unplug the appliance, and identify the jam location before applying heat. Do not pull the handle harder. A two-minute inspection often prevents broken locking tabs and shows whether the obstruction is the frozen pint, the paddle shaft, or the outer-bowl track.
- Press the power button if the machine is still running.
- Unplug the motor base from the outlet.
- Place the appliance on a dry, stable counter.
- Check whether the outer bowl is still locked into the base.
- Look through the bowl and lid openings for a paddle buried in hard ice.
- Inspect the handle, locking tabs, and bowl rim for cracks or spilled mixture.
- Photograph the assembly before removing anything if a warranty claim may be necessary.
If the bowl is attached to the base, use the machine’s normal bowl-release control only after the motor has stopped and power has been disconnected or safely restored according to the owner’s manual. If the bowl is already free, work on the lid and pint away from the motor base.
Quick Diagnosis by Symptom
| Symptom | Likely obstruction | First safe action |
|---|---|---|
| Lid does not move at all | Frozen paddle or ice bridge | Warm the lid and bowl rim for 5-10 minutes |
| Lid turns slightly, then stops | Paddle tilted inside pint | Stop twisting, thaw the upper pint area |
| Bowl will not leave the base | Interlock or drive position | Use the model’s release function, without force |
| Paddle remains in hard dessert | Frozen center or angled pint | Warm the pint exterior and remove paddle vertically |
| Lid releases, but paddle shaft feels loose | Damaged or displaced spindle | Stop use and inspect the paddle and lid coupling |
Why Does a Ninja Creami Lid Lock?
The Ninja Creami lid can remain locked because the paddle, lid coupling, outer bowl, and motor-base interlock are mechanically related. During processing, the paddle rotates under substantial resistance from the frozen mixture. If the paddle cannot return cleanly, the lid may not reach its normal unlocked position.
The precise mechanism varies by model. Original Creami units, Deluxe models, and Swirl models use different containers and paddle assemblies, so a description of a “magnetic spindle” should not be treated as universal. The paddle is retained by the lid assembly, while the motor drive engages it through the top of the lid.
A frozen pint can create three distinct obstructions:
| Jam type | Physical condition | Typical release path |
|---|---|---|
| Full rotational lock | Paddle embedded in a frozen block | Controlled thaw around lid and upper pint |
| Partial rotation | Paddle or shaft misaligned | Thaw, then rotate only in the designed direction |
| Rim adhesion | Dried mixture or ice at the seal | Warm damp cloth around the rim |
| Bowl-base lock | Interlock still engaged | Normal release control and model instructions |
Ninja owner guides commonly warn users not to process a mixture frozen at an angle or a mixture that has been refrozen. That warning matters because an angled or refrozen block can force the paddle sideways, rather than allowing the cutter to move through a level surface.
How Can You Free the Lid Without Breaking It?
The safest release method combines power isolation, controlled thawing, and gentle movement in the normal unlock direction. Most household jams take 5-20 minutes to loosen, although a deeply frozen paddle or heavy rim buildup can require longer.
Before You Start
| Requirement | Typical value | Safe specification |
|---|---|---|
| Tools | 3 items | Towel, warm water, nonmetallic spatula |
| Working time | 10-25 minutes | Extend thawing in 5-minute intervals |
| Water temperature | 35-45°C | Warm to hot tap water, never boiling |
| Cost | $0 | Existing household materials |
| Electrical precaution | 1 rule | Keep the motor base unplugged and dry |
Step 1: Unplug and Stabilize the Appliance
Disconnect the Ninja Creami from the outlet, then hold the outer bowl steady with both hands. Do not lift the machine by the lid handle, and do not place the electrical base in a sink, basin, or water bath.
You will know this step worked when the motor is silent, the controls cannot activate the cycle, and the appliance sits level on the counter. A common mistake is repeatedly pressing buttons while the paddle remains frozen, which can add motor strain without removing the obstruction.
Step 2: Determine Whether the Bowl Is Still Attached
Look at the outer bowl’s position relative to the base. If the bowl remains mounted, do not attempt to remove the lid while the bowl is under tension from the drive system. Follow the release sequence for the exact model, and stop if the bowl does not respond normally.
If the bowl is detached, place it on a towel and keep the motor base aside. The towel catches meltwater and prevents the bowl from sliding while you apply warmth.
Step 3: Warm the Lid and Rim Gradually
Wrap a warm, damp towel around the lid assembly and upper bowl rim for 5-10 minutes. Refresh the towel once it cools. For a bowl-level ice bridge, set only the lower three-quarters of the plastic outer bowl in warm water while keeping the lid, electrical components, and exposed drive areas above the waterline.
Do not use boiling water. Sudden heat can stress plastic components, and water entering the lid coupling can later freeze or contaminate the mechanism.
A controlled thaw is working when frost disappears from the rim, the lid becomes room temperature, or the paddle moves slightly inside the pint. The common mistake is immersing the entire assembled unit, which can send water into areas that are difficult to dry.
Step 4: Test the Normal Unlock Direction
Grip the outer bowl with one hand and the lid handle with the other. Apply light, steady pressure in the marked unlock direction, without rocking the lid sideways or pulling upward.
Use no tool for leverage. If the lid moves a few millimeters and stops, return to warming rather than increasing force. A successful release feels continuous and controlled. A sharp crack, sudden resistance, or visible flexing means the locking track may be under excessive load.
Step 5: Remove the Paddle and Inspect the Pint
After the lid separates, lift the lid and paddle assembly vertically. If the paddle remains buried in the dessert, warm the outside of the pint or place the pint in a warm water bath below its upper rim for several minutes.
Do not twist the paddle aggressively inside the frozen mixture. Once removed, inspect the blade edges, central shaft, lid coupling, and pint surface for chips, cracks, or metal distortion.
What If the Paddle Is Stuck Inside the Frozen Pint?
A paddle trapped in the dessert requires thawing around the pint, not force applied to the lid. The paddle can remain embedded when the center has frozen higher than the edges, the pint was processed at an angle, or the mixture refroze into a dense block.
Use this extraction sequence:
- Keep the lid assembly upright.
- Wrap the pint in a warm damp towel, or warm the lower outside of the container.
- Wait 5 minutes, then check whether the paddle shaft moves vertically.
- Repeat in 5-minute intervals until the frozen surface softens.
- Pull the lid and paddle straight upward.
- Remove loose dessert from the paddle with a silicone or plastic utensil.
Do not bend the paddle to one side. A warped paddle may later rotate eccentrically and create another jam. Discard food that has become warm for an extended period, contains plastic fragments, or has contacted a damaged component.
Can You Use Warm Water, a Microwave, or a Hair Dryer?
Warm water is acceptable around the removable plastic bowl when used in a controlled way, but microwave heating and high-temperature tools are unsafe choices for the assembled Creami parts. The lid assembly includes metal or mechanically coupled components, and the motor base must never be exposed to water.
| Method | Use it? | Limit | Main risk |
|---|---|---|---|
| Warm damp towel | Yes | 5-10 minute cycles | Excess water near coupling |
| Warm water around bowl | Yes | 35-45°C, lower bowl only | Water entering lid or base |
| Microwave | No | Zero seconds | Metal, deformation, fire risk |
| Hair dryer | Generally no | Avoid concentrated heat | Warped plastic and heat damage |
| Boiling water | No | Zero use | Thermal shock and softened plastic |
A 15-second microwave instruction sometimes appears in informal Creami advice, but it should not be applied to the lid, paddle, outer bowl, or assembled pint unless the exact manufacturer instructions for that container explicitly permit it. The safest general rule is simple: use gradual external warming and never microwave parts containing metal.
Which Creami Model or Part Is Stuck?
The correct troubleshooting path depends on whether the problem involves the original pint, the Deluxe container, the Swirl container, the outer bowl, or the motor-base coupling. Parts are not automatically interchangeable across NC300-series, NC500-series, Deluxe, and Swirl machines.
| Component | Common model context | What to verify |
|---|---|---|
| Standard pint | Original Creami families | Correct pint size and lid fit |
| Deluxe container | Deluxe models | Deluxe outer bowl and compatible paddle |
| Swirl container | Swirl models | Swirl-specific bowl and dispensing assembly |
| Outer bowl lid | Multiple families | Matching replacement part number |
| Paddle | Model-dependent | Correct shaft and lid coupling |
Read the rating label and manual before ordering a replacement. A lid that physically fits can still fail to engage the safety interlock if its tabs, coupling, or dimensions differ from the intended model.
Which Frozen-Pint Mistakes Cause Repeat Jams?
Repeat jams usually come from preparation geometry rather than a defective motor. A level pint, correct fill height, clean rim, and fully frozen mixture reduce the sideways forces that make the paddle bind.
| Preparation variable | Safer target | Failure condition | Result |
|---|---|---|---|
| Freeze surface | Level and flat | Pint freezes at an angle | Paddle enters uneven block |
| Center surface | Scraped level | Raised hump remains | Impact at the first rotation |
| Fill height | Below model fill line | Mixture reaches lid area | Reduced clearance |
| Rim condition | Clean and dry | Syrup or mix on threads | Frozen adhesive layer |
| Freeze duration | Usually 24 hours | Partially frozen center | Slush shifts around paddle |
The raised center deserves special attention. Liquids can expand while freezing, producing a hump that becomes the first point of contact for the paddle. Flattening the surface before processing is a practical risk reduction step, but it does not replace the model’s specified freezing time.
The “10-minute rule” is not universal. Many Ninja Creami instructions call for processing a fully frozen pint directly from the freezer, and the appliance is designed around that condition. A short rest may soften a severe deep-freezer block, but warming the pint too much can create a mixture that processes poorly or refreezes unevenly.
How Do You Prevent Another Lid Jam?
Preventing a stuck Ninja Creami lid starts before freezing and continues through cleanup. Use the fill line printed on the compatible container, freeze the pint on a level shelf, and remove residue from the rim before assembly.
- Freeze the pint upright on a level surface.
- Leave the required headspace below the maximum fill line.
- Flatten any central hump before processing.
- Wipe the pint exterior, rim, and outer bowl interior dry.
- Confirm that the paddle is seated correctly in the lid.
- Check the lid track for dried sugar, dairy, or syrup.
- Process only the container and paddle specified for the model.
- Stop processing if the machine makes repeated grinding or clicking sounds.
- Wash and dry removable components according to the owner’s manual.
- Inspect the base spindle without pouring liquid near the motor housing.
An expert rule of thumb is to treat unusual resistance as a symptom, not a challenge. The motor may complete a cycle while the paddle is already loading the lid unevenly, so a successful spin does not prove that the assembly is operating normally.
What Should You Never Do With a Jammed Creami Lid?
Never pry the lid with metal tools, wrench the handle, strike the bowl, or power the machine while holding a mechanically jammed assembly. These actions can shear plastic tabs, crack the outer bowl, distort the paddle shaft, and create small fragments that contaminate food.
| Prohibited action | Why it fails | Safer substitute |
|---|---|---|
| Screwdriver under lid | Concentrates force on plastic rim | Warm towel around the rim |
| Knife between bowl and lid | Cuts seal surfaces and hands | Wait for gradual thaw |
| Slamming the handle | Shears locking tabs | Use light pressure only |
| Repeated motor cycles | Adds heat and mechanical load | Unplug and inspect |
| Microwaving assembled parts | Metal and plastic hazard | External warm water |
| Pouring water over base | Electrical and corrosion risk | Remove bowl first |
Do not use a damaged lid even if it still locks. A cracked tab can fail during the next high-speed cycle, while a bent paddle can scrape the container or shed material into the dessert.
How Much Does a Replacement Lid or Bowl Cost?
A replacement outer bowl or lid typically costs about $20-$40 for common configurations, while model-specific paddles, containers, or bundled assemblies can cost more. Prices vary by model, retailer, availability, and whether the part is sold individually or as a kit.
| Replacement item | Typical retail range in USD | Buying checkpoint |
|---|---|---|
| Outer bowl lid | $20-$40 | Match model and tab layout |
| Paddle assembly | $15-$35 | Match shaft and container family |
| Standard pint container | $10-$25 | Confirm capacity and lid type |
| Deluxe container set | $25-$60 | Confirm Deluxe compatibility |
| Complete outer-bowl assembly | $40-$90 | Compare warranty replacement first |
These are typical market ranges, not a guaranteed quote. Contact Ninja support before purchasing if the appliance is within its warranty period, especially when the motor base, safety interlock, or drive spindle is involved.
When Should You Stop Troubleshooting?
Stop the DIY process when the bowl has cracked, the lid tabs have broken, the paddle shaft is bent, the base smells burnt, or the machine makes grinding noises after thawing. Continuing to operate a visibly damaged assembly can turn a replaceable bowl problem into a motor or electrical repair.
| Observation | Recommended decision | Reason |
|---|---|---|
| Frozen residue only | Thaw and clean | No structural damage visible |
| Small cosmetic scuff | Monitor closely | Confirm tab and seal integrity |
| Cracked locking tab | Replace part | Lock may fail under load |
| Bent paddle shaft | Replace paddle | Rotation may be eccentric |
| Burnt odor or smoke | Unplug and contact support | Possible electrical fault |
| Repeated jam with level pints | Stop using unit | Possible alignment or drive issue |
Ninja’s published support resources and the manual for the exact model should control when they differ from generic troubleshooting advice. Appliance-specific instructions matter because bowl geometry, release buttons, paddles, and interlocks change between product generations.
FAQ
Can I force a stuck Ninja Creami lid off?
No. Forcing the handle can break the plastic locking tabs or crack the outer bowl. Unplug the machine, identify whether the paddle or rim is frozen, and apply a warm damp towel for 5-10 minutes before trying the normal unlock direction with light pressure.
Why is my Creami lid stuck after one spin?
A lid can stick after one spin when the paddle meets a raised frozen hump, an angled pint, an overfilled container, or hardened residue near the rim. A single successful cycle does not rule out misalignment. Inspect the paddle and locking track after thawing before processing another pint.
Should a Ninja Creami pint sit out before spinning?
A fully frozen pint usually should be processed according to the exact Ninja manual for the model, often after the specified freeze period. A brief 5-minute rest may soften an unusually hard deep-freezer pint, but routine countertop thawing can produce unsafe or inconsistent texture and is not a universal instruction.
Can I put the Ninja Creami lid in warm water?
Do not submerge the lid assembly unless the exact care instructions expressly permit it. A warm damp towel around the lid is safer because it loosens surface ice while limiting water near the coupling and internal components. Keep the motor base completely dry.
Is a Creami safe to use after the lid cracks?
A cracked lid, broken locking tab, bent paddle, or distorted coupling is not safe to reuse during a high-speed cycle. Replace the damaged part with the correct model-specific component or contact Ninja support. Do not rely on tape, glue, or a lid that only partially locks.
Does a stuck bowl mean the Ninja Creami motor is broken?
No. A stuck bowl often reflects frozen food, an engaged interlock, or rim residue rather than motor failure. Motor trouble becomes more likely when the machine produces a burnt odor, smoke, repeated grinding, failure across several properly prepared pints, or visible spindle damage.
The Bottom Line
A Ninja Creami lid stuck in place should be treated as a frozen or misaligned mechanical assembly, not something to overpower. Unplug the appliance, determine whether the bowl is attached to the base, thaw the lid or bowl gradually for 5-20 minutes, and release it only in the designed direction. Never pry, microwave, or reuse cracked parts. The safest prevention is a level, fully frozen pint below the fill line, with a clean rim and correctly seated paddle.