

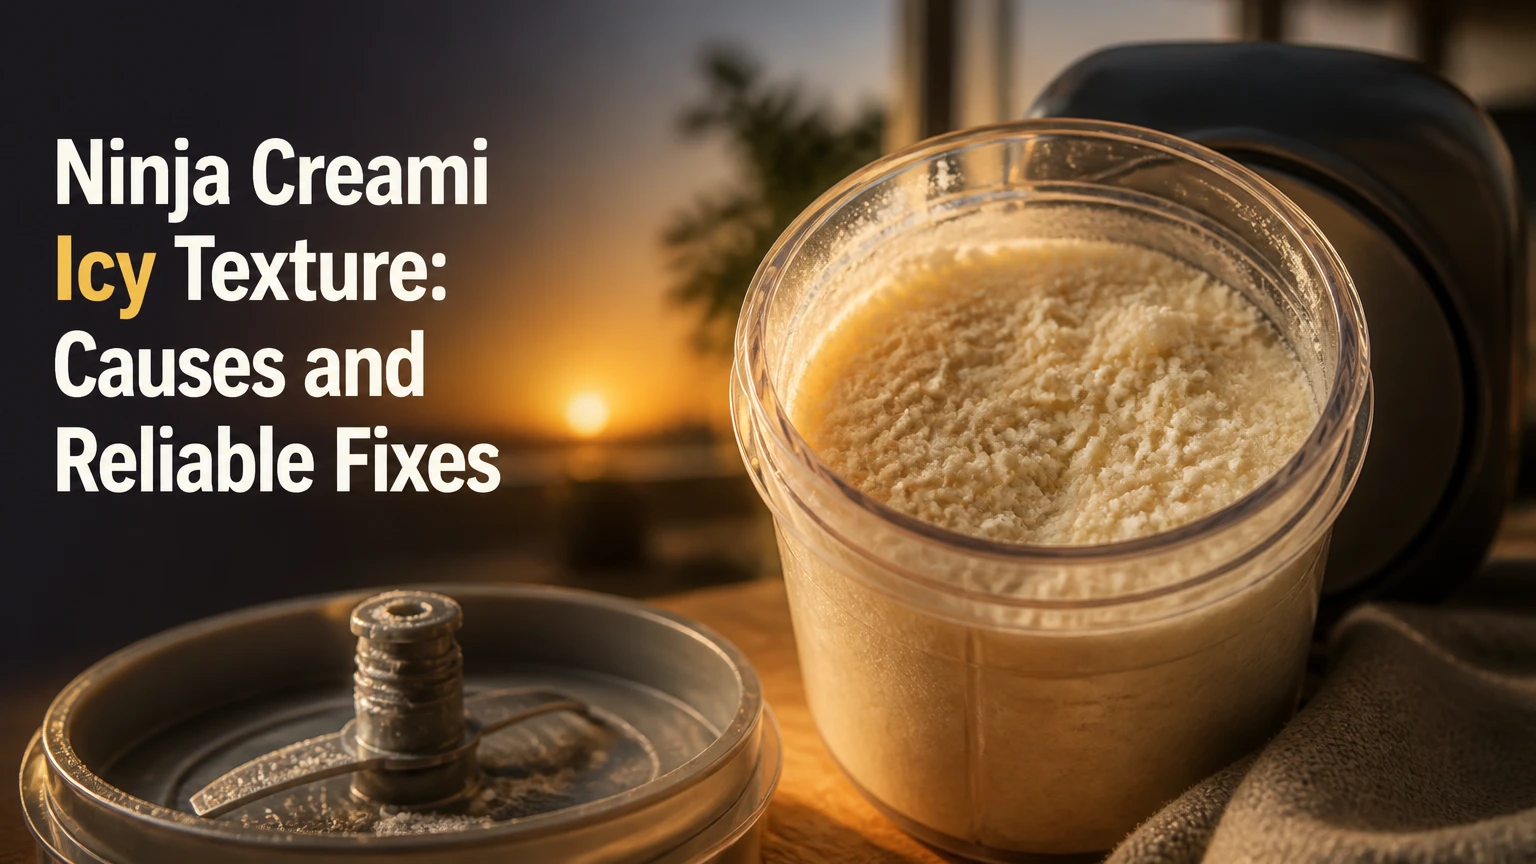
Ninja Creami icy texture is a rough, snowy, or hard result caused by oversized ice crystals and a base that cannot bind enough water, fat, sugar, or air. The machine shaves a frozen pint rather than churning a liquid mixture, so formula balance, freezing conditions, and the correct processing cycle determine whether the result becomes creamy or grainy.
Key Facts / Quick Answer
Freeze the pint level and undisturbed for at least 24 hours at 0°F or colder.
Powdery results usually need a re-spin, but a dry formula may need 1 tablespoon of milk or another compatible liquid first.
Guar gum, xanthan gum, instant pudding mix, sugar, and allulose control free water in different ways.
A frozen hump can produce uneven processing and may stress the blade assembly.
A creamy first spin that becomes icy later usually has a storage or recrystallization problem.
Typical home batches cost about $2-$6 in ingredients, excluding the machine and reusable pints.
What Causes Ninja Creami Icy Texture?
Ninja Creami icy texture develops when the frozen base contains too much mobile water or too little structure to keep shaved particles smooth after processing. The machine does not freeze and churn the base at the same time; its paddle moves through a solid block, shaving thin layers and mixing the resulting particles with air and dissolved ingredients.
The original Ninja CREAMi guidance requires a level pint and a fully frozen base, generally for 24 hours. Freezer temperature matters because the U.S. Department of Agriculture Food Safety and Inspection Service states, “The freezer temperature should be 0 °F or lower.” A warmer or fluctuating freezer permits larger crystals before the pint ever reaches the machine.
A balanced dessert contains several working components:
- Water: freezes into ice and determines hardness.
- Sugar or allulose: lowers the freezing point and reduces the amount of solid ice.
- Fat: interrupts ice formation and carries flavor.
- Protein: contributes body and emulsification, although excess protein can make a dry base chalky.
- Stabilizer: binds part of the free water and slows crystal growth.
- Air: creates a lighter, more scoopable structure after processing.
The central mistake is treating the appliance like a conventional churner. A traditional machine freezes liquid against a cold bowl while a dasher incorporates air. A Creami starts with a frozen block, so the recipe must be designed to become cohesive after shaving rather than during gradual freezing.
How Does the Ninja Creami Process a Frozen Pint?
The Ninja Creami processes a solid pint through a downward-moving paddle that shaves the block from top to bottom. The selected program changes how aggressively the appliance works through the base, but no program can compensate fully for excess free water, an uneven freeze, or an unsuitable fill level.
The practical sequence is:
- Blend or whisk the base until powders and sweeteners are dispersed.
- Pour the mixture below the container’s maximum fill line.
- Freeze the container on a level surface for at least 24 hours.
- Check the frozen top for a raised center or damaged surface.
- Select a program that matches the formula.
- Run a re-spin if the first result is powdery.
- Add mix-ins only after the base has formed a cohesive texture.
The blade shaves rather than slices a soft dessert. That distinction explains why a high-protein milk base can look like fine snow after the first cycle: the blade has created particles, but the formula has not supplied enough dissolved solids or liquid mobility to bind them.
Which Program Should You Use?
Use Lite Ice Cream for many low-fat, high-protein, or reduced-sugar recipes, and use Ice Cream for a richer dairy base. Program names vary by model, so the owner’s manual takes priority over a generic recipe instruction.
| Base type | Starting program | Typical first result | Better adjustment |
|---|---|---|---|
| Heavy cream and whole milk | Ice Cream | Dense or creamy | Re-spin only if dry |
| Skim milk and protein powder | Lite Ice Cream | Powdery or chalky | Add 1 tablespoon milk, then re-spin |
| Fruit purée with little sugar | Sorbet | Snowy or crumbly | Increase soluble solids next batch |
| Yogurt and milk | Lite Ice Cream or Frozen Yogurt | Tangy and firm | Add sugar or allulose for softness |
| Nut milk with low fat | Lite Ice Cream | Fine ice crystals | Add stabilizer and dissolved sweetener |
A second cycle is not automatically better. Repeated processing warms the edges and can produce a melted perimeter while the center remains firm, especially when the freezer is colder than about -13°F.
How Can You Diagnose the Texture?
The location and timing of the ice usually identify the underlying failure. A dry surface immediately after processing points toward formula structure or insufficient liquid, while a hard side wall after several hours points more often toward uneven freezing and recrystallization.
| Symptom | Most likely cause | Confirming check | Next action |
|---|---|---|---|
| Loose snow across the pint | Low sugar, low fat, or excess protein | Base contains mostly milk and powder | Add compatible liquid and re-spin |
| Hard bottom ring | Uneven freezer contact or dense sediment | Bottom remains a solid shell | Freeze level and blend more thoroughly |
| Ice needles after storage | Free water migration | First spin was smooth | Improve solids and seal the pint |
| Gummy or elastic texture | Excess guar, xanthan, or pudding mix | Texture worsens after warming | Reduce stabilizer next batch |
| Chalky mouthfeel | Undissolved protein or too much powder | Dry particles remain after re-spin | Hydrate powder and lower protein load |
| Melted outside, hard center | Overprocessing or warm pint | Perimeter softens first | Refreeze briefly, then use one cycle |
What Is the Powdery or Snowy Block?
A powdery block is a dry, loose mass that resembles shaved snow instead of ice cream. The most common causes are a low-calorie base with little sugar or fat, inadequate liquid, or protein powder that absorbs available water before the machine can form a cohesive emulsion.
Dig a small hole in the center and add about 1 tablespoon of milk, cream, or another liquid already present in the recipe. Run one re-spin. If the pint remains powdery, do not keep adding liquid indefinitely, because dilution lowers flavor intensity and can create larger crystals during the next freeze.
What Is the Bottom-Icy Ring?
A bottom-icy ring is a hard layer attached to the base or side of the container while the upper portion becomes creamy. The ring usually reflects uneven freezing, ingredient settling, a very cold freezer surface, or a base that was not blended thoroughly.
A level freeze is more important than a perfectly flat kitchen counter. Place the container on a stable shelf rather than the freezer door, avoid stacking heavy items against it, and inspect the mixture before freezing for sediment or visible separation.
Why Does a Pint Become Icy After Storage?
A pint can process smoothly and become hard or needle-filled later because dissolved water migrates and freezes again during storage. Each temperature fluctuation partially melts small crystals, then allows larger crystals to grow when the container refreezes.
Press a sheet of parchment or plastic wrap directly against the surface before replacing the lid if the recipe permits, then store the container toward the back of the freezer. For best texture, allow a stored pint to sit at room temperature for roughly 5-10 minutes before processing again, while following the appliance and food-safety instructions.
Which Ingredients Prevent Ice Crystals?
Ingredients prevent ice crystals through different mechanisms, so substituting one for another changes sweetness, calories, viscosity, and freezing behavior. A stabilizer binds some free water, sugar lowers the freezing point, fat interrupts crystal growth, and milk solids add body without contributing as much water as milk alone.
| Ingredient | Typical amount per pint | Main function | Common downside |
|---|---|---|---|
| Guar gum | 1/8-1/4 teaspoon | Binds water and adds body | Gummy texture if overdosed |
| Xanthan gum | 1/16-1/8 teaspoon | Improves suspension | Slimy texture when excessive |
| Instant pudding mix | 1-2 tablespoons | Modified starch thickens the base | Adds sweetness and flavor |
| Allulose | Replace part or all of sugar by recipe | Lowers freezing point | May cause digestive discomfort |
| Vegetable glycerin | About 1 teaspoon | Softens a frozen base | Can taste slick or sweet |
| Sugar | Recipe-dependent | Lowers freezing point and sweetens | Excess makes the pint soft |
| Cream cheese | 1-2 tablespoons | Adds fat and milk solids | Tangy flavor and dense body |
These quantities are practical starting ranges, not universal laws. A pint with 400 grams of liquid and a pint with 250 grams of concentrated yogurt will not need the same amount of gum.
How Much Guar Gum or Xanthan Gum Is Safe?
Start with less than the maximum because gums become noticeable quickly in a pint-sized batch. A typical starting point is 1/8 teaspoon of guar gum, or 1/16 teaspoon of xanthan gum, dispersed into the dry ingredients before blending.
Guar gum hydrates strongly in cold mixtures and can produce a fuller texture. Xanthan gum suspends particles efficiently but can feel slippery when overused. Combining both is possible, but reduce each quantity rather than using a full dose of each.
Expert insight: The most reliable gum correction is measured by weight, not a heaped measuring spoon. A difference of a fraction of a gram can matter in a small container, especially with xanthan gum.
Do Allulose and Glycerin Fix Hard Bases?
Allulose and glycerin can soften a frozen base because both reduce the proportion of water that freezes into a rigid block. They do not replace emulsification, adequate liquid, or a properly blended recipe.
Allulose usually changes sweetness and browning less than sucrose, but large amounts may cause digestive symptoms for some people. Glycerin is potent, so approximately 1 teaspoon per pint is a conservative starting point. A recipe that already contains sugar, alcohol, or fruit may require less softening power.
How Do You Fix an Icy Pint?
The best repair sequence is to inspect the frozen surface, choose the correct program, and use one measured re-spin before changing the recipe. A re-spin works when the base is structurally sound but needs a small amount of moisture and heat to bring shaved particles together.
- Inspect the surface. Scrape or level a raised hump without damaging the container.
- Check the program. Match Lite Ice Cream, Ice Cream, Sorbet, or another setting to the base.
- Run one initial cycle. Observe whether the result is powdery, ringed, gummy, or melted.
- Add liquid only when needed. Use 1 tablespoon of milk, cream, yogurt, or the recipe’s existing liquid.
- Run one re-spin. Stop if the texture becomes cohesive.
- Add mix-ins last. Use the Mix-In program for chocolate, nuts, fruit pieces, or cookies.
- Record the result. Change one variable in the next batch.
If the first cycle produces a completely dry, chalky powder and the second cycle changes very little, the formula is probably under-sweetened, under-hydrated, or overloaded with protein. A third or fourth re-spin may warm the surface without correcting the underlying ice structure.
Do not process a pint with a visibly damaged container, a loose blade, or a frozen hump that cannot be leveled safely. Follow the model-specific manual for blade inspection and maximum fill guidance.
How Should You Build a Creami Base?
A reliable base balances liquid, soluble solids, fat, protein, and stabilizer before freezing. The base should taste slightly sweeter and more fluid than the desired frozen dessert because cold temperatures reduce perceived sweetness and viscosity.
For a typical dairy pint, begin with whole milk or a milk-and-cream combination, add a measured sweetener, then incorporate yogurt, pudding mix, or another body-building ingredient if needed. Blend protein powder separately with part of the liquid to prevent dry clumps from stealing water from the rest of the formula.
| Base style | Typical liquid foundation | Main risk | Structural correction |
|---|---|---|---|
| Low-calorie protein | 1.25-1.5 cups milk or milk alternative | Excess free water | Add soluble sweetener and a small stabilizer |
| Dairy dessert | Milk plus cream | Heavy, dense texture | Keep fat balanced with sugar and milk solids |
| Yogurt base | Greek yogurt plus milk | Tangy and firm freeze | Add sweetener and enough liquid |
| Fruit sorbet | Fruit purée plus syrup | Large crystals from fruit water | Use sugar or allulose and strain fibers |
| Dairy-free nut base | Nut milk plus nut butter | Thin body | Add nut butter, pudding mix, or suitable gum |
Fruit deserves special attention because fruit contains water, acids, fiber, and variable sugar. A strawberry purée and a banana purée may occupy the same volume but freeze very differently. Taste and measure the base rather than assuming every fruit needs the same sweetener.
Expert insight: A base that separates in the refrigerator will usually separate in the freezer. Blending until the mixture is uniform, then freezing it immediately, prevents a dense layer from forming at the bottom of the pint.
What Freezing Conditions Produce the Smoothest Result?
A level, stable freeze produces a more uniform block than a pint stored in the door or tilted between packages. Freeze the container for at least 24 hours, keep the surface below the maximum fill line, and use a freezer thermometer rather than relying on the dial setting.
| Freezing variable | Recommended practice | Typical failure at the wrong setting | Practical check |
|---|---|---|---|
| Duration | At least 24 hours | Soft center or uneven shaving | Freeze a full day before processing |
| Temperature | 0°F or colder | Large crystals and soft spots | Use an independent thermometer |
| Location | Back or middle shelf | Door fluctuation and edge thawing | Avoid door storage |
| Surface | Level and smooth | Blade stress and uneven texture | Rotate or scrape a hump safely |
| Fill level | Below marked maximum | Overflow or poor processing | Leave visible headspace |
| Container condition | Clean and intact | Leakage or unsafe blade contact | Inspect before freezing |
A freezer at approximately -13°F may create a harder block than one at 0°F, but colder is not automatically better. Hardness can increase processing time and make low-sugar bases seem drier. Consistency matters more than chasing the lowest possible temperature.
Ninja Creami Versus Traditional Ice Cream Makers
The Ninja Creami is better suited to small, high-protein, or low-fat portions than many traditional churners, but it is not universally superior. A traditional machine can create a fresh, aerated dessert while freezing the mixture, whereas the Creami requires advance freezing and works through a solid block.
| Attribute | Ninja Creami | Traditional compressor churner | Freezer-bowl churner |
|---|---|---|---|
| Starting state | Frozen pint | Liquid base | Chilled liquid base |
| Preparation freeze | About 24 hours | None for compressor models | Bowl often requires 12-24 hours |
| Batch size | Typically 1 pint | Often 1-2 quarts | Commonly 1-1.5 quarts |
| Low-sugar performance | Usually needs formula adjustment | Often freezes very hard | Often freezes very hard |
| High-protein performance | Strong with adequate liquid | Can become dense | Can become dense |
| Fresh overrun | Added during processing | Added during churning | Added during churning |
| Main limitation | Requires frozen storage | Higher purchase cost | Requires freezer space |
A conventional churner may be preferable for a family-sized batch, immediate serving, or a classic custard formula. The Creami is convenient when portion control, repeated flavor changes, and protein-focused recipes matter more than making a large volume at once.
What Mistakes Keep Causing Icy Results?
Repeated icy results usually come from a repeatable process error rather than a defective machine. Change one variable per batch, because changing the milk, sweetener, stabilizer, program, and freeze time together prevents useful diagnosis.
- Freezing a raised center instead of leveling the surface.
- Measuring gums with a packed or heaped spoon.
- Using mostly almond milk and protein powder without enough dissolved solids.
- Placing the container in the freezer door.
- Processing before the center is fully frozen.
- Filling above the marked line.
- Adding frozen fruit chunks before the initial cycle.
- Using a full re-spin after the pint has already melted around the edges.
- Leaving the surface exposed during long storage.
- Assuming a premium ingredient can compensate for an unbalanced recipe.
Expert insight: The blade does not create water. If a re-spin makes a recipe creamy only while the pint is warm, the base still contains too much unbound water and will likely become icy again after refreezing.
What Happens If You Re-Freeze a Melted Pint?
A fully melted pint should be treated as a new freezing cycle, not as a guaranteed texture-preserving step. Refreezing creates a larger-crystal opportunity, particularly when the melted mixture separates or remains warm for an extended period.
If the dessert stayed continuously cold and has not been contaminated, blend it again, freeze it level for 24 hours, and expect some texture loss. If it sat at room temperature for more than two hours, or for more than one hour above 90°F, discard it according to standard food-safety guidance rather than attempting to rescue it.
What Does a Batch Typically Cost?
A homemade Creami pint commonly costs about $2-$6 in ingredients, depending on dairy, protein powder, fruit, and specialty sweeteners. Optional equipment costs more initially, with additional official containers often priced around $15-$25 each in the United States, although retail prices vary by model and retailer.
| Cost item | Typical United States range | Pints supported | Budget implication |
|---|---|---|---|
| Milk-based pint | $1.50-$3.00 | 1 | Lowest ingredient cost |
| Protein pint | $2.50-$6.00 | 1 | Protein powder drives variation |
| Fruit sorbet pint | $2.00-$5.00 | 1 | Fruit season changes price |
| Gum or pudding addition | $0.05-$0.40 | Several batches | Low per-pint cost |
| Extra official container | $15-$25 | 1 | Reduces the 24-hour waiting cycle |
| Freezer thermometer | $8-$20 | Reusable | Verifies actual temperature |
Premium stabilizers do not automatically produce a premium result. A $0.10 measured amount of pudding mix can outperform a costly combination of gums when the real problem is insufficient sugar or excess protein.
Frequently Asked Questions About ninja creami icy texture
Can I Use Water Instead of Milk for a Re-Spin?
Water can loosen a powdery pint, but milk, cream, yogurt, or the original recipe liquid usually gives better flavor and body. Add about 1 tablespoon first. Water is most useful when the base is already strongly flavored and contains enough solids, while extra water can worsen icy storage texture.
Why Is My Creami Smooth on Top but Hard Underneath?
A smooth top with a hard lower layer usually indicates uneven freezing, settling, or contact with a colder freezer surface. Blend the base thoroughly, freeze the container level, avoid the door, and verify that the lower layer is not caused by undissolved powder or fruit sediment.
Can Protein Powder Make a Pint Icy?
Protein powder can contribute to an icy or chalky result when it replaces sugar and fat without providing enough liquid or stabilizing solids. The powder absorbs water and may leave the remaining liquid more vulnerable to crystallization. Hydrate it fully and balance the recipe with sweetener and a modest stabilizer.
Should I Let the Pint Thaw Before Processing?
Do not thaw a frozen pint substantially before processing unless the model instructions specifically allow it. A brief 5-10 minute rest can make a very cold pint easier to process, but a melted perimeter and frozen center can create an uneven result and increase the risk of refreezing damage.
Why Does My Sorbet Stay Icy Even After a Re-Spin?
Sorbet stays icy when the fruit mixture contains high water and insufficient sugar or another freezing-point depressant. A re-spin can improve the immediate mouthfeel, but it cannot permanently correct the formula. Increase soluble solids, strain excessive fiber, and compare the fruit’s natural sweetness between batches.
Conclusion: Fixing Ninja Creami Icy Texture
Ninja Creami icy texture is usually a formula, freezing, or processing problem rather than an unavoidable feature of the appliance. Start with a level pint frozen at 0°F or colder for at least 24 hours, select the program that matches the base, and use one measured tablespoon of compatible liquid before a re-spin when the result is powdery.
If the problem returns after storage, improve the base instead of repeating cycles. Balance sugar or allulose, fat, protein, and stabilizer; inspect the container and surface; and record one change per batch. That method turns an icy pint into a diagnosable recipe problem with a specific correction.