

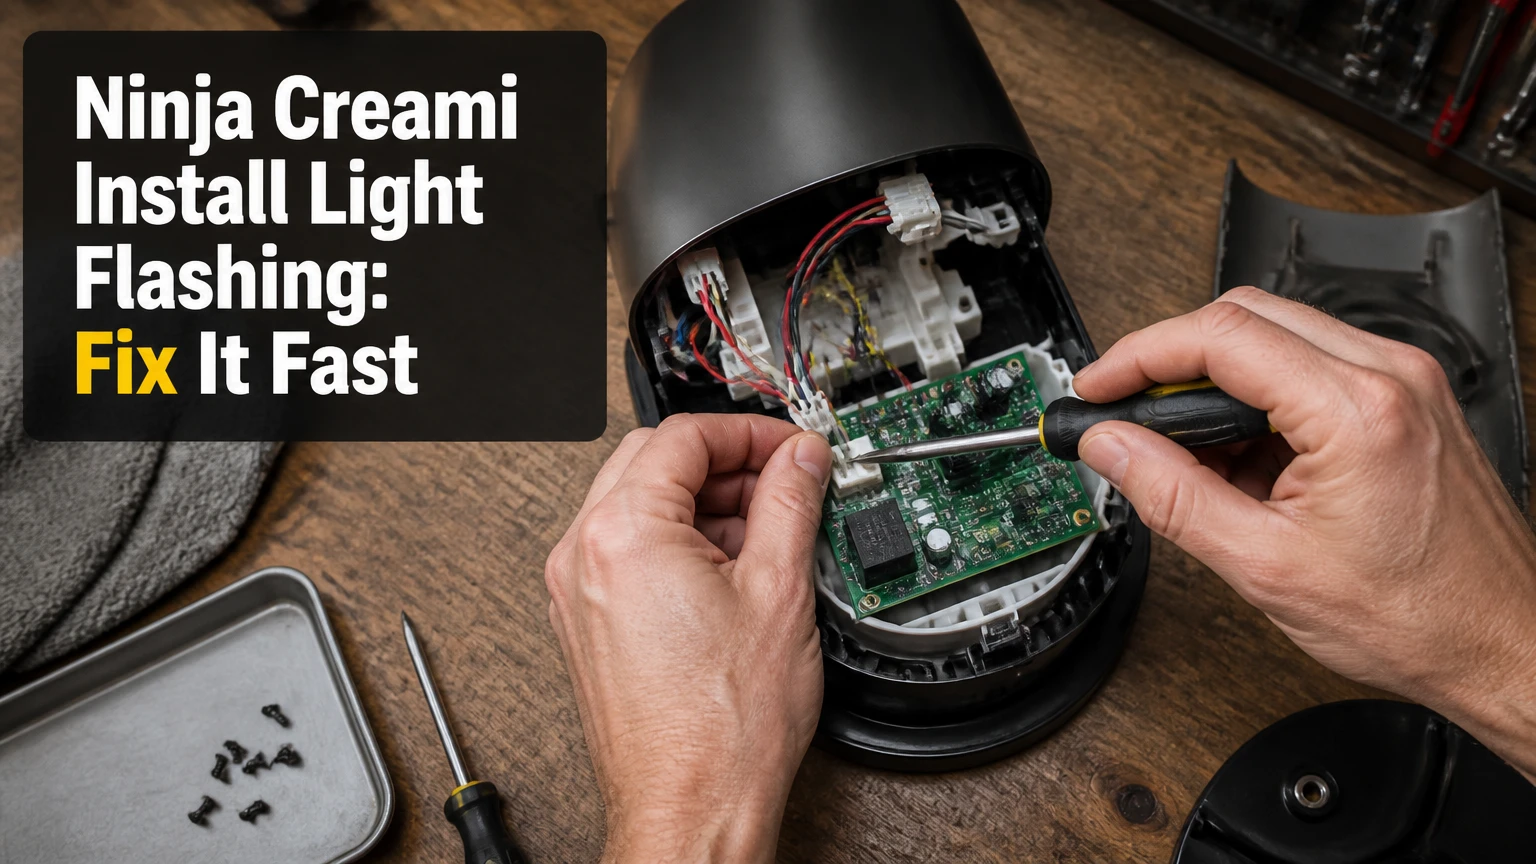
A Ninja Creami Install light flashing means the machine is not detecting a fully secured processing assembly. The usual causes are a missing or poorly seated Creamerizer paddle, an outer-bowl lid that is not fully aligned, or an outer bowl and pint that are not locked into the base. Correct the assembly before pressing a processing program.
Key Facts at a Glance
- A flashing Install light normally indicates an unsatisfied safety interlock, not a recipe problem.
- The Creamerizer paddle must be attached to the underside of the outer-bowl lid before processing.
- The pint must sit level inside the outer bowl, and the bowl handle must reach its locked position.
- Unplugging the Ninja Creami can clear an electronic glitch, but it cannot repair a broken plastic tab or switch.
- A flashing Power light usually points to a different condition, such as motor overload or overheating.
- Do not force the bowl handle, lid, or paddle; resistance can indicate misalignment or damage.
What Does a Flashing Install Light Mean?
A flashing Install light means the Ninja Creami safety system has not confirmed that the lid, outer bowl, and processing paddle are in their required positions. The machine blocks the motor because the blade assembly can rotate at high speed, and operation without a secured bowl could cause damage or injury.
The Ninja Creami uses mechanical tabs and internal interlock switches around the lid, bowl mount, and motor head. Users cannot reliably test those switches from outside the machine, but correct assembly usually depresses them automatically. A flashing light after careful reassembly therefore points either to a remaining alignment problem, residue in a contact area, damaged plastic, or an electrical fault.
The light may flash immediately when a program is selected, or it may appear while the user tries to lock the bowl. In both cases, start with the physical assembly rather than repeatedly pressing buttons.
Flashing, Steady, and Power Indicators
Indicator behavior helps narrow the diagnosis, although exact light behavior varies by Creami generation. The table below describes the common pattern across household models.
| Indicator state | Typical trigger | First action | Motor response |
|---|---|---|---|
| Flashing Install | Paddle, lid, pint, or bowl interlock not detected | Reassemble all parts | Motor remains stopped |
| Steady Install | Outer bowl is absent or not recognized | Seat bowl and rotate handle | Motor remains stopped |
| Flashing Power | Overload, overheating, or electrical interruption | Unplug and allow cooling | Program may stop |
| No lights | Outlet, cord, switch, or base fault | Test outlet and power connection | No control response |
A steady Install light does not prove the paddle is correctly installed. It commonly means the machine does not recognize the outer bowl at all, while a flashing Install light more often appears when the assembly is present but one safety condition is incomplete.
How Does the Safety Interlock Work?
The Ninja Creami safety interlock requires several physical conditions at once: the paddle must be held by the lid, the lid must be correctly fitted to the outer bowl, the pint must be seated inside that bowl, and the bowl must be locked into the motor base. A single missed condition can prevent the motor from starting.
The machine does not identify the exact failed component on the display. The Install light is therefore a general assembly warning, not a diagnostic code naming a particular switch. This explains why a perfectly clean-looking machine can still flash when one activation tab is worn or slightly displaced.
Ninja owner guides use direct safety language about the paddle: “Do not attempt to process without the paddle installed in the outer bowl lid.” Treat that instruction as a stop condition, not a suggestion. The motor should never be tested with the lid, bowl, or paddle removed.
How to Fix the Ninja Creami Install Light Flashing
The most reliable fix takes five checks and usually requires 2-5 minutes. Begin with the paddle, then inspect the lid, pint, bowl lock, and power reset; this order moves from the most common user assembly error to less common electronic causes.
Before You Start
| Item | Typical requirement | Why it matters |
|---|---|---|
| Troubleshooting time | 2-5 minutes | Covers disassembly, inspection, and reset |
| Cleaning cloth | 1 dry microfiber cloth | Removes residue from plastic contact areas |
| Power reset | 60 seconds minimum unplugged | Tests for a minor control glitch |
| Pint condition | Level frozen surface | Prevents tilting and abnormal blade resistance |
| Required parts | 1 pint, 1 outer bowl, 1 lid, 1 paddle | Missing parts prevent a safe start |
Switch the Ninja Creami off and remove the plug before inspecting the paddle or lid. Never place fingers near the paddle while the base is connected to power.
Step 1: Attach the Creamerizer Paddle
Remove the outer bowl from the base and turn the lid over. Press the Creamerizer paddle onto the lid spindle until it is retained securely, then check that the paddle does not fall out when the lid is gently inverted.
A small amount of paddle movement is normal on many Ninja Creami models. The paddle may feel loose or wiggle slightly because it needs to engage with the motor spindle during assembly. A paddle that drops out, sits crooked, or cannot engage the spindle is not normal.
You will know it worked when: the paddle remains attached to the lid and hangs approximately straight.
Common mistake: checking only that the paddle is nearby, rather than confirming that it is snapped onto the spindle.
Step 2: Lock the Outer-Bowl Lid Correctly
Place the lid on the outer bowl with the alignment marks in their starting positions. Rotate the lid in the indicated direction until it reaches the locked position and produces the expected click or firm stop.
Do not use the bowl handle to compensate for a lid that has not aligned. The lid tabs must enter their tracks cleanly, and a thin layer of dried ice cream or condensation can prevent full engagement. Wipe the rim and tracks with a dry cloth, then let wet components dry before trying again.
You will know it worked when: the lid sits level, the alignment marks correspond, and the lid does not lift during gentle handling.
Common mistake: forcing the lid beyond its stop, which can stress the plastic locking features.
Step 3: Seat the Frozen Pint Flat
Inspect the frozen pint before placing it into the outer bowl. The surface should be level enough for the pint to sit vertically; a large raised dome, uneven frozen mound, or damaged container can tilt the assembly.
A standard Ninja Creami pint should be frozen solid for the period specified by the model’s instructions, commonly about 24 hours. Do not process a pint with a deep liquid center, a sharply raised mound, or a container that has bulged. If the pint is visibly distorted, transfer the contents to a suitable compatible container only when the model instructions allow it.
You will know it worked when: the pint sits upright, its rim is not obstructed, and the lid closes without lateral pressure.
Common mistake: treating an uneven frozen surface as harmless when it prevents the blade and lid from entering on axis.
Step 4: Lock the Outer Bowl Into the Base
Insert the assembled outer bowl into the motor base and rotate the handle in the direction shown by the model’s markings. Keep the bowl vertical and use steady pressure rather than a jerking motion.
Different Ninja Creami generations use different bowl and handle arrangements. The handle should reach the marked locked position without unusual force. If the handle stops early, remove the bowl and repeat the lid and pint checks instead of pushing harder.
You will know it worked when: the bowl is held firmly, the handle reaches its lock position, and the Install light stops flashing or the machine accepts the program.
Common mistake: attempting to lock an outer bowl with a lid that is slightly cross-threaded or incompletely rotated.
Step 5: Perform a Power Reset
If the assembly is correct, unplug the Ninja Creami for at least 60 seconds. A longer 5-minute pause is reasonable after an interrupted cycle, but unplugging cannot correct a broken tab, defective switch, or incompatible component.
Reconnect the machine directly to a working wall outlet, then install the complete assembly again. Avoid relying on improvised button combinations. Some owners report holding the power button while unplugged, but the dependable reset step is removing electrical power and following the model’s owner guide.
You will know it worked when: the machine powers normally and recognizes the correctly assembled bowl.
Common mistake: reconnecting immediately after unplugging, which does not provide a meaningful reset interval.
Which Assembly Check Matches the Symptom?
The most useful diagnosis comes from matching the light behavior and physical symptom, rather than repeating the entire process without inspection. A paddle problem usually appears at the lid, while a bowl-recognition problem appears when the outer bowl enters the base.
| Observed symptom | Most likely area | Inspection point | Safe correction |
|---|---|---|---|
| Install flashes immediately | Paddle or lid | Paddle retention and lid marks | Reattach paddle and relock lid |
| Bowl will not reach lock | Lid track or pint position | Lid rim, frozen mound, handle path | Remove, level, and reassemble |
| Light flashes after a spill | Residue or moisture | Lid tabs and bowl recesses | Clean and dry completely |
| Light returns every cycle | Tab, switch, or base | Repeated assembly test | Stop forcing and contact Ninja |
| Bowl feels tilted | Pint or outer bowl | Pint walls and base seating | Replace distorted component |
| No response after correct assembly | Power or internal fault | Outlet, cord, base behavior | Unplug and seek service |
A useful practitioner rule is to change one variable at a time. For example, first test the same pint with a newly seated paddle, then test a second compatible pint only if the first correction changes nothing. Changing the pint, lid, and bowl simultaneously hides the failed part.
Do Ninja Creami Models Use the Same Installation Sequence?
Ninja Creami models share the same safety principle but do not use identical capacities, programs, or bowl assemblies. A 7-in-1 model, Creami Deluxe, and Creami Breeze can differ in pint size, outer-bowl design, lid geometry, and control layout.
Never interchange a Deluxe container with a smaller original Creami unless Ninja identifies the parts as compatible. A container can appear physically close to fitting while failing the interlock or creating an unsafe load.
| Model family | Common container detail | Assembly caution | Program or control difference |
|---|---|---|---|
| Original 7-in-1 | Standard pint format | Use its matching outer bowl and lid | Seven named processing programs |
| Creami Deluxe | Larger Deluxe pint system | Do not substitute standard containers | Larger container and additional settings |
| Creami Breeze | Model-specific simplified assembly | Confirm paddle and bowl part numbers | Control layout differs by version |
| Replacements | Model-specific accessory set | Match Ninja model number exactly | Compatibility depends on listed accessory |
The model number appears on the rating label or documentation. Record it before ordering a replacement lid or bowl, because “Ninja Creami” is not a sufficient compatibility specification.
What Should You Clean, and What Must Stay Dry?
Clean the removable bowl, lid, and paddle according to the owner guide, but keep the motor base and electrical openings away from running water. For the Install fault, focus on the lid rim, locking tracks, paddle attachment area, bowl recess, and the corresponding plastic contact points on the base.
Use a soft cloth or small nonmetallic brush for dried residue. Do not scrape interlock areas with a knife, screwdriver, or metal pick, because a gouged track can change the tab position. After cleaning, allow condensation to evaporate fully before reassembly.
| Area | Safe cleaning method | Drying requirement | Avoid |
|---|---|---|---|
| Paddle | Wash according to model guide | Dry before attachment | Operating with residue on spindle |
| Outer-bowl rim | Damp cloth, then dry cloth | No visible moisture | Abrasive scouring pads |
| Lid locking track | Soft brush or cloth | Dry recesses fully | Metal tools and force |
| Motor-base recess | Dry microfiber cloth | Keep water out of base | Spraying cleaner into openings |
| Bowl handle path | Wipe plastic surfaces | Dry before locking | Lubricant or oil |
A recurring light after cleaning often indicates moisture in a contact path rather than a new software fault. Give the parts additional drying time, then repeat the complete assembly test.
What If the Light Flashes After Everything Looks Correct?
If the Ninja Creami still flashes after a correct paddle, lid, pint, and bowl assembly, the likely causes move from user error to damaged plastic, a displaced activation tab, a failed interlock switch, or a control fault. Stop using the machine if the handle requires force, the lid is cracked, or the bowl sits unevenly.
Inspect the plastic tabs for cracks, whitening, looseness, or missing pieces. Do not open the motor base to bypass a switch. Bypassing the safety interlock removes the protection that prevents the motor from running during an unsafe assembly condition.
An important limitation is that visual inspection cannot confirm an internal switch. A machine may look perfect while an actuator has worn below the switch’s operating position. At that point, repeated resets are unlikely to solve the problem.
How Much Do Replacement Parts and Repairs Cost?
Typical consumer costs range from about $30-$50 for some replacement bowl or lid assemblies, while a new compatible base can cost $150 or more depending on model and retailer. These are typical market ranges, not a guaranteed Ninja quote, and warranty eligibility can reduce the customer cost to $0.
Check Ninja’s current warranty terms, proof-of-purchase requirements, and model-specific service options before buying a base. A replacement part is worthwhile when one removable assembly is visibly damaged; a new appliance may be more practical when the internal base has failed outside warranty.
| Repair path | Typical USD cost | Typical time | Best use case |
|---|---|---|---|
| Cleaning and reassembly | $0 | 2-5 minutes | Residue or alignment issue |
| Replacement paddle | $15-$30 | 5 minutes | Lost or damaged paddle |
| Replacement lid or bowl | $30-$50 | 5-10 minutes | Cracked tab or damaged track |
| Warranty service | $0 if approved | Varies by support | Covered manufacturing fault |
| Replacement base | $150 or more | 10 minutes setup | Internal fault outside warranty |
Do not assume every Install fault qualifies for a free replacement. Damage caused by forcing the handle, incompatible accessories, or misuse may be handled differently from an internal component failure.
Common Mistakes That Make the Fault Worse
The most damaging response is force. A safety interlock warning is designed to prevent operation, so forcing the handle can convert a simple alignment issue into a broken-tab repair.
- Forgetting the paddle: Keep the paddle with the lid, not on a separate drying rack, so the assembly check is automatic.
- Forcing a half-aligned handle: Remove the bowl and restart the lid alignment when the handle stops early.
- Processing a frozen dome: Level the preparation before freezing when the recipe and model instructions permit it.
- Using the wrong container: Match the model number and accessory listing before inserting a replacement pint.
- Cleaning with liquid in the base: Wipe the base contact areas instead of spraying them.
- Repeating programs after an error: Cancel the attempt, unplug the unit, and inspect the assembly before another start.
One counterintuitive point matters here: a paddle that wiggles slightly can be normal, while a paddle that feels completely rigid can be incorrectly seated or jammed by residue. Retention and alignment matter more than absolute tightness.
When Should You Contact Ninja Support?
Contact Ninja support when the Install light continues after two careful assembly attempts, the bowl or lid has cracked, the machine makes an unusual noise, or the same fault returns with multiple compatible assemblies. Provide the exact model number, purchase date, serial information if requested, and a short video showing the light and lock position.
Service is also appropriate when the machine has been exposed to liquid, the power cord is damaged, or the base smells hot. Do not continue testing a unit that trips an outlet, produces smoke, or heats abnormally.
| Escalation signal | Stop-use level | Information to provide | Likely support direction |
|---|---|---|---|
| Cracked lid tab | Immediate | Photos and model number | Lid replacement |
| Bowl locks only with force | Immediate | Video of handle movement | Assembly inspection |
| Light persists with two bowls | High | Bowl and lid part numbers | Base or switch diagnosis |
| Burning smell or heat | Immediate | Purchase and incident details | Electrical service |
| One-time fault after outage | Moderate | Reset result and outlet test | Power troubleshooting |
FAQ
Can I Use the Ninja Creami With the Install Light Flashing?
No. The Ninja Creami should not run while the Install light is flashing because the safety system has not confirmed a secure assembly. Remove the bowl, inspect the paddle and lid, and reinstall the complete unit. Do not bypass the interlock or hold a switch manually.
Why Does My Ninja Creami Beep but Keep Flashing Install?
A beep with a flashing Install light usually means the control system detected an incomplete lock condition. Check the paddle first, then confirm the lid alignment and bowl-handle position. A beep does not identify the failed component, so inspect all assembly points before assuming the base is defective.
Can a Frozen Pint Cause the Install Light to Flash?
Yes, an uneven frozen mound or bulged pint can tilt the container and prevent the outer bowl from seating correctly. A level frozen surface gives the paddle a straighter path and reduces abnormal resistance. Do not process a pint with a severe dome, liquid center, or damaged container.
Why Is My Install Light Flashing After Cleaning?
Moisture or residue in the lid track, bowl recess, or paddle attachment area can prevent a clean interlock. Dry every removable component and wipe the base contact area with a dry microfiber cloth. If the light remains after complete drying and correct assembly, inspect for damaged tabs or request service.
Can I Replace Only the Paddle?
Usually, a missing or damaged paddle can be replaced separately if Ninja lists the part for your exact model. Confirm the model number and paddle compatibility before ordering. A replacement paddle will not fix a broken lid tab, failed bowl switch, damaged outer bowl, or internal base fault.
How Long Should I Unplug a Ninja Creami to Reset It?
Unplug the Ninja Creami for at least 60 seconds to test for a minor electronic glitch; 5 minutes is a reasonable longer reset after an interrupted cycle. Power removal cannot repair mechanical damage. If the light returns after correct assembly, stop repeated resets and investigate the hardware.
The Bottom Line
The fastest fix for a Ninja Creami Install light flashing is to attach the paddle, align and lock the outer-bowl lid, seat the frozen pint flat, and lock the bowl into the base without force. Unplug the machine for 60 seconds only after those checks. If the light persists with compatible, undamaged parts, treat the problem as a possible interlock or base failure and contact Ninja support rather than bypassing the safety system.