

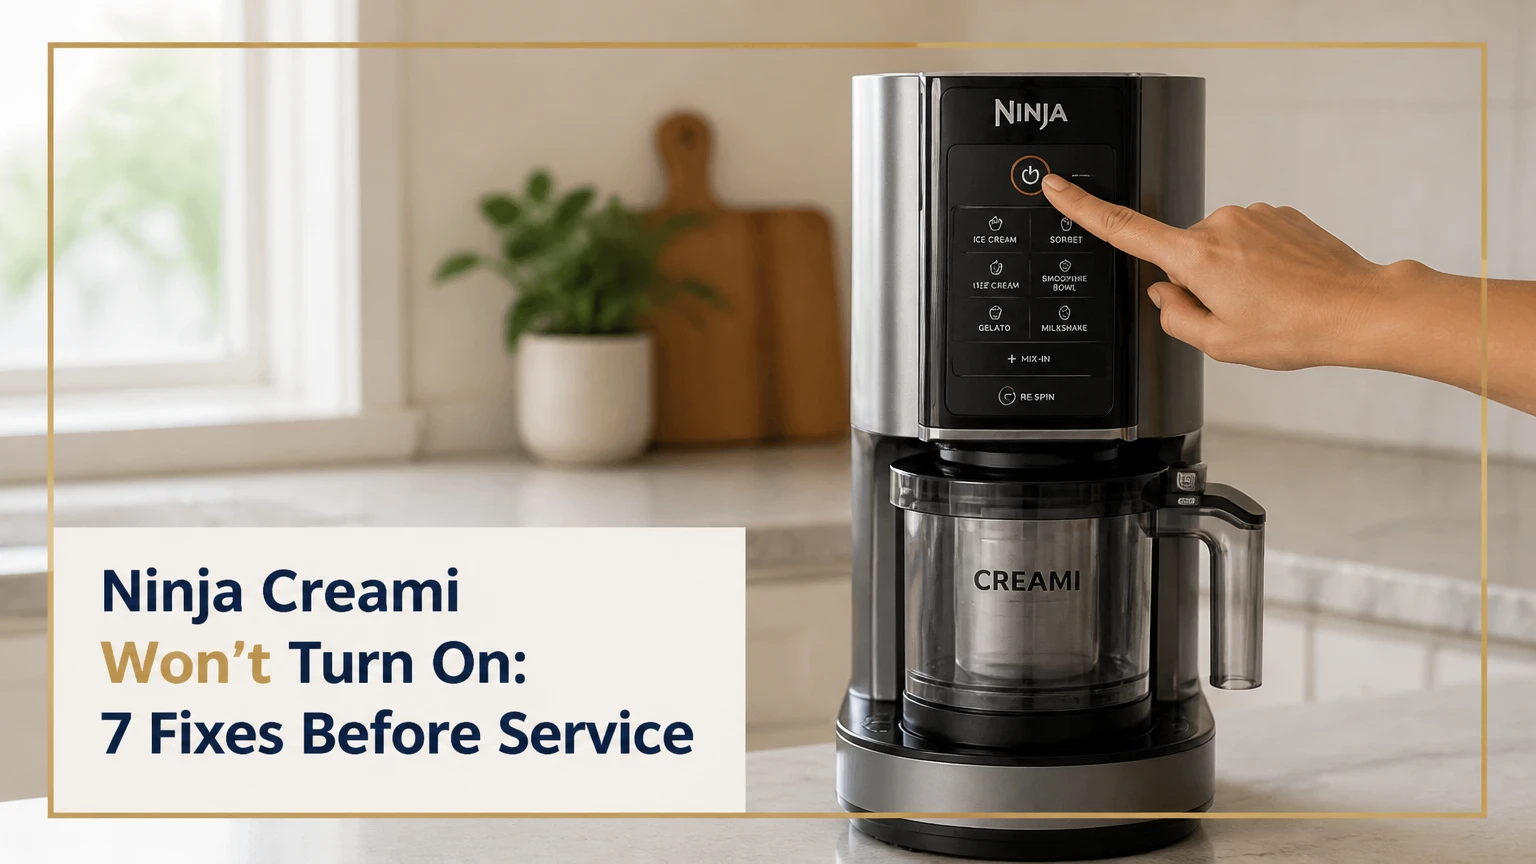
A Ninja Creami that will not turn on most often has an unlatched outer bowl, an incompletely locked lid handle, or a motor-protection shutdown after a difficult cycle. Unplug the appliance, verify the outlet, reinstall the paddle and bowl according to the model manual, then allow a recently stopped motor to cool before testing it again.
Key Facts at a Glance
- The Ninja Creami will not start when its bowl or lid interlock is not fully engaged.
- A standard Creami pint usually needs approximately 24 hours in a freezer at 0°F or below.
- A blank control panel after outlet testing points toward a cord, internal fuse, control board, or power-entry fault.
- A machine that stopped during processing may need approximately 15-30 minutes of unplugged cooling.
- A burning odor, melted plastic, liquid inside the base, or a damaged cord requires immediate discontinuation.
- Bowl, lid, and paddle parts are model-specific, so an NC301 component may not fit every Deluxe or XL model.
What Does No Power Mean on a Ninja Creami?
“No power” describes two different failures on a Ninja Creami: the control panel remains completely dark, or the panel responds but the program will not begin. A dark panel requires electrical and outlet checks first; a responsive panel usually indicates an assembly interlock, incorrect program conditions, or an overload recovery state.
The Creami does not churn liquid in the freezer. Its motor drives a paddle downward through a solid frozen mixture, so the machine checks that the outer bowl and lid are correctly positioned before allowing the motor to run. That safety logic prevents operation while the rotating assembly is exposed.
The exact panel behavior varies by generation. Original models such as the NC299 and NC301 use physical program buttons, while newer Deluxe and XL versions have different controls and bowl designs. Use the model number on the base or rating label when ordering parts or interpreting indicator lights.
Electrical symptoms versus interlock symptoms
| Symptom | Most likely area | First action | Typical outcome |
|---|---|---|---|
| Entire panel is dark | Outlet, cord, internal power circuit | Test outlet with a lamp | Power restored or service needed |
| Panel lights briefly, then stops | Bowl or lid interlock | Reinstall bowl and lid | Program starts if alignment is correct |
| Buttons light but motor does not move | Frozen load or overload | Unplug and cool for 15-30 minutes | Motor may recover |
| Grinding, burning smell, or smoke | Mechanical or electrical damage | Stop using immediately | Professional assessment required |
How Should You Check the Outlet and Cord?
Test the wall outlet with a lamp, phone charger, or another low-risk appliance before diagnosing the Ninja Creami base. Reset a tripped breaker or GFCI only once, inspect the cord for cuts or crushed sections, and connect the Creami directly to a properly grounded wall outlet rather than a questionable power strip.
Keep the base dry during this inspection. Never open the housing to test an internal fuse unless you are qualified to work on mains-powered appliances, because unplugging the machine does not remove every electrical hazard from a repair procedure.
Ninja models differ in rated power, but many household Creami bases draw several hundred watts during operation. A direct wall connection reduces uncertainty; it does not repair a defective motor or control board.
Outlet and cord inspection sequence
- Unplug the Creami from its current outlet.
- Plug a lamp into that same outlet and switch the lamp on.
- Reset the GFCI or breaker if the outlet is dead.
- Inspect the full cord length and plug blades.
- Test the Creami in a known-good wall outlet.
- Stop if the plug becomes hot, discolored, loose, or arcing.
A power strip can introduce a failed switch or overloaded circuit, while an extension cord can violate the appliance manufacturer’s instructions. The outlet test is diagnostic, not a reason to keep using a damaged cord.
Step-by-Step: Reset a Ninja Creami That Will Not Start
Use the following seven-step sequence with the pint removed from the machine. The process normally takes 5-10 minutes, plus 15-30 minutes of cooling if the Creami stopped during a cycle. No tools are required unless you need a flashlight and a dry cloth.
| Item | Requirement | Typical value |
|---|---|---|
| Required tools | Flashlight, dry or slightly damp cloth | 1 each |
| Initial inspection time | Unplugged visual check | 2-3 minutes |
| Assembly time | Paddle, lid, and bowl reinstall | 2-5 minutes |
| Cooling time | Motor-protection recovery | 15-30 minutes |
| Repair cost | Cleaning or reseating parts | USD 0 |
| Replacement range | Model-specific bowl or lid, typical retail range | USD 30-70 |
Step 1: Unplug the base and remove the outer bowl
Disconnect the Ninja Creami before touching the paddle, lid, or bowl. Remove the outer bowl from the motor base, then take the pint out of the outer bowl so a jammed or unusually hard mixture cannot load the motor during testing.
Look for frozen residue around the bowl rim, lid tracks, paddle socket, and base docking area. Do not insert a knife, screwdriver, or metal pick into the base. A wooden or plastic tool can damage a sensor or leave fragments behind.
Success checkpoint: The base is disconnected, the bowl is removed, and no loose component remains attached.
Common mistake: Testing the start button while the outer bowl is still partly attached. That can leave the interlock in an ambiguous position.
Step 2: Install and lock the outer bowl
Seat the outer bowl into the base using the arrows, rails, or lock markings printed on your model. Rotate the bowl or handle in the indicated direction until the locking point is reached and the bowl feels firmly retained; do not rely on a guessed clockwise or counterclockwise direction because model layouts differ.
The bowl must sit level against the base. Wipe dried dairy, syrup, or ice from the contact tracks, since a thin ridge can prevent the bowl from reaching its final position. Never force a bowl that stops abruptly.
Success checkpoint: The outer bowl reaches its marked lock position without excessive pressure and does not wobble.
Common mistake: Assuming a loud click is required on every generation. Some models provide a firm stop or visual alignment rather than the same audible click.
Step 3: Seat the paddle and lock the lid
Push the Creamerizer paddle into the lid until its retaining feature engages. Confirm that the paddle does not fall out when the lid is held upside down, then place the lid squarely on the outer bowl.
Move or rotate the lid handle to the position marked Lock on the machine. The handle should complete its travel smoothly. If it stops early, remove the lid and inspect the paddle shaft, lid rim, and bowl threads for residue or misalignment.
Success checkpoint: The handle reaches the lock marking and the lid remains secured when gently lifted by the handle.
Common mistake: Installing the lid with the paddle only partially seated. The paddle can obstruct the lid or prevent the safety sensor from recognizing a closed assembly.
Step 4: Test the controls without a loaded pint
With the empty outer bowl and correctly locked lid installed, plug the base directly into the tested wall outlet. Press the power or program control once, according to the instructions for your model.
Do not run repeated cycles if the machine remains silent. A responsive display with a non-starting motor usually differs from a completely dark display, and repeated button presses add no useful diagnosis.
Success checkpoint: The display or indicator lights respond normally, or the selected program begins without abnormal sound.
Common mistake: Treating a lit display as proof that the motor is healthy. The control board can power up while a mechanical interlock or motor circuit remains unavailable.
Step 5: Allow an overload recovery
If the Ninja Creami stopped while processing, unplug it and let the motor cool for 15-30 minutes before another test. Several Ninja owner manuals use wording close to “Allow the motor to cool for approximately 15 minutes” after an overload condition; the longer interval is a practical buffer when the base feels warm.
A hard, uneven, insufficiently frozen, or overfilled pint can increase resistance. The appliance may stop to protect the motor, but cooling cannot correct a jammed paddle, damaged coupling, or failed electronic component.
Success checkpoint: After cooling, the panel responds and the motor operates normally with a properly prepared pint.
Common mistake: Immediately restarting the same difficult pint. That repeats the overload instead of testing whether the protection state has cleared.
Step 6: Inspect the pint before processing again
A standard Creami pint should be frozen solid, level, and generally left in the freezer for about 24 hours. A flat surface matters because a mound or sloped frozen block can force the paddle into uneven resistance.
Do not process a loose slush mixture as though it were a frozen pint. Do not process a block with a large frozen peak, and do not fill above the maximum line. If the recipe is frozen unevenly, thaw it enough to level or remake it rather than forcing the machine through the resistance.
Success checkpoint: The pint is solid from edge to center, flat across the top, and within the fill line.
Common mistake: Freezing the container on an angled shelf. A small liquid slope becomes a hard angle that can load the paddle unevenly.
Step 7: Run the correct program once
Choose a program that matches the recipe, such as Ice Cream, Sorbet, Gelato, or Lite Ice Cream, and allow the machine to complete its normal cycle. If the texture needs improvement, use Re-spin only after the first cycle completes and the machine shows no signs of strain.
Stop the process if the base shifts, produces repeated clicking, smells hot or burnt, or makes a new grinding noise. A normal cycle commonly takes a few minutes, but exact duration varies by model and program.
Success checkpoint: The paddle moves without stalling, and the program completes without smoke, burning odor, or unusual mechanical noise.
Common mistake: Holding the lid or bowl in place by hand to defeat an interlock. Never bypass a safety sensor.
Why Does the Frozen Base Affect Startup?
A frozen base affects startup because the Creami motor must apply substantial force to move the paddle through a solid block. Ninja’s owner instructions require a level frozen mixture, and many recipes specify freezing for 24 hours at approximately 0°F or below, although freezer temperature and formulation change the actual result.
The machine is not designed to rescue a half-frozen, highly peaked, or overfilled preparation. Hard add-ins, thick nut butter pockets, large candy pieces, and a frozen ridge can create localized resistance that triggers a stop or damages the paddle drive.
| Preparation condition | Mechanical effect | Startup or cycle risk | Corrective action |
|---|---|---|---|
| Frozen 24 hours, flat top | Even paddle resistance | Lowest typical risk | Process with the matching program |
| Slushy center | Variable resistance | Texture failure or stalling | Freeze longer |
| Raised center peak | Angled paddle loading | Overload or uneven processing | Level the mixture before freezing |
| Above maximum fill line | Increased contact and pressure | Lid, paddle, or motor strain | Remove excess mixture |
| Large hard inclusions | Localized impact load | Paddle or coupling damage | Use approved small mix-ins after processing |
The 24-hour rule is a preparation guideline, not a guaranteed electrical reset. A Creami with a blank panel after using a properly frozen pint still needs outlet and hardware diagnosis.
What Do Flashing Lights, Clicking, or a Blank Panel Indicate?
A blank panel usually indicates an electrical supply or internal hardware problem, while flashing indicators, a click without motor movement, or a program that refuses to begin more often indicates an interlock or overload condition. The symptom must be recorded before parts are purchased.
| Observed behavior | Likely explanation | Safe test | Service threshold |
|---|---|---|---|
| No lights in two known-good outlets | Cord, fuse, board, or base fault | Confirm cord and outlet | Service if still blank |
| Lights flash, then vanish | Overload or control fault | Cool unplugged for 30 minutes | Service after repeat failure |
| Audible click, no rotation | Interlock or jammed drive | Reinstall lid and inspect paddle | Stop if grinding continues |
| Motor hums and stops | Excessive frozen resistance | Remove pint and cool base | Service if empty test fails |
| Burning odor or smoke | Electrical or motor damage | Unplug immediately | Do not retest |
A faint click is not proof that the bowl is correctly locked. It may come from a relay, latch, or motor-protection circuit, so the panel response and physical assembly still matter.
What If the Creami Stopped Mid-Cycle?
If the Ninja Creami stopped mid-cycle, unplug it, wait 15-30 minutes, and remove the outer bowl only after the assembly is safe to handle. Inspect for a tilted pint, frozen peak, excessive fill, hard ingredients, or paddle obstruction before attempting one controlled restart.
Do not repeatedly press the program button while the motor is hot. If the machine stops again with a correctly frozen, level pint, the fault may involve the drive coupling, motor, sensor, or control board rather than the recipe.
A mid-cycle stop followed by a completely dead panel is more concerning than a program refusal with working lights. Document the sequence, including the program used, elapsed time, sounds, odor, and whether the base felt hot.
Model and Part Compatibility
Ninja Creami parts are not universally interchangeable. The NC299, NC300, and NC301 families use different product configurations from Deluxe models such as the NC501, while newer XL products can use different bowl capacities and lids.
| Model family example | Bowl format | Program or control distinction | Compatibility caution |
|---|---|---|---|
| NC299 | Standard pint system | Original-style controls | Verify lid and paddle by exact model |
| NC300 | Standard pint system | Standard Creami programs | Do not assume NC501 bowl fit |
| NC301 | Standard pint system | Standard Creami programs | Match replacement parts to rating label |
| NC501 Deluxe | Deluxe bowl system | Different capacity and controls | Standard pint components may not fit |
| XL family models | XL-specific containers | Model-dependent programs | Confirm part number before purchase |
The model number appears on the base, rating label, packaging, or instruction manual. A replacement bowl with the wrong geometry can prevent locking, which creates the same symptom as a defective safety sensor.
When Should You Stop Troubleshooting?
Stop troubleshooting when the Ninja Creami has a burning smell, smoke, melted plastic, exposed wiring, repeated electrical tripping, liquid inside the motor base, or a cord with visible damage. Unplug it without touching wet electrical components, and contact Ninja support or a qualified appliance technician.
Food residue on removable parts is a cleaning problem. Moisture inside the base is an electrical safety problem. Never rinse or immerse the motor base, and never bypass an interlock with tape, a tool, or a manually depressed switch.
The owner’s manual is the governing source for each model. Ninja’s manuals also include model-specific warnings about unauthorized repairs and component use, so preserve the model number and serial information before contacting support.
Repair, Replacement, and Warranty Options
A no-cost correction is plausible when the problem is an outlet, residue, incomplete locking, or temporary overload. A replacement lid or outer bowl can be economical when a visible locking tab is broken, but a dead base generally requires warranty evaluation or replacement rather than user repair.
| Repair path | Typical USD cost | Typical timeframe | Best fit |
|---|---|---|---|
| Outlet, cleaning, or reseating | $0 | 5-30 minutes | Interlock or setup fault |
| Replacement lid or bowl | $30-$70 | 2-10 days | Broken removable locking part |
| Authorized diagnosis | Variable | 3-14 days | Dead base under warranty |
| New standard Creami | $150-$250 typical retail range | 1-7 days | Out-of-warranty failed base |
| Compressor ice-cream maker | $250-$700 typical retail range | Immediate after chilling | Users avoiding 24-hour freezing |
Prices vary by retailer, model, promotion, and part availability. The standard Ninja warranty is commonly one year for qualifying products in the United States, but coverage terms and proof-of-purchase requirements control the actual remedy.
Before requesting service, record the model number, purchase date, retailer, outlet-test result, indicator behavior, and steps already attempted. That information prevents support from repeating basic assembly checks without understanding the failure pattern.
Is a Ninja Creami Worth Repairing?
A Ninja Creami is usually worth troubleshooting when the control panel works, the bowl or lid has a visible fit problem, or the machine stopped once after a difficult pint. A dead base outside warranty is harder to justify if a compatible replacement costs close to a new unit.
The Creami has limited user-serviceable electronics. Removable components can be cleaned or replaced, but diagnosing a motor, thermal device, sensor, or control board requires electrical and mechanical testing that may exceed the value of the appliance.
Repair or replacement decision
| Condition | Recommended decision | Reason | Next action |
|---|---|---|---|
| Panel works after bowl reseating | Keep using | Interlock alignment issue | Clean tracks and follow assembly order |
| One overload, then normal operation | Keep using cautiously | Temporary protection likely cleared | Improve pint preparation |
| Broken bowl or lid tab | Replace part | Removable component is defective | Match exact model number |
| Blank panel in two outlets | Request service | Internal fault likely | Check warranty first |
| Smoke, melted plastic, or liquid ingress | Replace or professionally assess | Safety risk exceeds routine troubleshooting | Do not power on again |
Which Alternative Fits Your Use?
A compressor ice-cream maker is the clearest alternative for users who dislike a 24-hour freeze, while a freezer-bowl machine costs less but still requires advance freezing. A food processor can rework frozen fruit or cubes, but it does not reproduce the Creami’s intended texture or safety system.
| Appliance type | Pre-freeze requirement | Typical USD price | Best use |
|---|---|---|---|
| Ninja Creami | Pint, approximately 24 hours | $150-$250 | Dense frozen desserts from prepared bases |
| Compressor maker | No freezer bowl | $250-$700 | Immediate batches and traditional churned texture |
| Freezer-bowl maker | Bowl, commonly 16-24 hours | $50-$150 | Lower-cost churned ice cream |
| Food processor | Frozen ingredients, recipe-dependent | $50-$300 | Fast fruit desserts and small batches |
The Creami is not a good choice for instant liquid-to-ice-cream production because the base must be frozen first. A compressor machine is more suitable for spontaneous batches, but it is heavier, louder, and typically more expensive.
Common Mistakes and How to Fix Them
Residue prevents the lid from locking
Dried milk, sugar, and syrup can collect in the lid track or bowl rim and stop the handle before its lock marking. Unplug the machine, remove the parts, wash them according to the manual, and dry every contact surface before reassembly.
The wrong component is being used
A standard pint lid may not fit a Deluxe bowl, and an XL container may require its own lid and paddle. Read the model label instead of relying on visual similarity when a replacement part does not lock.
The base is being tested with a difficult pint
Remove the pint before testing a suspected electrical fault. An empty, correctly assembled outer bowl provides a safer distinction between a load problem and a base problem.
The bowl is forced into position
Force can break plastic tabs or distort the locking path. If the assembly does not align with moderate hand pressure, stop and inspect the rails, rim, paddle, and lid rather than applying greater torque.
The machine is stored damp
Water left in removable tracks can combine with food residue and create fit problems. Dry the lid, bowl, and paddle completely before storage, while keeping the motor base away from running water.
The Bottom Line
A Ninja Creami that will not turn on should be diagnosed in order: test the outlet, unplug the base, remove the pint, clean the locking surfaces, reinstall the paddle and lid, lock the outer bowl, and allow a recently stopped motor to cool for 15-30 minutes. If the panel remains blank in a known-good outlet, stop repeated testing and pursue warranty or service support.
The most common fix costs USD 0 because it involves assembly or residue. The most important prevention rule is equally simple: freeze a level pint for about 24 hours, stay below the fill line, use the correct model-specific parts, and never bypass the safety interlock.
FAQ
Can I reset a Ninja Creami by unplugging it overnight?
Yes, unplugging the Ninja Creami overnight provides more than enough cooling time, but it will not repair a failed cord, fuse, sensor, motor, or control board. Remove the bowl and pint during the reset, then test the appliance once in a known-good wall outlet after reassembly.
Why does my Ninja Creami have power but not start?
A Ninja Creami with power but no start usually has an incompletely locked outer bowl or lid, a mis-seated paddle, or an overload state. Reinstall every removable component using the model’s lock markings, then cool the base before trying one cycle with a level, solidly frozen pint.
Can I use a Ninja Creami without the outer bowl?
No. The Ninja Creami should not be operated without its outer bowl and lid correctly installed. Those parts contain the mechanical alignment and safety conditions required for the paddle drive, and bypassing them can expose moving components or damage the appliance.
How do I know whether the Creami motor is burned out?
A burned-out motor is more likely when the Creami remains dead or only hums after outlet testing, correct assembly, cooling, and removal of a difficult pint. Burning odor, smoke, repeated tripping, or visible heat damage requires immediate unplugging and professional evaluation.
Why does my Creami work with one bowl but not another?
If a Ninja Creami works with one bowl but not another, the second bowl may be the wrong model, warped, dirty in the locking track, or damaged at an interlock tab. Compare the exact model numbers and inspect the replacement bowl before assuming the base has failed.
Title tag: ninja creami won’t turn on: 7 fixes before service
Meta description: Check the outlet, bowl lock, lid sensor, and overload safely. Follow the 15-30 minute reset and decide when to request Ninja service.