

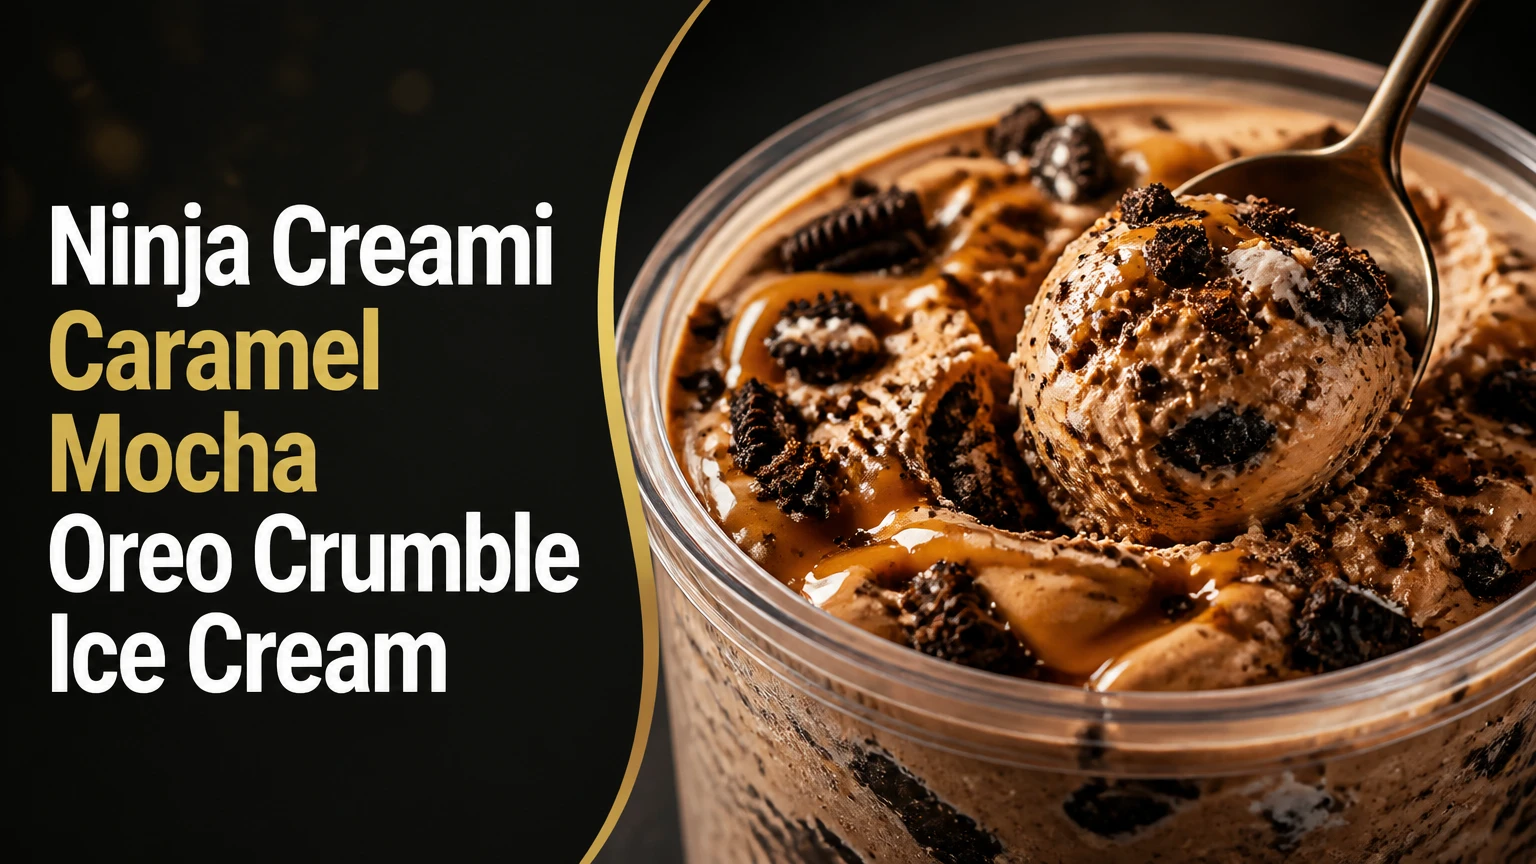
Welcome to the world of homemade ice cream! If you’re anything like me, you probably have a soft spot for those amazing coffee shop drinks. You know, the ones that are rich, creamy, and have that perfect hint of coffee and a swirl of caramel? Well, I wanted to capture that luxurious flavor and turn it into a frozen dessert.
And guess what? My secret weapon is the Ninja Creami. It makes the whole process ridiculously simple. Seriously, it’s like having your own personal barista and an ice cream chef all in one. The result is this smooth, velvety ice cream with the perfect crunch from crushed Oreos. No special skills needed, just a love for good dessert and a little patience while it freezes.
A Quick Look at the Recipe
Making this delicious treat is a total breeze. The hardest part is honestly just waiting for it to freeze.
| Aspect | Details |
| Prep Time | 5 minutes |
| Freeze Time | 1 day (24 hours) |
| Total Time | 1 day and 5 minutes |
This recipe is designed to make one full pint—perfect for a personal indulgence or to share with a friend. The good news? It’s super easy to scale up. I’ve found the best way to do it is to just make a few pints at the same time and freeze them all together.
The difficulty? It’s a solid “easy.” The Ninja Creami does all the heavy lifting. All you really need is the machine and a pint container. A handheld frother or a small whisk is helpful for mixing the base, but a spoon works just fine.
This recipe is also a dream for meal prep. Since the base needs to freeze for 24 hours, you can whip it up the day before you want it. That way, when a craving hits, all you have to do is pop it in the machine and spin!
Ingredients: The Magic Behind the Mocha
The real magic of this Caramel Mocha Oreo Crumble Ice Cream is in its simple but powerful ingredients. Each one plays a key role in building the perfect flavor and texture.
For the smooth and creamy base, we start with reduced-fat chocolate milk. I’m a big fan of using Fairlife brand because it’s high in protein and ultra-filtered. That combo helps create an incredibly creamy texture without any weird additives.
Next, we add coffee syrup. This is a total game-changer. Using a syrup instead of brewed coffee gives you that rich coffee flavor without a high water content, which can lead to an icy texture. Nobody wants that!
Finally, we’ll top it off with some caramel almond creamer. This adds a buttery richness and a hint of almond flavor. The combination of these three liquids is what makes our base so darn delicious.
And now for the crunch! We’ll use three crushed Oreos for the mix-in and one for topping. Pro tip: Don’t turn them into dust. You want some nice, satisfying chunks in your ice cream.
| Ingredient | Measurement | Notes & Substitutions |
| Chocolate Milk | 1 cup | Fairlife or any brand you like. Whole milk works for a richer flavor. |
| Coffee Syrup | 6 tablespoons | I love Autocrat, but any coffee or mocha syrup will do. |
| Caramel Almond Creamer | ¾ cup | I use the Good and Gather brand, but feel free to use your favorite. No caramel creamer? Use a regular one and a little extra caramel sauce. |
| Crushed Oreos | 3 (for mix-in), 1 (for topping) | Classic Oreos are great, but you can also swap them out for Biscoff cookies or other chocolate sandwich cookies. |
Step-by-Step Method
Let’s get cooking! This process is super straightforward. Just pay attention to a few simple things, and your final result will be flawless.
Step 1: The Creamy Base
Grab your Ninja Creami pint. Pour in your chocolate milk and coffee syrup. Give them a good stir with a spoon or whisk. You’ll see the liquids turn into a rich, dark brown color. It’s already starting to smell like a coffee shop dream! Next, pour in your caramel creamer, filling the pint up to the max fill line. Give it one more gentle stir to combine everything. Don’t worry about it being perfect; the freezing and spinning will do the rest of the work.
Step 2: The Patience Game
This is the most important step: the waiting. Secure the lid on your pint and put it in the freezer. It’s crucial to freeze it for a full 24 hours. You’ll know it’s ready when the mixture is completely solid, with no liquid left. Trying to spin it too early is a common mistake and will result in a soupy mess. Trust me, I’ve learned the hard way.
Step 3: The First Spin
After the long wait, it’s time for the fun part! Take your pint out of the freezer and place it in the outer bowl. Put the lid on and secure the bowl in the Ninja Creami machine. Choose the “Ice Cream” process. You’ll hear that classic sound of the paddle spinning. When it’s finished, don’t be alarmed if the ice cream looks a little crumbly or powdery. This is completely normal!
Step 4: The Mix-In Magic
Now, for the Caramel Mocha Oreo Crumble Ice Cream’s signature ingredient! Use a spoon to make a 1.5-inch hole straight down the middle of the ice cream. This little well is where you’ll add your crushed Oreos. Gently spoon the cookies into the hole. This technique ensures your mix-ins get perfectly distributed without getting obliterated.
Step 5: The Final Spin
Put the lid back on the pint and return it to the machine. This time, select the “Mix-In” setting. The machine will spin for just a short amount of time, expertly folding the Oreo crumbles into the creamy base. The result? A smooth, perfectly textured ice cream with delightful chunks of cookie in every bite. Once it’s done, scoop it out and enjoy!
Shake It Up: Variations & Customization
The best thing about this recipe is that it’s a fantastic base for all kinds of creativity. Here are a few ways to mix it up:
- For a high-protein treat: Swap the chocolate milk and creamer for a caramel or mocha-flavored protein shake. You can also add a scoop of chocolate or vanilla protein powder to your liquid base before freezing.
- For a dairy-free delight: Make it vegan by using a non-dairy milk (oat milk is great for creaminess!) and a non-dairy coffee creamer. Just make sure your cookies are vegan-friendly, too.
- To make it extra fancy: Drizzle some high-quality caramel sauce on top and add a dollop of whipped cream before serving. A pinch of flaky sea salt can really make the caramel flavor pop!
- For seasonal flavors: Use a pumpkin spice creamer in the fall. Or, for a refreshing twist in the summer, use a vanilla base and add some raspberry syrup and fresh berries.
Serving & Storage
Now that your delicious ice cream is ready, it’s time to dig in!
I love serving this in a chilled glass or a small, fancy ice cream bowl. Topping it with the last crushed Oreo, a drizzle of caramel sauce, or some mini chocolate chips makes it feel extra special.
This ice cream is awesome on its own, but it’s even better with a warm, fudgy brownie. The contrasting temperatures and textures are just divine.
Have leftovers? (I doubt you will!) Just smooth the top of the ice cream and pop the pint back in the freezer with the lid on. It’ll get rock-hard again, but that’s what the Ninja Creami is for! Just give it another quick spin on the “Ice Cream” setting before you serve it again to get that perfect creamy texture back.
PrintNinja Creami Caramel Mocha Oreo Crumble Ice Cream
Ready for a coffee shop-inspired dessert you can make at home? This creamy, mocha-flavored Ninja Creami ice cream is packed with a rich caramel swirl and crunchy Oreo crumbles. It’s seriously decadent and couldn’t be easier to make!
- Prep Time: 5 minutes
- Cook Time: None
- Total Time: 24 hours 5 minutes (includes 24-hour freeze time)
- Yield: 1 pint 1x
- Category: Dessert
- Cuisine: American
Ingredients
- 1 cup chocolate milk (Fairlife brand recommended for creaminess)
- 6 tablespoons coffee syrup
- ¾ cup caramel almond creamer
- 3 Oreos, crushed (for mix-in)
- 1 Oreo, for topping
Instructions
- Create the Base: In your Ninja Creami pint, whisk together the chocolate milk and coffee syrup. Stir in the caramel creamer, filling the container to the max fill line.
- Freeze: Secure the lid and place the pint in the freezer for a full 24 hours, or until it’s completely frozen solid.
- First Spin: Place the frozen pint in the outer bowl, attach the lid, and put it in the Ninja Creami. Select the “Ice Cream” function. The result will be a crumbly texture. Don’t worry, this is normal!
- Add Mix-Ins: Use a spoon to make a 1.5-inch hole down the middle of the ice cream. Gently spoon the 3 crushed Oreos into the hole.
- Final Spin: Return the pint to the machine and select the “Mix-In” function. The machine will perfectly blend the Oreos into your creamy ice cream.
- Serve & Enjoy: Scoop out your ice cream and top with the remaining crushed Oreo.
Notes
- Serving Suggestions: This ice cream is a perfect standalone treat, but for an extra special dessert, try serving it with a warm brownie or a drizzle of extra caramel sauce.
- Tips & Tricks: Using coffee syrup instead of brewed coffee is key for a creamy, not icy, texture. Make sure the base is fully frozen for the best results.
- Storage: If you have leftovers, just smooth the top and store the pint back in the freezer. When you’re ready to eat it again, just give it a quick spin on the “Ice Cream” setting to bring back that creamy texture.