

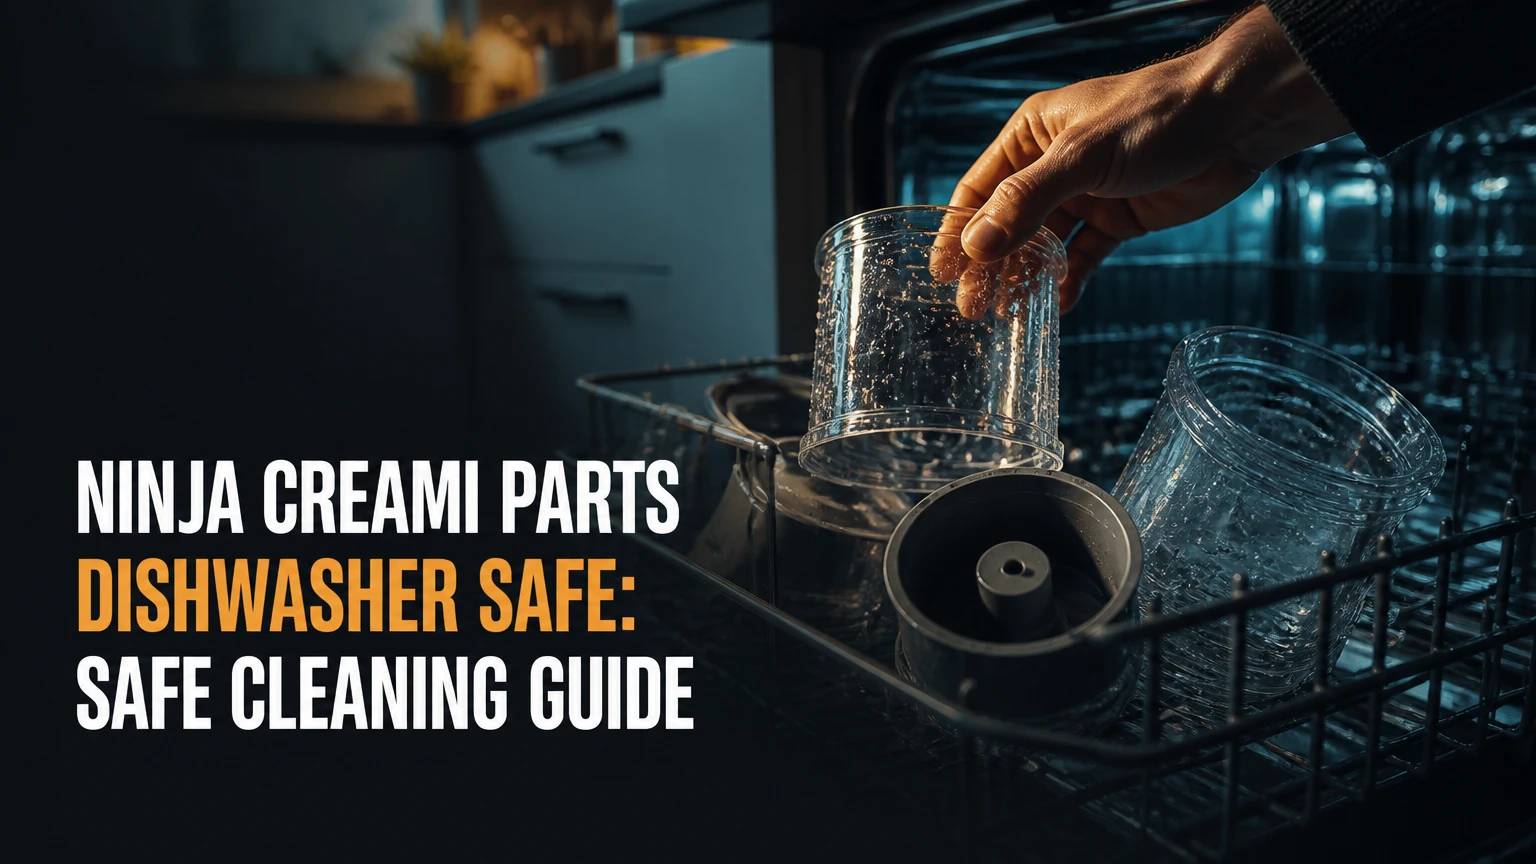
Ninja CREAMi parts dishwasher safe means the removable food-contact components are approved for dishwasher cleaning, usually on the top rack, while the motor base must stay completely dry. Pints, storage lids, the outer bowl, outer bowl lid, and Creamerizer Paddle are commonly dishwasher safe, but exact instructions vary by CREAMi model and regional manual.
Key Facts
SharkNinja generally identifies the removable CREAMi components as dishwasher safe, with the motor base excluded.
Use the top rack for plastic pints, lids, bowls, and the paddle unless your model’s manual states otherwise.
Turn off heated dry and sanitize cycles when possible because concentrated heat can warp plastic.
Rinse food residue soon after processing, especially around the paddle hub, bowl locking channel, and lid seal.
Never immerse, rinse, or place the motor base in a dishwasher.
A replacement is usually warranted when a part is cracked, warped, leaking, or no longer locks correctly.
Which Ninja CREAMi Parts Are Dishwasher Safe?
Most removable CREAMi parts that contact food can go in the dishwasher, but the safe method is top-rack washing with the components separated. The motor base, power cord, controls, and electrical drive area are not dishwasher safe and should be cleaned only with a slightly damp cloth.
The product family includes several designs, including the original CREAMi, CREAMi Deluxe, CREAMi Breeze, and newer model variants. Their containers and outer bowls are not interchangeable by default. Read the model number from the rating label or manual before treating an accessory as compatible.
SharkNinja product-care guidance commonly summarizes the rule as, “All parts, except the motor base, are dishwasher safe.” That statement identifies the broad category, not permission to use every rack, cycle, temperature, or accessory across every model.
Part-by-Part Dishwasher Guide
| Component | Typical dishwasher status | Preferred placement | Inspection after washing |
|---|---|---|---|
| CREAMi pint or tub | Dishwasher safe on many models | Top rack, inverted or angled | Rim, base, cracks, freezer distortion |
| Pint storage lid | Dishwasher safe on many models | Top rack, separated from pint | Seal edge, threads, retained water |
| Creamerizer Paddle | Dishwasher safe on many models | Top rack or utensil basket | Blade edge, hub, latch movement |
| Outer bowl | Dishwasher safe on many models | Top rack, upright or stable | Locking tabs, bowl wall, deformation |
| Outer bowl lid | Dishwasher safe on many models | Top rack, separated from paddle | Latch, channels, gasket area |
| Rubber seal or gasket | Model dependent | Top rack only if removable and approved | Flattening, tears, odor, loose fit |
| Motor base | Not dishwasher safe | Do not place in dishwasher | Wipe dry, inspect vents and drive spindle |
“Dishwasher safe” does not mean “indestructible.” Repeated exposure to high heat, aggressive detergent, impact from loose utensils, and forced stacking can shorten the life of clear plastic and flexible seals.
How Do CREAMi Components Work During Cleaning?
The Creamerizer Paddle shaves a frozen mixture inside the pint, while the outer bowl holds and positions that pint beneath the drive mechanism. The cleaning problem is therefore concentrated around moving interfaces: the paddle hub, outer-lid latch, pint rim, bowl channel, and any fitted seal.
A frozen base can contain milk proteins, sugar, fat, fruit fibers, cocoa, nut butter, or protein powder. Those materials soften during processing and can spread into narrow clearances. If the residue dries, a normal dishwasher cycle may remove the broad film but leave a hard deposit inside a hub or under a seal.
The dishwasher contributes heat, detergent, and spray pressure. Those features help dissolve fats and sugars, but they do not guarantee that a blocked cavity has been physically opened. A short rinse immediately after use often prevents more residue than a hotter cycle later.
Where Residue Commonly Hides
- Around the paddle’s central hub and locking interface
- Under a removable outer-lid seal, when the manual permits removal
- Inside the outer bowl’s locking channel
- Along pint rims where melted mixture can refreeze
- In storage-lid threads and recessed grooves
- Beneath labels or damaged plastic edges
- Around the drive spindle, if food has splashed onto the base
The paddle is not a conventional blender blade. Do not sharpen it, pry its hub with a knife, or force a frozen paddle loose from hardened residue. Those actions can damage the locking geometry and create sharp plastic or metal edges.
How Can You Confirm Your Model and Compatible Parts?
Find the model number on the appliance label, packaging, quick-start guide, or the first pages of the owner’s manual. Common families include NC300-series original machines, Deluxe models such as the NC500-series, and Breeze variants, but a similar appearance does not establish part compatibility.
The model number matters because pint capacity, outer-bowl geometry, paddle shape, and locking mechanisms can differ. A Deluxe container may not fit an original machine, and an original pint may not align with a larger-format outer bowl.
| Identification detail | Where to find it | Why it matters | Typical consequence of guessing |
|---|---|---|---|
| Model number | Appliance rating label | Selects the correct manual | Wrong dishwasher instructions |
| Pint capacity | Pint wall or packaging | Confirms size and fit | Lid or bowl mismatch |
| Paddle shape | Paddle hub and blade profile | Confirms replacement geometry | Poor engagement or jamming |
| Outer-bowl design | Handle and locking tabs | Establishes machine compatibility | Bowl will not lock correctly |
| Region and voltage | Rating label and manual | Identifies local product version | Incorrect support information |
The safest sequence is simple: identify the model, open the manufacturer’s manual, locate the cleaning section, and follow the stricter instruction when a retailer listing and manual disagree. Third-party replacement listings often reuse photographs across several CREAMi generations.
What Is the Safest Dishwasher Procedure?
The safest dishwasher procedure is to rinse removable parts, separate approved components, place them on the top rack, select a normal or eco cycle without high-heat drying, and let every cavity dry fully before storage. Never wash the motor base or assemble wet parts around the drive mechanism.
Step-by-Step Cleaning Method
- Unplug the machine. Disconnect power before wiping the base or handling the drive area.
- Remove the outer bowl from the base. Do not carry the appliance by the bowl or paddle.
- Release the paddle according to the manual. Do not twist or lever the paddle against the blade.
- Rinse visible residue. Use cool or lukewarm water; very hot water can soften fats and spread them into narrow channels.
- Separate approved removable pieces. Remove a gasket only if the manual identifies it as user-removable.
- Load the top rack. Prevent pints and lids from contacting the heating element or blocking spray arms.
- Keep small seals contained. Use a dishwasher-safe mesh container only if it allows adequate water and detergent flow.
- Disable heated dry and sanitize settings. Choose air dry or remove pieces promptly when practical.
- Inspect before reassembly. Check the rim, tabs, seal, hub, and locking surfaces for distortion.
- Dry completely. Leave parts open and ventilated before stacking them in a cabinet.
A dishwasher cycle commonly takes 45-120 minutes, depending on the machine and selected program. The part itself may need another 30-60 minutes of open-air drying if water remains inside a lid channel or hub.
Dishwasher Loading Rules
| Loading choice | Recommended action | Reason | Typical risk if ignored |
|---|---|---|---|
| Top rack | Use for approved plastic parts | Lower exposure to direct heat | Reduced warping risk |
| Bottom rack | Avoid for pints and lids | Closer to heating element | Distorted rims or lids |
| Heated dry | Turn off when possible | Limits thermal cycling | Cracking, bowing, fit changes |
| Sanitize cycle | Avoid unless manual permits it | Uses elevated heat | Seal or plastic damage |
| Loose paddle | Secure it | Prevents impact and movement | Scratches or blade damage |
| Nested pints | Separate them | Allows spray circulation | Residue and retained water |
Expert insight: The pint rim is often the first practical failure point, not the center of the container. A small change in rim geometry can prevent the pint from seating smoothly, even when the tub wall appears normal.
Is Hand Washing Better Than a Dishwasher?
Hand washing is better for minimizing heat exposure and checking hidden surfaces, while a dishwasher is more convenient for routine cleaning of approved parts. Neither method is universally superior: hand washing requires deliberate attention around hubs and seals, whereas a dishwasher may leave residue in cavities that were loaded incorrectly.
| Cleaning method | Typical time | Best use | Main limitation |
|---|---|---|---|
| Top-rack dishwasher | 45-120 minutes | Several removable parts | Heat and retained water |
| Hand washing | 5-10 minutes | Immediate post-use rinse | Requires hub inspection |
| Warm soak | 10-20 minutes | Dried sugar or protein film | Does not replace scrubbing |
| Soft-brush cleaning | 3-8 minutes | Paddle latch and grooves | Aggressive brushes can scratch |
| Diluted food-safe sanitizer | Product-specific | Odor or sanitation protocol | Must follow label directions |
Use a soft nylon brush for the paddle hub and a clean cloth for the outer-lid channel. Avoid abrasive powders, steel wool, boiling water, and solvents that can cloud plastic or weaken elastomers.
Chlorine solutions are not a universal monthly treatment. A sanitizer must be labeled for the intended food-contact application, mixed at the manufacturer’s concentration, used for the stated contact time, and rinsed when the label requires rinsing. Never mix chlorine with vinegar, ammonia, or other cleaners.
Expert insight: Mechanical removal beats chemical escalation for dried CREAMi residue. A 15-minute lukewarm soak followed by a soft brush is usually safer for a seal than repeatedly exposing the seal to concentrated chemicals.
What Should You Do About Odors and Dried Residue?
Odors usually indicate retained food film or water in a concealed channel, not a need for a stronger fragrance product. Open the approved removable parts, wash the affected surfaces, rinse thoroughly, and dry them separately before deciding that a seal needs replacement.
For dried residue, soak the removable part in lukewarm water for 10-20 minutes. Use a soft brush around the paddle hub, lid recesses, and pint threads, then run a normal top-rack cycle if the model manual allows dishwasher washing.
For persistent odor, inspect the seal and lid cavity under bright light. A torn, permanently flattened, slimy, or discolored seal should be replaced rather than masked with baking soda, vinegar, or scented detergent.
Odor Troubleshooting Table
| Symptom | Likely location | First action | Replace when |
|---|---|---|---|
| Sour smell after washing | Lid channel or seal | Separate, brush, air-dry | Seal remains odorous after cleaning |
| Sweet sticky film | Pint rim or paddle hub | Lukewarm soak, soft brush | Plastic is rough or cracked |
| Musty smell | Trapped water in lid | Drain and ventilate | Moisture cannot be removed |
| Chemical smell | Detergent residue | Rinse and run an extra rinse | Odor persists after repeated rinsing |
| Burnt or electrical smell | Motor base | Unplug and stop use | Service inspection is required |
Do not store the outer bowl with a wet lid locked in place. Closed cavities slow evaporation and can transfer odor back to clean parts.
What Happens If a CREAMi Part Goes on the Bottom Rack?
A bottom-rack wash may expose plastic parts to more intense heat and direct heating-element radiation, which can warp thin rims, lids, tabs, and seals. One accidental cycle does not guarantee damage, but every part should be inspected before the next use.
Check whether the pint remains round, the storage lid sits evenly, the outer bowl locks without force, and the paddle engages and releases normally. Do not use a part that has a crack, sharp edge, leaking seam, loose seal, or distorted locking feature.
The machine’s drive system depends on alignment. A warped component can create resistance or prevent proper seating, increasing the chance of a jam. Never compensate by forcing the bowl into the base or operating with a visibly damaged container.
Damage Decision Table
| Observed condition | Safe response | Why | Replacement urgency |
|---|---|---|---|
| Cosmetic clouding only | Wash and monitor | Function may be unaffected | Low |
| Slight lid bow, still sealing | Compare with a new lid or manual fit | Seal may fail later | Moderate |
| Pint rim no longer round | Stop using that pint | Seating may be unreliable | High |
| Cracked bowl or pint | Discard and replace | Food and structural safety issue | Immediate |
| Paddle hub does not lock | Stop using paddle | Drive engagement may fail | Immediate |
| Base has liquid inside | Unplug and seek support | Electrical hazard | Immediate |
Expert insight: A part that still “works” can remain unsafe if its locking geometry changed. Functional movement alone is not proof of correct alignment.
Which Parts Need Hand Washing or Special Care?
The motor base always needs special care because it houses the motor, controls, wiring, and drive components. Wipe the exterior with a barely damp cloth, then dry it immediately; use a cotton swab or dry soft brush around accessible crevices without pushing debris into the spindle opening.
Flexible seals need closer inspection than rigid plastic. A gasket may be dishwasher safe on one model and difficult or prohibited to remove on another, so do not pull it out simply because a video demonstrates that procedure on a different generation.
| Part or area | Cleaning tool | Avoid | Storage instruction |
|---|---|---|---|
| Motor base | Damp microfiber cloth | Water spray and immersion | Store fully dry |
| Paddle hub | Soft nylon brush | Knife or metal pick | Dry separately |
| Outer-lid channel | Cloth or soft brush | Abrasive pad | Leave lid open |
| Pint rim | Sponge or soft cloth | Hard scraping | Stack only when dry |
| Rubber seal | Hands and mild detergent | Solvent or boiling water | Keep relaxed, not stretched |
| Drive spindle exterior | Dry cloth | Flooding the opening | Protect from splashes |
If food reaches the motor base, unplug the appliance and wipe the spill without operating it until the exterior and accessible area are dry. Liquid inside the base requires manufacturer support rather than repeated test runs.
How Much Do Replacement CREAMi Parts Cost?
Typical retail replacement prices vary by model, retailer, bundle size, and region. In the United States, a single pint commonly costs about $15-$25, storage-lid sets about $10-$25, paddles about $20-$40, and outer-bowl assemblies about $25-$50 when sold separately.
These are planning ranges, not guaranteed manufacturer prices. Official SharkNinja parts pages, authorized retailers, and model-specific listings should take priority over generic marketplace offers.
| Replacement item | Typical US price | Common reason for replacement | Compatibility check |
|---|---|---|---|
| Single pint | $15-$25 | Warped rim or crack | Capacity and model family |
| Pint-lid set | $10-$25 | Lost or split lid | Lid profile and thread |
| Creamerizer Paddle | $20-$40 | Damaged hub or blade | Original versus Deluxe design |
| Outer bowl assembly | $25-$50 | Broken latch or bowl | Handle and lock geometry |
| Seal or gasket | $8-$20 when sold separately | Flattening or odor | Exact manual and part number |
Replacing a low-cost pint is usually more sensible than continuing to use one with a distorted rim. Do not buy a part solely because the product title says “fits Ninja CREAMi”; verify the model number and return policy.
Can You Store Clean Parts in the Freezer?
Clean CREAMi pints are designed to hold prepared bases in the freezer, but storage lids and outer-bowl components should remain outside the freezer unless the manufacturer specifically approves that use. Freezing a wet lid can trap ice in threads, distort a seal, and make removal difficult.
Freeze the base level and solid, then inspect the pint before processing. A bulging, cracked, leaking, or badly overfilled container should not enter the machine. Expansion during freezing can stress the pint and lid, especially when the base contains substantial water.
Keep washed parts open until no visible droplets remain. Separate the paddle from the outer lid during storage when practical, because separated components dry faster and make hidden residue easier to detect.
Frequently Asked Questions About ninja creami parts dishwasher safe
Can I put the Ninja CREAMi blade in the dishwasher?
The Creamerizer Paddle is dishwasher safe on many CREAMi models and normally belongs on the top rack. Remove visible residue first, secure the paddle so it cannot fall onto the heating element, and confirm the model manual before washing because paddle designs and instructions vary across original, Deluxe, and Breeze versions.
Should I wash a Ninja CREAMi pint before its first use?
Yes. Wash the pint and storage lid with mild dish detergent before first use, then rinse and dry them completely. A first-use wash removes manufacturing dust, packaging residue, and handling contamination. Inspect the rim and lid before freezing a base because damage is easier to identify before food is added.
Why is my CREAMi bowl hard to remove after washing?
A bowl can become difficult to remove when residue dries in the locking channel, the part is still wet and slippery, or the plastic has distorted from heat. Unplug the machine, allow the assembly to cool, and follow the manual’s release procedure. Never force the bowl with tools or excessive twisting.
Can I use dish soap on the CREAMi outer bowl?
Mild dish soap is generally appropriate for the removable outer bowl when the model manual permits hand washing. Rinse until no slickness or fragrance remains, particularly around the locking channel and lid interface. Avoid solvents, abrasive cleaners, boiling water, and concentrated chemicals that can affect plastic or rubber.
How do I know whether a CREAMi seal needs replacement?
Replace a seal that is torn, permanently flattened, loose, cracked, sticky after washing, or persistently odorous after the surrounding channel is clean and dry. A seal that no longer sits evenly can allow residue or liquid to migrate into an interface. Confirm the exact part number before ordering.
Are third-party CREAMi dishwasher-safe parts reliable?
Third-party parts vary in plastic composition, dimensions, heat resistance, and locking accuracy, so dishwasher labeling alone is insufficient. Check the seller’s model compatibility, material information, return terms, and user documentation. For paddles, bowls, and locking components, an exact official replacement is the lower-risk choice.
Final Recommendation
For ninja creami parts dishwasher safe decisions, treat removable food-contact components as top-rack dishwasher items only when the manual for your model approves them. Rinse residue promptly, separate approved pieces, disable high-heat drying, dry every cavity, and keep the motor base away from water. Replace any cracked, warped, leaking, or improperly locking part before processing another frozen base.