
Hey there! Welcome to my little corner of the internet.
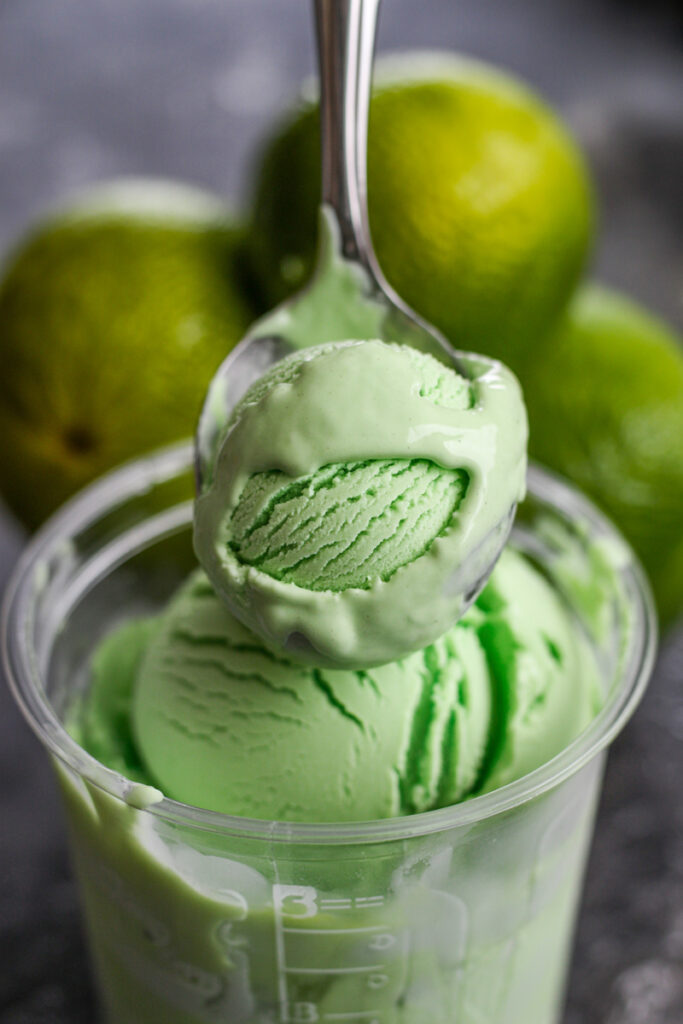
Today, I want to share something that is pure, bottled sunshine. Seriously. Picture this: the creamiest ice cream you’ve ever had. It’s bursting with a zesty lime tang and that rich, dreamy coconut flavor.
Now, what if I told you it was also keto-friendly? And packed with protein? And so, so easy to make?
Yep. That’s what we’re doing today.
The whole coconut and lime thing isn’t new, of course. It’s a classic flavor you find all over the Caribbean and Southeast Asia. This recipe is just my little spin on it, designed for anyone who wants a guilt-free treat. I was craving a tropical vacation but, you know, life happens. So I turned to my trusty Ninja Creami instead.
That machine is my secret weapon. It takes a super simple, frozen block and turns it into something that tastes like it came from a fancy gelato shop.
This isn’t just a recipe. It’s your ticket to a five-minute vacation, any day of the week.
Let’s Get Our Ducks in a Row
Think of this as our game plan. It’s a dead-simple recipe, but knowing the “why” behind the “what” is always helpful.
- How much time? The hands-on work is crazy fast. Like, 5 minutes fast. The real work is done by your freezer, which needs a solid 24 hours. Patience is key here! Think of it like marinating… but colder.
- How much does it make? This recipe fills one Ninja Creami pint, which is perfect for 2 or 3 servings. But let me give you some real talk: I highly recommend making a few pints at once. Future you will be so thankful when a craving hits and you have a treat ready to spin.
Here’s a quick cheat sheet for when you get hooked and want to make more:
| Servings (Pints) | Full-Fat Coconut Milk | SF Lime Gelatin | Vanilla Protein | Vanilla Extract |
| 1 Pint (2-3 Servings) | 1 (13.66 oz) can | 1 (0.3 oz) box | 1 scoop | 1 tsp |
| 2 Pints (4-6 Servings) | 2 (13.66 oz) cans | 2 (0.3 oz) boxes | 2 scoops | 2 tsp |
| 3 Pints (6-9 Servings) | 3 (13.66 oz) cans | 3 (0.3 oz) boxes | 3 scoops | 3 tsp |
- How hard is it? It’s easy. I mean it. If you can measure stuff and push a button, you can nail this recipe. The Creami does all the heavy lifting.
- What tools do I need? Obviously, the star of the show is a Ninja Creami machine. You’ll also want a blender to get the base super smooth, a little microwave-safe bowl, and your Ninja Creami pint with its lid. No microwave? No problem. Just gently warm the coconut milk in a small pot on the stove.
The All-Star Ingredients
Great ice cream starts with great ingredients. We’re keeping it simple with a few key players that pack a punch in flavor and texture.
First up, full-fat coconut milk. Let me say that again for the people in the back: full-fat. The kind that comes in a can, not the watery stuff in a carton from the refrigerated section. The high fat content is what gives our ice cream that rich, luxurious texture and stops it from turning into a block of ice. Don’t skimp here!
Next is our secret weapon: one small box of sugar-free lime gelatin. This little packet is a powerhouse. It gives us:
- That bright, zesty lime flavor we’re after.
- A beautiful, light green color.
- Keto-friendly sweetness without the sugar.The gelatin also acts as a stabilizer, which is the magic behind that ultra-smooth, scoopable texture.
To make this a treat that actually fills you up, we add one scoop of your favorite vanilla protein powder. This isn’t just for nutrition; it also makes the ice cream even creamier. I recently discovered that a whey-casein blend works wonders for the texture, but feel free to use whatever vanilla whey or plant-based powder you have on hand.
Finally, just a teaspoon of pure vanilla extract. It might seem small, but don’t skip it. It’s like the perfect background music, beautifully connecting the tropical coconut and the punchy lime.
The Step-by-Step: Let’s Do This!
Alright, grab your stuff. Let’s walk through this together.
Step 1: Wake Up the Gelatin
First thing’s first. We need to dissolve that gelatin properly so it’s not gritty. Pour about ½ cup of the coconut milk into a small, microwave-safe bowl. Nuke it for about 30 seconds. You want it hot and steamy, but not boiling over. This gentle heat “blooms” the gelatin. Now, pour that warm milk right into your blender.
Step 2: Make the Base
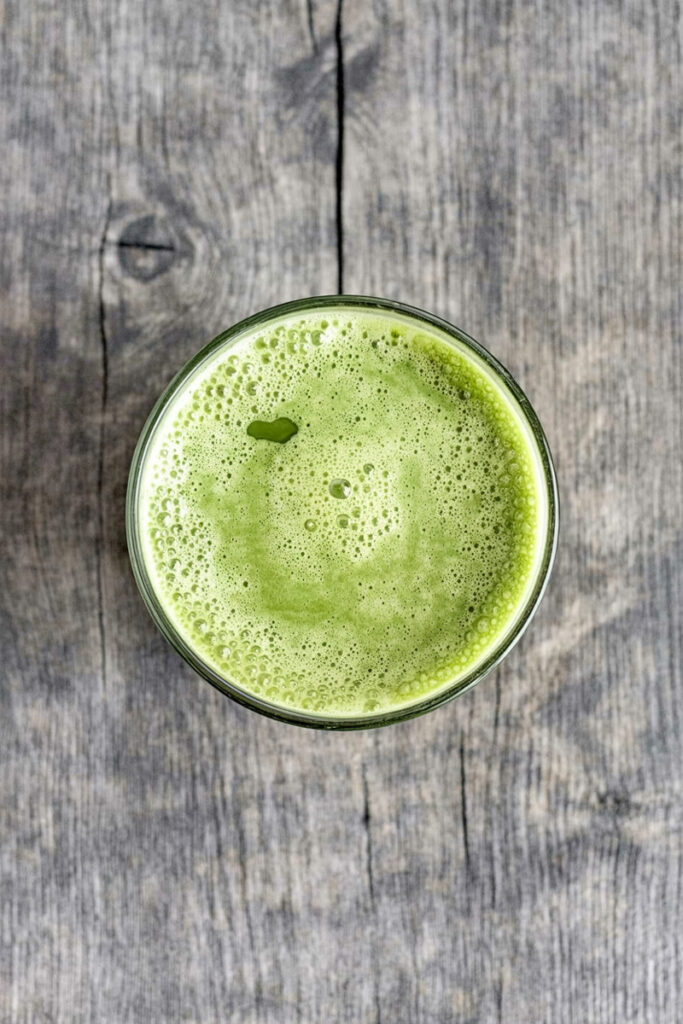
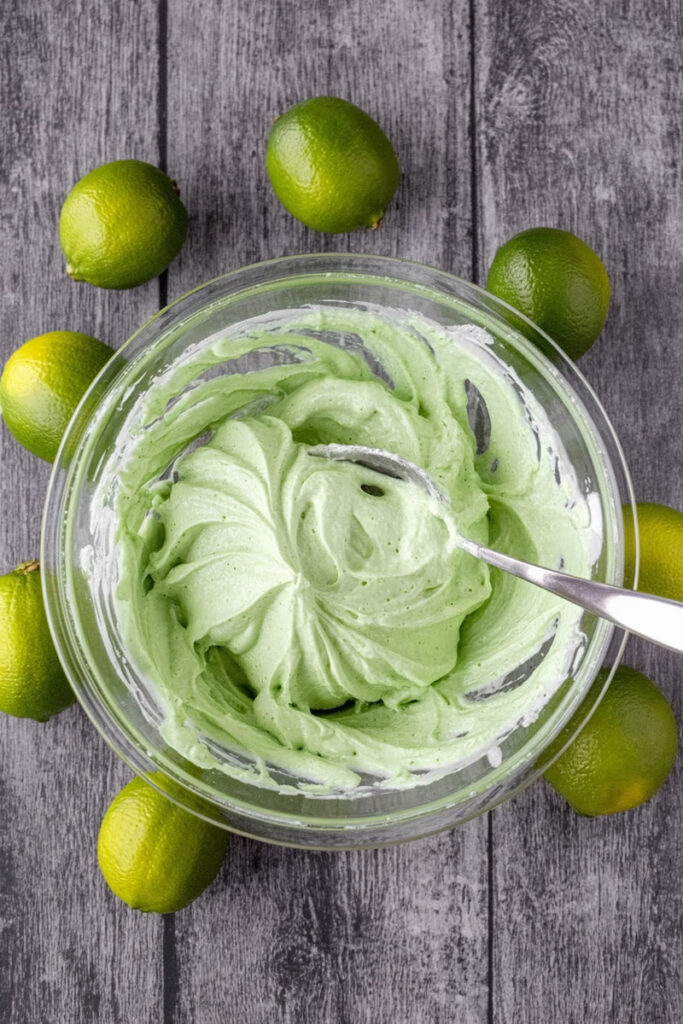
Add the whole box of sugar-free lime gelatin to the warm milk in the blender. Lid on. Blend on low for a few seconds just to get it all dissolved. Then, pour in the rest of the cold coconut milk, your scoop of protein powder, and the vanilla extract. Blend again for another 10-15 seconds until it’s a perfectly smooth, pale green liquid. No lumps allowed!
Step 3: The Big Chill
Carefully pour your ice cream base into the Ninja Creami pint. See that max fill line? Don’t go past it. Snap the lid on and pop it in the freezer. Here’s a tip I learned the hard way: make sure the pint is sitting on a totally flat surface. If it freezes at a weird angle, it can damage the Creami’s blade. Trust me on this. Now for the hard part… wait for 24 hours.
Step 4: The Creami Transformation!
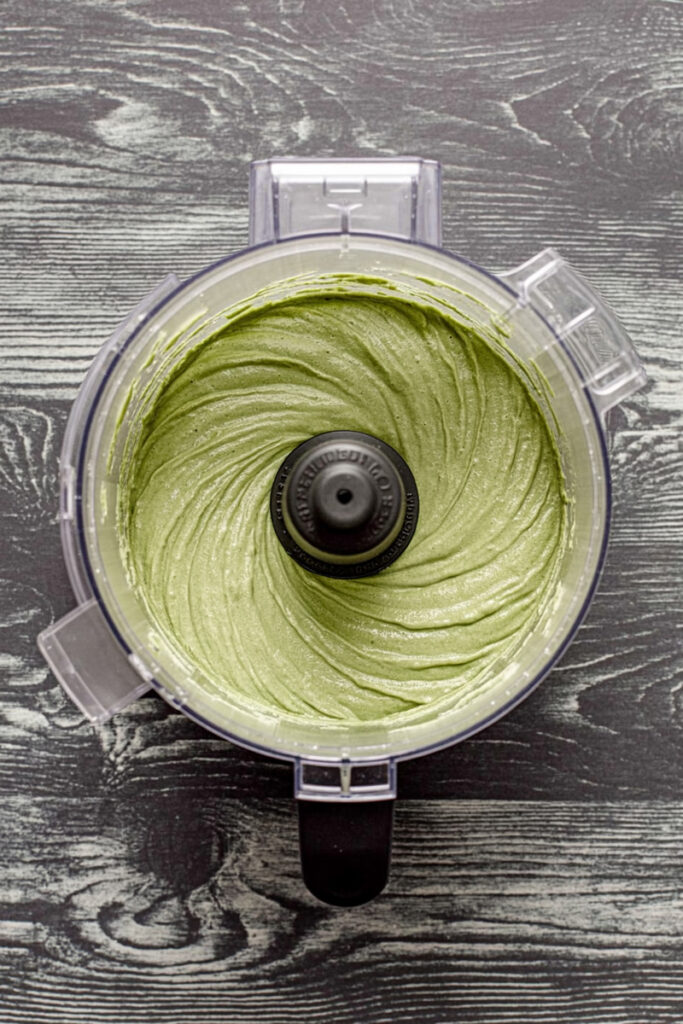
This is where the magic happens. Pull the pint out of the freezer and take off the lid. Place the pint into the outer bowl, click the blade lid into place, and lock it into your Ninja Creami.
Hit the “LITE ICE CREAM” button.
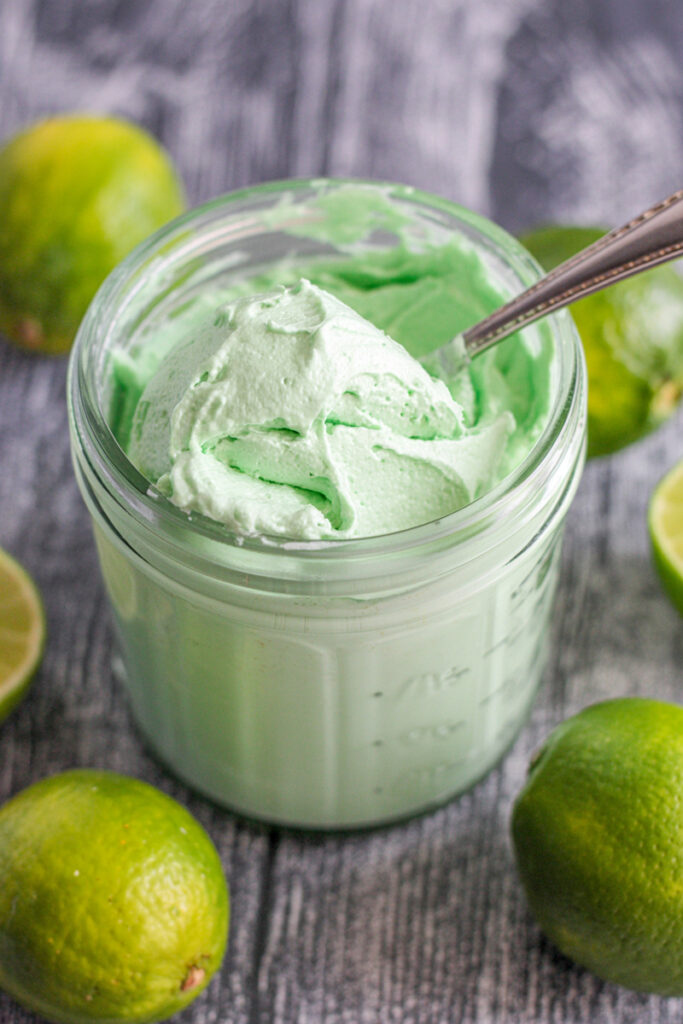
When it stops, take a look. Don’t be shocked if it looks crumbly or like a pint of green dust. This is totally normal for high-protein, low-sugar recipes. The fix is simple. Just lock it back into the machine and press the “RE-SPIN” button.
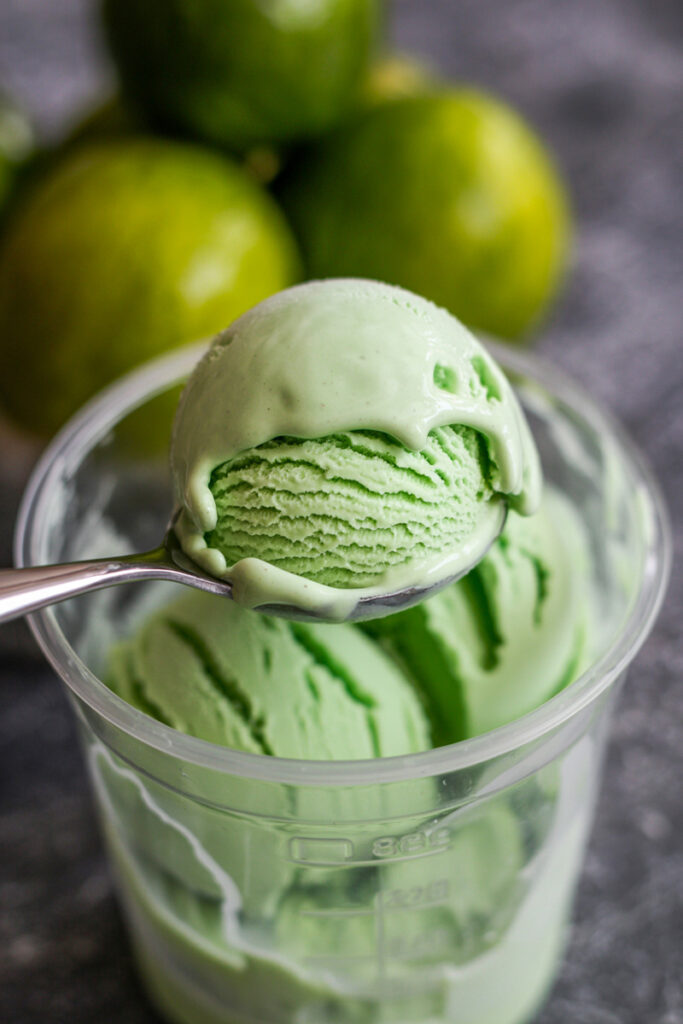
If it still looks a little powdery after that, add one tablespoon of almond milk (or more coconut milk) and hit “RE-SPIN” one last time. For me, one re-spin is usually perfect. And just like that… you’ve got amazing Coconut Lime Ice Cream.

Mix It Up!
Once you’ve got this basic recipe down, you can have a lot of fun with it.
- Extra Zesty? For a brighter lime flavor, add the zest of one fresh lime into the blender with everything else. The fresh citrus oil really makes it pop.
- Need Some Crunch? After it’s all spun, use the “MIX-IN” function. I love adding a tablespoon of toasted, unsweetened coconut flakes. Keto-friendly white chocolate chips would also be amazing.
- Make it “Key Lime Pie” Style: Feeling decadent? Use the “MIX-IN” button to add some crushed keto-friendly graham crackers or shortbread cookies. You get that buttery crust flavor in every single bite.
- Dairy-Free? Easy. This recipe is already gluten-free and keto. Just make sure you use a plant-based vanilla protein powder (pea or soy blends work great) and use almond or coconut milk for the re-spin if needed.
Serving and Storing
Honestly, I usually just eat this straight from the pint with a spoon. No shame. But if you’re feeling fancy, scoop it into a chilled bowl and serve it with a little wheel of lime on the rim.
If you somehow have leftovers, just smooth the top down in the pint, put the lid back on, and stick it back in the freezer.
Here’s something important: homemade ice cream freezes rock solid because it doesn’t have all the sugar and commercial gunk that keeps store-bought stuff soft.
This means you can’t just scoop it right out of the freezer later. You have to run it through the Ninja Creami again. Use the “LITE ICE CREAM” or “RE-SPIN” button to bring it back to its original creamy glory. Think of it as waking your ice cream up from a deep sleep.
Enjoy every single spoonful. Happy churning!
PrintKeto Coconut Lime Ice Cream
Escape to the tropics with this dreamy Keto Coconut Lime Ice Cream! It’s unbelievably creamy, packed with a zesty punch, and takes just 5 minutes to prep. Your Ninja Creami does the rest of the work to create this perfect guilt-free dessert.
- Prep Time: 5 minutes
- Cook Time: None
- Total Time: 24 hours 5 minutes (includes freezing)
- Yield: 1 Pint (2–3 servings) 1x
- Category: Dessert
- Cuisine: American / Tropical
Ingredients
- 1 can (13.66 oz) Full-Fat Coconut Milk
- 1 box (0.3 oz) Sugar-Free Lime Gelatin
- 1 scoop Vanilla Protein Powder
- 1 tsp Vanilla Extract
- 1 tbsp Almond or Coconut Milk (optional, for re-spinning)
Instructions
- Activate Gelatin: Gently warm ½ cup of the coconut milk in a microwave-safe bowl for about 30 seconds. Pour it into a blender, add the entire packet of lime gelatin, and blend for 10 seconds to dissolve.
- Blend the Base: Add the rest of the cold coconut milk, the protein powder, and the vanilla extract to the blender. Blend again until the mixture is completely smooth.
- Freeze Solid: Pour the base into a Ninja Creami pint container, making sure not to fill past the max fill line. Secure the lid and place it on a perfectly flat surface in your freezer for 24 hours.
- First Spin: Once frozen solid, place the pint into your Ninja Creami and process it using the “LITE ICE CREAM” function.
- Make it Creamy: After the first spin, the texture will likely be crumbly or powdery. This is completely normal! Simply put it back in the machine and press the “RE-SPIN” button. If it still isn’t silky smooth, add 1 tbsp of milk and re-spin one final time.
Notes
- Serving Ideas: This ice cream is fantastic on its own! For a little extra flair, top your scoop with toasted unsweetened coconut flakes or the zest of a fresh lime.
- Tips & Tricks: Don’t skip the “flat surface” step when freezing—it prevents damage to your machine! The “re-spin” cycle is the true secret to getting that perfect creamy texture in low-sugar recipes.
- Storage: Smooth the top of any leftover ice cream, secure the lid, and return it to the freezer. Because it lacks commercial stabilizers, it will freeze rock solid. You must run it through the “LITE ICE CREAM” or “RE-SPIN” cycle again to enjoy leftovers.