Hey there! If you’re anything like me, you have a sweet tooth that just won’t quit, but you also want to feel good about what you’re eating. Well, you’ve come to the right place. Today, I’m sharing a recipe that I am absolutely obsessed with.
We’re making a high-protein white chocolate raspberry ice cream using the Ninja Creami.
Let’s be real, white chocolate and raspberry is just a classic combo. It’s that perfect mix of sweet, creamy, and a little bit tart. You see it in fancy desserts for a reason! We’re taking that amazing flavor and packing it into a treat you can eat after a workout or as a late-night snack without any guilt.
I first came up with this because I needed a reward that wouldn’t undo all my hard work at the gym. Thanks to the Ninja Creami, we can turn a few simple ingredients into something so incredibly smooth, you’ll think you bought it from a fancy ice cream shop. Seriously. Get ready to make your new favorite dessert.
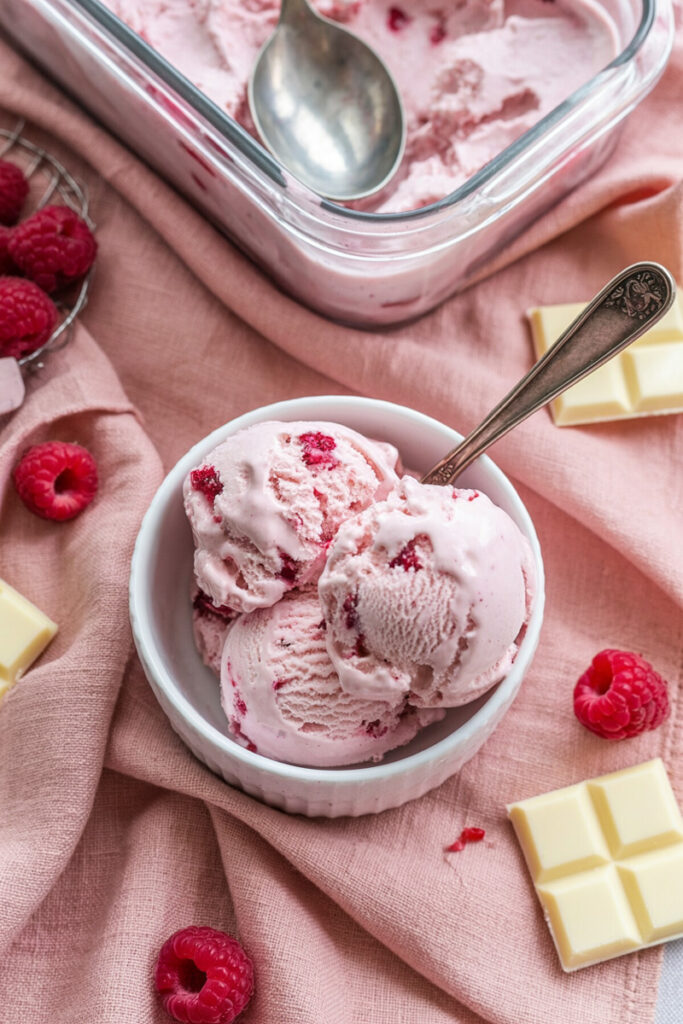
What You’re Getting Into
Before we jump in, here’s a quick rundown. This recipe is super easy, but it’s good to know the game plan.
How Long Will This Take?
The hands-on time is next to nothing. You’ll need maybe 2 minutes to mix the base. The Ninja Creami does its thing in about 10 minutes. The hardest part? Waiting for it to freeze. You need a full 24 hours for the base to get solid enough. Trust me, it’s worth the wait.
How Many Servings?
This recipe makes two solid servings. It’s perfect to share with someone, or to save one for tomorrow! I make this so often that I usually prep a few pints at once. If you want to do the same, here’s a little chart to make it easy.
| Servings | Protein Powder | Milk | Xanthan Gum | Liquid Stevia |
| 1 (Half Batch) | 1 scoop (30g) | 3/4 cup | 1/4 tsp | ~5 drops |
| 2 (This Recipe) | 2 scoops (60g) | 1.5 cups | 1/2 tsp | ~10 drops |
| 4 (Double Batch) | 4 scoops (120g) | 3 cups | 1 tsp | ~20 drops |
Is This Hard to Make?
Not at all. I’d call this a beginner-level recipe. If you can measure stuff and push a button, you can nail this. The machine does all the work.
What Tools Do I Need?
The main thing you need is a Ninja Creami machine. I also recommend an immersion blender to get the base super smooth right in the pint. No immersion blender? No problem. A regular blender works just fine—just blend it all up and pour it into your Creami pint.
Can I Make It Ahead?
Yes! This recipe is perfect for meal prep. You can mix up a few pints of the base at the start of the week and keep them in the freezer. Then, whenever you want a treat, it’s just a few minutes away.
What You’ll Need (The Ingredients)
The best part about this recipe is how simple the ingredient list is. Let’s break it down.
- 2 scoops White Chocolate Raspberry Protein Powder: This is the star of the show. It brings the flavor and, of course, the protein. I’ve found that Optimum Nutrition has a great flavor that isn’t too artificial. Can’t find that specific flavor? Don’t sweat it. A good vanilla protein powder will work great, too. A whey/casein blend usually gets the creamiest result, but your favorite plant-based powder works if you’re vegan.
- 1.5 cups Milk: Your choice here! I used filtered milk, but you can use anything. Almond milk, cashew milk, or even Fairlife for an extra protein kick are all great choices. If you want it to be extra rich, go for whole milk.
- 1/2 tsp Xanthan Gum: Okay, this might sound like a weird science-y ingredient, but it’s our secret weapon. It’s a plant-based thickener that stops ice crystals from forming. Think of it as the magic dust that turns your frozen block into creamy, scoopable ice cream instead of an icy brick. A tiny bit makes a huge difference.
- 10 drops Liquid Stevia: This is totally up to you. Add more or less to get it as sweet as you like. You could also use monk fruit or a tablespoon of something like erythritol. I find my protein powder is already pretty sweet, so I don’t go too crazy.
- The Good Stuff (Mix-ins!): We’ll need 5 squares (about 20g) of a chopped white chocolate bar and a handful (about 45g) of raspberries. Quick tip: chopping up a chocolate bar gives you a way better texture than just using chips. For the raspberries, fresh or frozen both work perfectly!
How to Make It, Step-by-Step
Alright, let’s do this. It’s easier than you think.
Step 1: Mix the Base
Grab your Ninja Creami pint. Dump in the protein powder, milk, xanthan gum, and stevia. Stick your immersion blender right in there and blend for about 30-60 seconds. You want it to be completely smooth, with no lumps left behind. If you’re using a regular blender, just give it a quick blend and pour it into the pint. Make sure you don’t go past the max fill line!
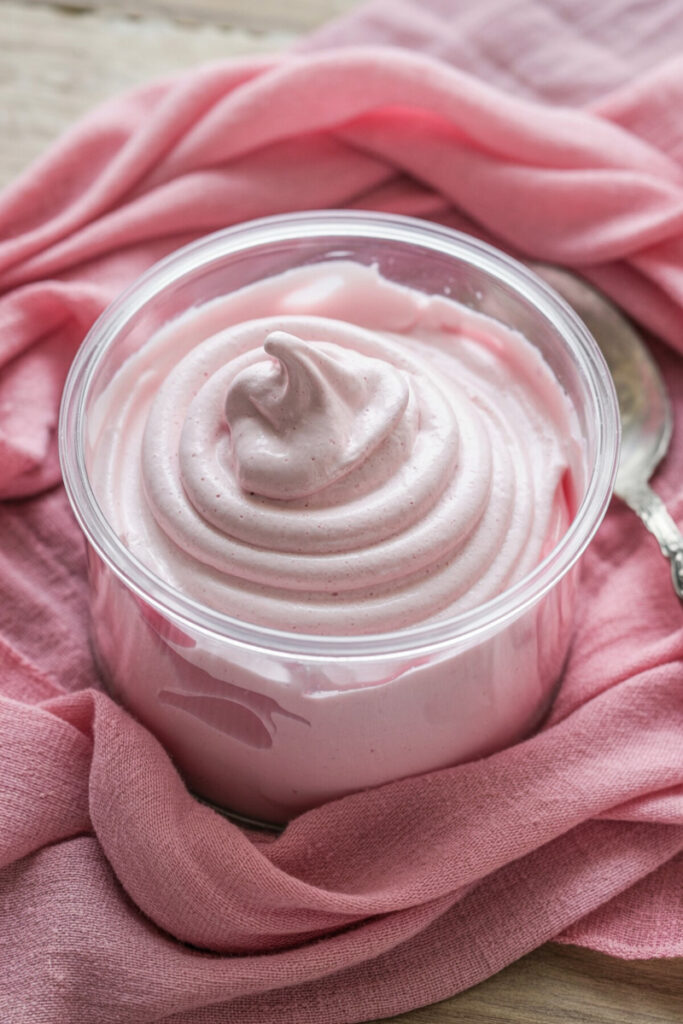
Step 2: Freeze It (The Hardest Part)
Pop the lid on the pint and put it in the freezer. Make sure it’s on a flat surface so it freezes evenly. Now, forget about it for at least 24 hours. Seriously, don’t rush this step! It needs to be frozen solid for the Creami to work its magic.
Step 3: The First Spin
Okay, it’s time! Pull the pint out of the freezer. It should look and feel like a solid brick. That’s a good thing! Take the lid off, place the pint into the outer bowl, and snap the paddle lid on. Lock it into your Ninja Creami, and hit the “Light Ice Cream” button. It’s gonna be loud, but that’s the sound of deliciousness happening.
Step 4: Check and Respin
When it’s done, take a look. Sometimes, especially with low-fat recipes, it can look a little dry or powdery. Don’t panic! This is totally normal. If it looks like that, just pop it back into the machine and hit the “Respin” button. This second spin almost always turns it into the thick, creamy ice cream you’re dreaming of.
Step 5: Add the Mix-ins!
You should now have a beautiful, creamy base. Use a spoon to dig a little hole down the center. Drop in your chopped white chocolate and raspberries. Put it back in the machine and press the “Mix-In” button. This cycle is shorter and will gently fold everything in without crushing your goodies to bits.
That’s it! You’re done. Grab a spoon and dig in right away.
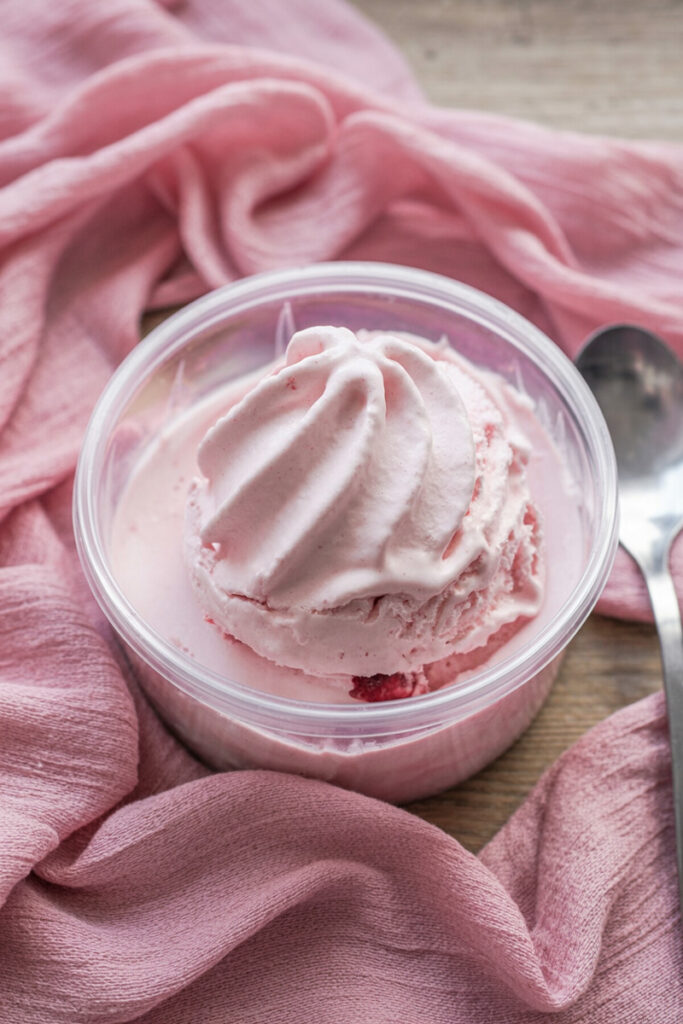
Want to Mix It Up?
One of my favorite things about this recipe is how easy it is to change up. Here are a few ideas:
- Make it Vegan/Dairy-Free: Easy! Just use a plant-based protein powder (vanilla would be great) and a creamy dairy-free milk like oat or cashew. Make sure your white chocolate is vegan, too.
- Make it Keto/Low-Carb: This is already pretty close! Just use a keto-friendly protein powder and a sugar-free white chocolate like Lily’s.
- Get a Little Fancy: Swirl in some sugar-free raspberry jam during the mix-in step. Or, for little pockets of melty chocolate, use chopped-up white chocolate truffles instead of a bar. So good.
- Add Some Crunch: Throw in some chopped pistachios or macadamia nuts with your other mix-ins for extra texture.
- Try Other Berries: Raspberries are amazing, but this would be just as good with strawberries in the spring or blueberries in the summer.
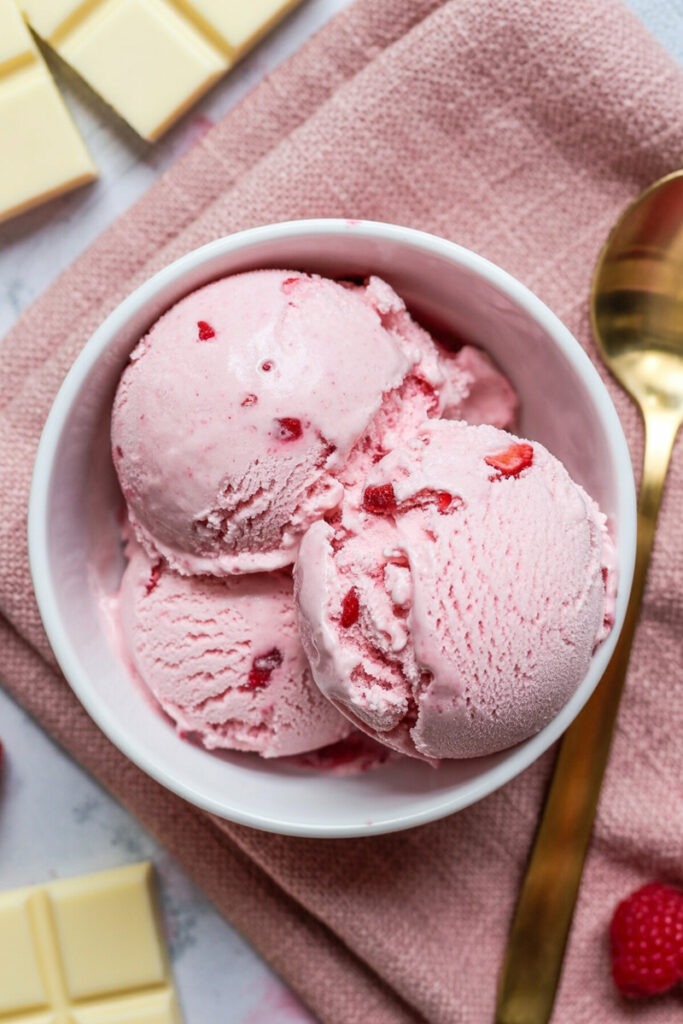
How to Serve and Store It
You’ve made an incredible dessert, now what?
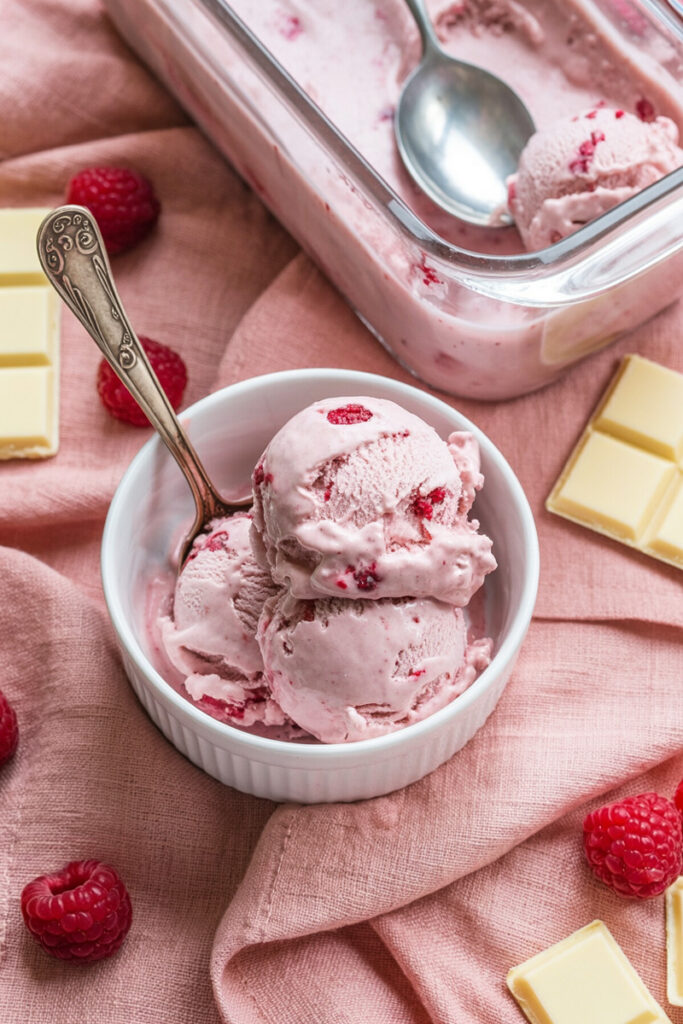
I like to serve it in a chilled bowl to keep it from melting too fast. If you want to make it look extra nice, top it with a few fresh raspberries and some white chocolate shavings.
If you somehow have leftovers, you can store them right in the pint with the lid on. It will keep in the freezer for about a week.
Important tip for leftovers: Because this is a low-fat recipe, it will freeze rock solid again. The first time this happened to me, I thought I ruined it. But the fix is easy! When you’re ready for round two, just let the pint sit on the counter for 5-10 minutes, then run it through the “Respin” or “Light Ice Cream” cycle again. It’ll bring it right back to that perfect, creamy texture. Enjoy!
PrintWhite Chocolate Raspberry Protein Ice Cream
Finally, a dessert that’s both delicious and good for you! This White Chocolate Raspberry Protein Ice Cream is unbelievably creamy, packed with flavor, and so easy to make in your Ninja Creami. It’s the perfect guilt-free treat to satisfy any sweet tooth.
- Prep Time: 2 minutes
- Cook Time: 10 minutes
- Total Time: 24 hours 12 minutes (includes freezing time)
- Yield: 2 servings 1x
- Category: Dessert, Healthy Snack
- Cuisine: American
Ingredients
- 2 scoops White Chocolate Raspberry Protein Powder (about 60g)
- 1 ½ cups Milk (your choice – dairy or non-dairy works!)
- ½ tsp Xanthan Gum (our secret to creaminess!)
- 10 drops Liquid Stevia (or to your taste)
For the Mix-ins:
- 5 squares White Chocolate Bar, chopped (about 20g)
- A handful of Raspberries, fresh or frozen (about 45g)
Instructions
- Mix the Base: In your Ninja Creami pint, add the protein powder, milk, xanthan gum, and stevia. Use an immersion blender to blend until it’s completely smooth. (No immersion blender? Use a regular one and pour the mix into the pint). Don’t fill past the max line!
- Freeze Solid: Screw on the lid and freeze the pint on a level surface for at least 24 hours. It needs to be a solid block—don’t rush this part!
- First Spin: Place the frozen pint into your Ninja Creami and run it on the “Light Ice Cream” cycle.
- Check & Respin: After the first spin, the texture might look a bit powdery. This is totally normal! Just pop it back in and hit the “Respin” button. It should come out thick and creamy.
- Add Goodies: Make a small hole in the center of the ice cream and drop in your chopped white chocolate and raspberries. Put it back in the machine and run the “Mix-In” cycle.
- Serve! Scoop it out and enjoy your amazing protein ice cream right away.
Notes
- Serving Suggestions: Serve in a chilled bowl to keep it from melting too fast. For an extra special touch, top with a few fresh raspberries and some white chocolate shavings.
- Tips & Tricks: The xanthan gum is key for that smooth, non-icy texture, so try not to skip it! For the best flavor, use a protein powder brand you already know and love.
- Storage Instructions: Store leftovers right in the Creami pint in the freezer for up to a week. Important: It will freeze rock solid. To enjoy it again, let the pint sit on the counter for 5-10 minutes, then run it on the “Respin” cycle to bring it back to that perfectly creamy texture.
