
Hey, welcome to my kitchen! I’m so excited to share a recipe that I’m completely obsessed with: a super rich and creamy vegan peanut butter gelato.
If you’ve ever wanted a dessert that has that intense, nutty flavor of peanut butter but with the thick, luxurious texture of real Italian gelato, you’ve found it. This is the one.
I went on a mission to create the perfect vegan frozen dessert. I tried a bunch of things, but nothing was quite right. Traditional gelato is tricky without dairy. A lot of vegan versions end up icy or just don’t have that dense, creamy feel.
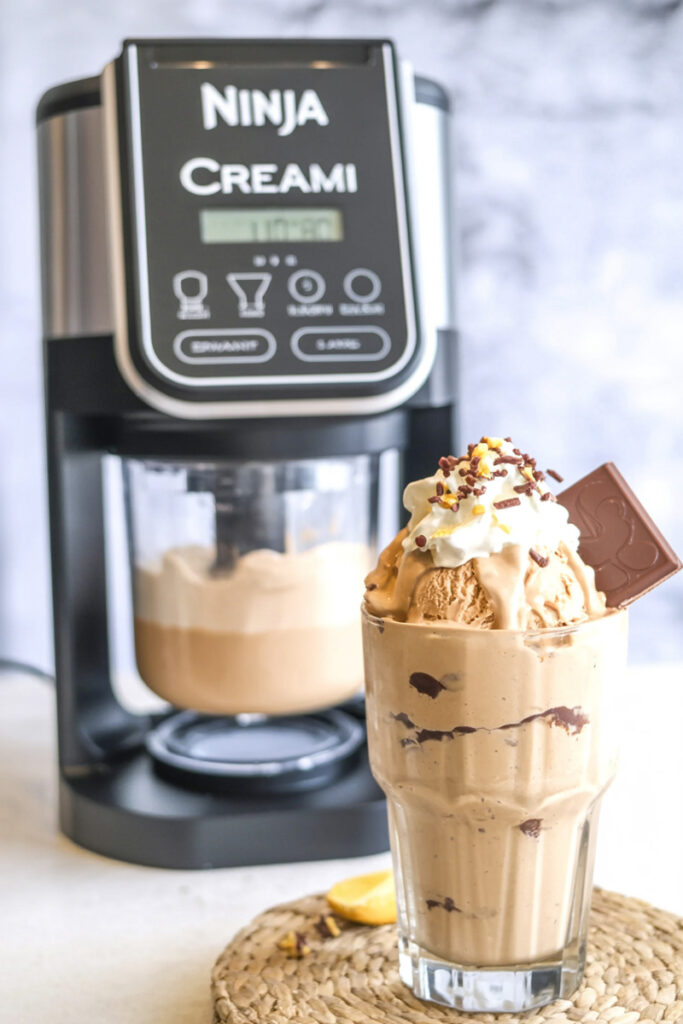
And then… I got a Ninja Creami. This machine is a total game-changer. It takes a simple, frozen puck of ingredients and turns it into something so velvety and smooth, you’ll swear it came from a fancy gelato shop.
We’re going to cook a simple base with coconut milk and a little corn starch. This little step is the secret. It creates a perfect, creamy foundation that lets the peanut butter flavor really be the star.
Let’s get into it. I promise this will be one of the best things you make all year.
The Game Plan
Before we start, let’s quickly go over what to expect. This recipe is super easy, but a little prep makes all the difference.
Time, Servings, and All That
This is the perfect make-ahead dessert. You only need about 10 minutes of active work. The rest of the time? It’s just chilling in the freezer for 24 hours.
This recipe makes one Ninja Creami pint, which is perfect for two or three people. The good news? It’s incredibly easy to make more. Just prep a few pints at once and you’ll have gelato ready whenever a craving hits. I’d call this recipe Easy. Your main job is just being patient!
Want More Gelato?
You can easily scale this recipe up. Here’s a quick cheat sheet for making multiple pints. Trust me, you’ll want more.
| Pints | Coconut Milk (Canned) | Sugar (Tablespoons) | Corn Starch (Tablespoons) | Peanut Butter (Tablespoons) |
| 1 | 1 ½ Cups | 6 | 1 | 3 |
| 2 | 3 Cups | 12 | 2 | 6 |
| 3 | 4 ½ Cups | 18 | 3 | 9 |
The Tools for the Job
Obviously, the star of the show is the Ninja Creami machine.
You’ll also need:
- A small saucepan
- A whisk (to get everything nice and smooth)
- Your Ninja Creami pint container and lid
No Creami? No problem. You can try this in a regular ice cream maker. Just make sure you chill the cooked base completely in the fridge first. Then, churn it like you normally would. The texture will be a bit lighter and more like ice cream, but still delicious!
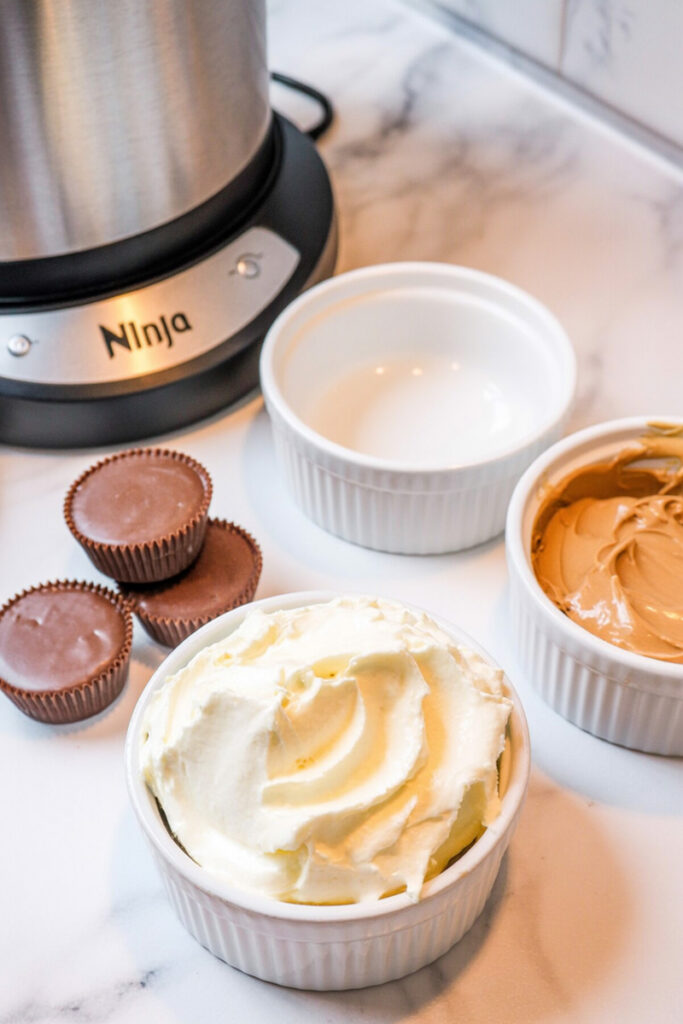
What You’ll Need
The best part about this recipe is how simple the ingredients are. Quality really matters here.
- 1 ½ cups of unsweetened, full-fat coconut milk. And yes, it has to be the kind from a can. This is the key to getting that decadent, creamy texture. The stuff in the carton is too thin and will make your gelato icy.
- 6 tablespoons of granulated sugar. This adds sweetness and also helps keep the texture smooth.
- 1 tablespoon of corn starch. This is our secret weapon! It works like eggs in a traditional recipe to stabilize the gelato and make sure it’s silky, not grainy.
- 3 tablespoons of creamy peanut butter. I like using a good natural peanut butter—the kind where it’s just peanuts and salt. It gives the best, most intense flavor.
For the mix-ins, we’re going for a classic peanut butter cup vibe.
- 3 vegan dark chocolate peanut butter cups, chopped up.
- 2 tablespoons of chopped peanuts, for that perfect crunch.
Let’s Make Some Gelato!
Alright, let’s walk through this together, step by step.
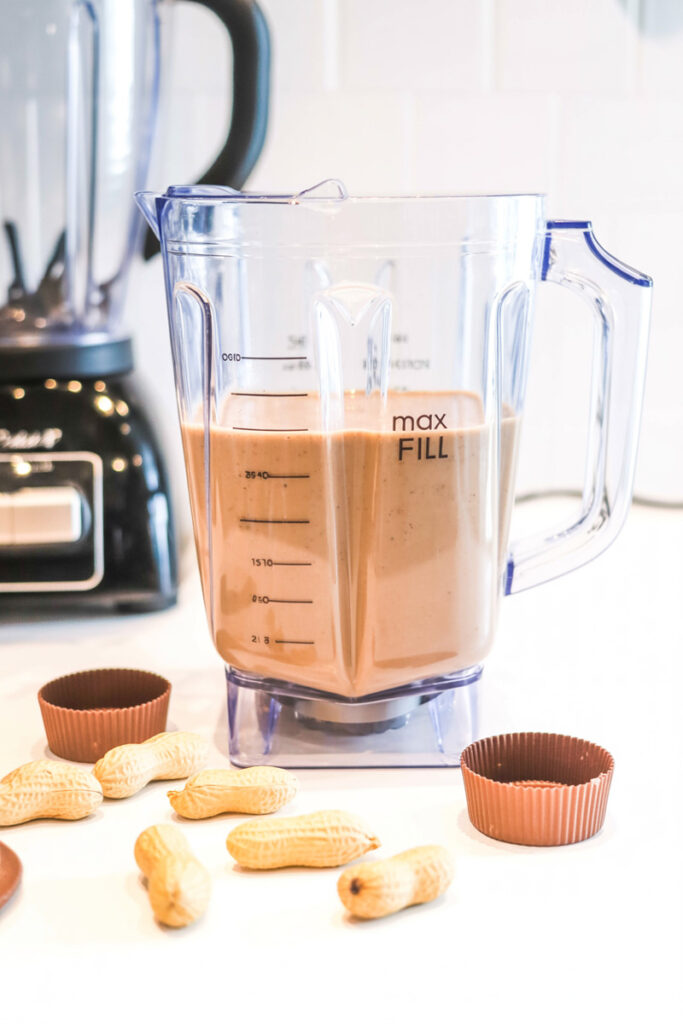
Step 1: Cook the Base
In a small saucepan, toss in the canned coconut milk, sugar, and corn starch. Before you turn on the heat, whisk it all together until there are no more lumps from the corn starch.
Now, put the pan over medium heat and keep whisking. Don’t walk away! Whisking constantly keeps the base smooth and stops it from burning on the bottom.
You’ll feel the mixture start to get thick as it heats up. You’re looking for the consistency of a thin gravy. Once it starts to bubble, turn the heat down to low and let it gently simmer for 3-4 minutes. Keep whisking now and then. This step is super important—it fully cooks the corn starch so you don’t get any starchy taste.
Take the pan off the heat. Now, whisk in your peanut butter until it’s totally melted and everything is smooth. Your kitchen is about to smell amazing!
Step 2: The Big Chill
Carefully pour the warm base into your Ninja Creami pint container and pop the lid on.
Here’s a little tip I learned the hard way: make sure you put the pint on a flat surface in your freezer. If it freezes at an angle, the Creami can have trouble processing it evenly.
Now for the hardest part. You have to wait. Let it freeze for a full 24 hours. Don’t rush it! A rock-solid base is what the Creami needs to work its magic.
Step 3: Gelato Time!
After 24 long hours, it’s go time.
Take the pint out of the freezer, remove the lid, and place it in the outer bowl. Lock the lid on and put it in your Ninja Creami.
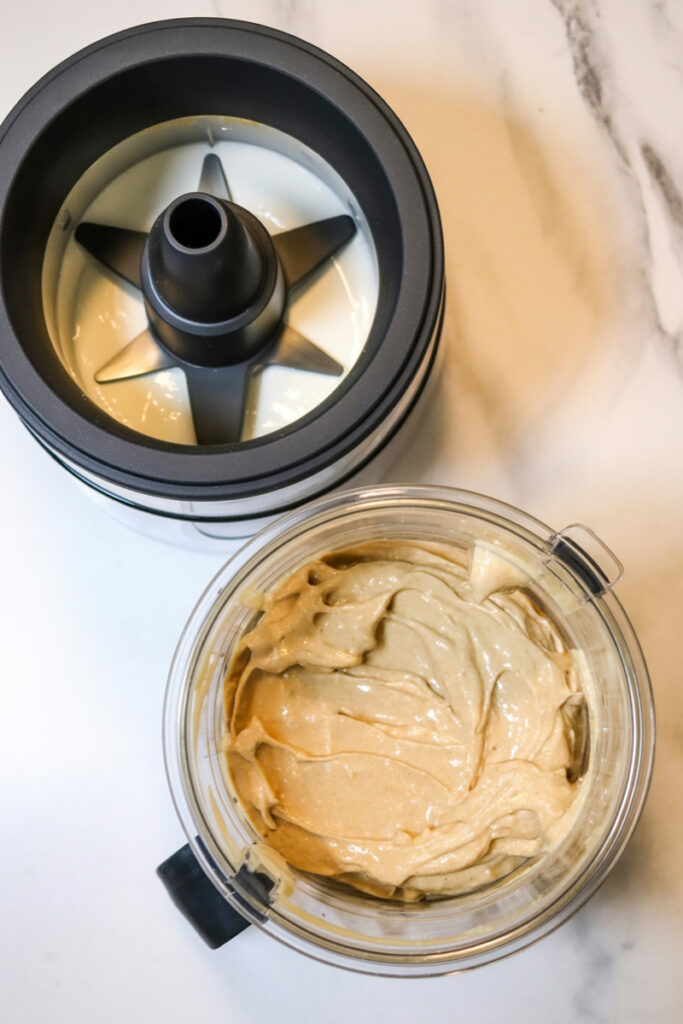
Select the “Gelato” function. The machine will roar to life, and in just a few minutes, that frozen block will become unbelievably creamy gelato. It’s so cool to watch.
Step 4: Add the Good Stuff (Mix-Ins)
Once the cycle is done, take the bowl out. Use a spoon to carve a hole about an inch wide down the center of the gelato. This is where your chopped peanut butter cups and peanuts will go.
Important: The machine won’t chop your mix-ins for you; it just stirs them in. Make sure everything is already the size you want it to be before you add it.
Put the bowl back in the machine and press the “Mix-In” button. This cycle will gently fold everything together. When it stops, it’s done. It’s ready. Go get a spoon!

Make It Your Own
This recipe is amazing as is, but it’s also a great starting point for getting creative.
- PB&J Swirl: Feeling nostalgic? Instead of peanut butter cups, add 2-3 tablespoons of your favorite jam during the “Mix-In” step.
- Chocolate Lover’s Dream: Are you a chocoholic? Whisk 2 tablespoons of cocoa powder into the saucepan with the sugar to make a chocolate peanut butter base.
- Protein Boost: Add a scoop of your favorite vegan vanilla or chocolate protein powder to the base before you cook it. You might need to add a little extra splash of coconut milk to get the consistency right.
How to Serve & Store It
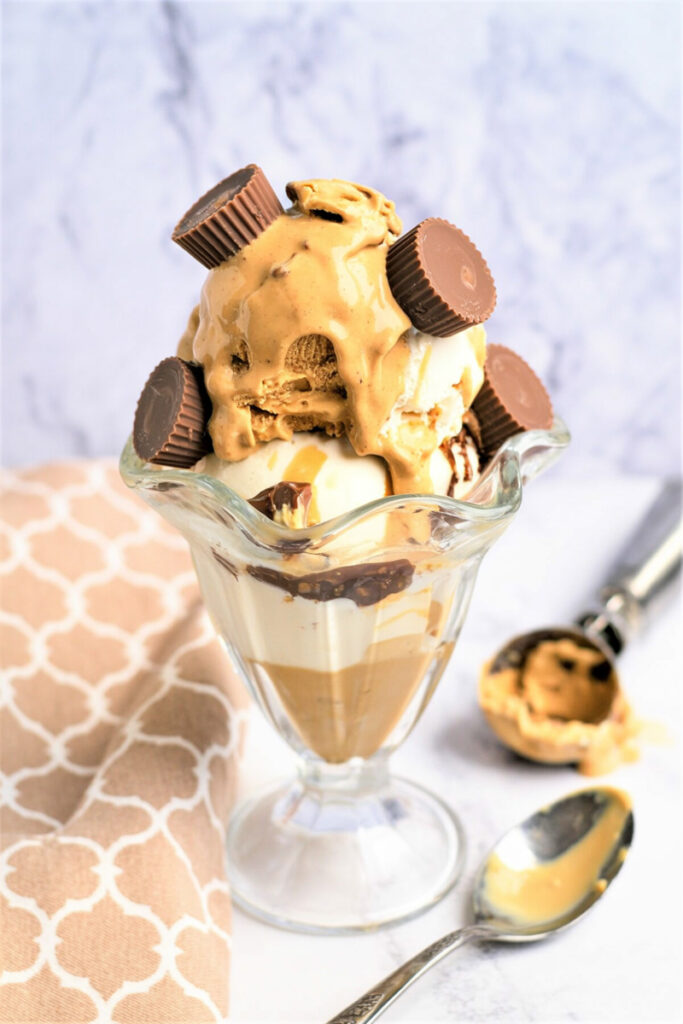
Honestly, this gelato is at its absolute best right after it’s made. It’s so perfectly creamy. I like to scoop it into chilled bowls to help it stay cold longer.
If you somehow have leftovers, just smooth the top down in the pint, put the lid back on, and stick it back in the freezer.
Because it’s homemade, it will freeze pretty hard. But here’s another reason the Ninja Creami is awesome. When you want more, just take the pint out and run it on the “Re-Spin” cycle. It will bring it right back to that perfect, scoopable texture in a minute. No more fighting with a rock-solid block of ice cream.
I really hope you enjoy making this. Happy cooking!
PrintNinja Creami Vegan Peanut Butter Gelato

Craving an intensely creamy, dairy-free dessert? This simple Ninja Creami recipe delivers a rich and smooth peanut butter gelato that tastes unbelievably decadent. It’s a foolproof way to get that authentic gelato texture right at home.
- Prep Time: 10 minutes
- Cook Time: 5 minutes
- Total Time: 24 hours 15 minutes (includes freezing)
- Yield: 1 Pint (2–3 servings) 1x
- Category: Dessert
- Cuisine: Italian-Inspired
Ingredients
- 1½ cups full-fat coconut milk (from a can, not a carton)
- 6 tablespoons granulated sugar
- 1 tablespoon corn starch
- 3 tablespoons creamy peanut butter (natural style preferred)
- 3 vegan dark chocolate peanut butter cups, chopped
- 2 tablespoons chopped peanuts
Instructions
- Cook the Base: In a small saucepan, whisk the coconut milk, sugar, and corn starch until smooth. Place over medium heat and bring to a boil, whisking constantly. Once it thickens slightly (like thin gravy), lower the heat and simmer for 3-4 minutes.
- Add Peanut Butter: Remove the pan from the heat and immediately whisk in the peanut butter until the base is completely smooth and creamy.
- Freeze: Pour the warm base into a Ninja Creami pint container. Secure the lid and place it on a perfectly level surface in your freezer for at least 24 hours.
- First Spin: Once fully frozen, place the pint into your Ninja Creami and process it using the ‘Gelato’ function.
- Add Mix-Ins: Remove the pint. Use a spoon to create a 1-inch wide hole down the center of the gelato. Add your chopped peanut butter cups and peanuts, then return the pint to the machine and process using the ‘Mix-In’ cycle. Serve immediately and enjoy!
Notes
- Serving Suggestions: This gelato is at its creamiest right after spinning. Scoop it into chilled bowls to help it stay frozen longer while you eat.
- Tips & Tricks: Don’t substitute the canned coconut milk; its high-fat content is essential for a creamy, non-icy texture. Also, remember to chop your mix-ins before adding them—the machine just stirs them in, it doesn’t break them down.
- Storage: Have leftovers? Simply smooth the top of the gelato in the pint, pop the lid back on, and return it to the freezer. When you want more, run it through the Ninja Creami on the ‘Re-Spin’ cycle to bring it back to life!