
Hey there! If you’re like me, you’re always on the hunt for a dessert that’s actually good for you but doesn’t taste like it’s good for you. For the longest time, protein treats were a major letdown. Chalky, weird aftertaste… you know what I’m talking about.
And then… I got a Ninja Creami.
This thing isn’t just another kitchen gadget taking up counter space. It’s amazing. It takes a super simple, frozen base and turns it into the creamiest, dreamiest ice cream you can imagine.
This recipe came from wanting something simple and classic. I wanted a real vanilla bean flavor, that sweet and smooth texture, but with a nice dose of protein. So forget everything you think you know about protein ice cream. We’re about to make something that tastes like it came from a fancy ice cream shop.
What to Expect
Before we jump in, let’s get a quick look at what we’re doing. This recipe is so simple. It’s perfect if you’re new to the Creami or if you’ve been using it for a while.
The hardest part? The waiting. You only need about 5 minutes to mix everything up. But then it has to freeze for at least 12 hours. I know, it’s tough. But I’ve found that waiting a full 24 hours gives you the absolute best, creamiest result. It’s worth it!
This is a make-ahead dream. I usually prep 3 or 4 of these pints on a Sunday. That way, whenever I want a healthy dessert during the week, it’s just sitting in the freezer waiting for me.
Here’s what you’ll need:
- The Star: A Ninja Creami machine, of course!
- The Tools: A small bowl and a whisk or a little milk frother. I love using a frother because it gets everything super smooth.
- The Container: At least one Ninja Creami pint with a lid.
Recipe Measurements
This recipe is for the standard 16-ounce Creami pint. But if you have the bigger 21-ounce “Deluxe” model, I’ve got you covered. It’s super easy to scale up.
| Ingredient | Standard Pint (16 oz) | Deluxe Pint (21 oz) |
| Fairlife Core Power Vanilla Protein Shake | 14 ounces | 21 ounces |
| Stevia (or other sweetener) | 1 tablespoon | 1 ½ tablespoons |
| Sugar-Free Instant Vanilla Pudding Mix | 1 tablespoon | 1 ½ tablespoons |
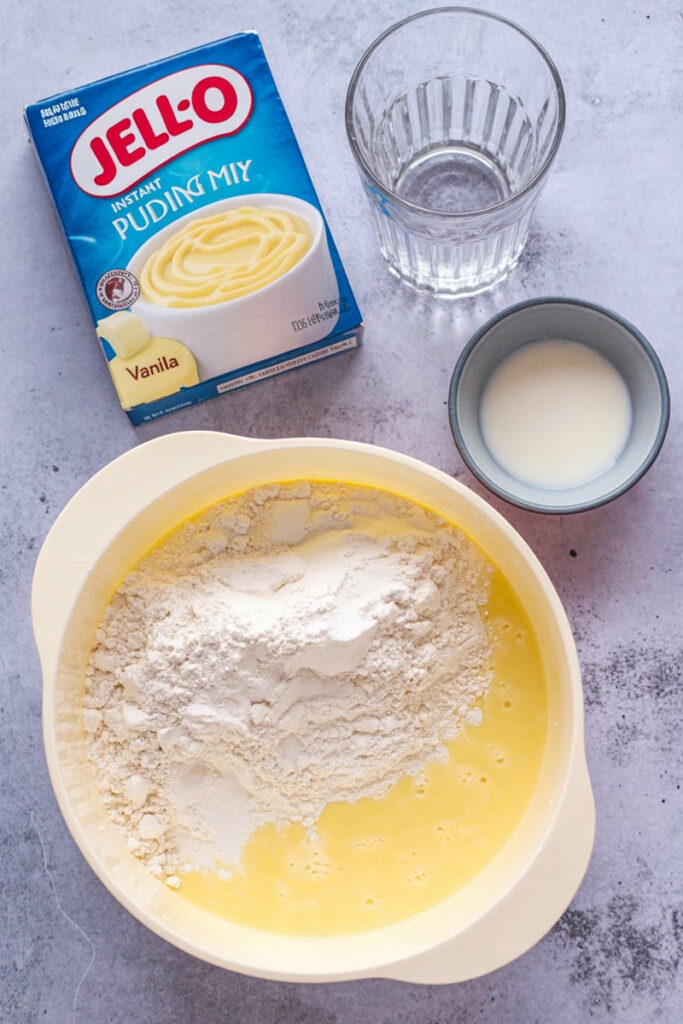
Only Three Simple Ingredients
The best part about this recipe is its simplicity. We’re only using three ingredients, and each one has a very important job.
First up is the base: the Fairlife Core Power Vanilla Protein Shake. I swear by this stuff. It’s not like other shakes. It’s filtered in a way that makes it naturally creamy and high in protein without a lot of sugar. It just gives the ice cream the perfect starting texture. If you can’t find it, no worries. Just use another high-quality vanilla protein shake you like.
Next, our sweetener. I use stevia because it has zero calories and doesn’t add any sugar. But feel free to swap it for monk fruit or whatever granulated sweetener you prefer. Just remember that different sweeteners have different sweetness levels, so you might want to adjust it to your own taste.
Finally, the secret weapon: sugar-free instant vanilla pudding mix. Okay, this is the real trick. This is what gives the ice cream an unbelievably smooth texture. The stuff in the pudding mix acts as a stabilizer, which is just a fancy way of saying it stops big ice crystals from forming. It’s the difference between creamy ice cream and an icy, disappointing block. A little trick I learned that makes all the difference!
Step-by-Step: Let’s Make Some Ice Cream!
Alright, let’s do this. I’ll walk you through every step.
Part 1: The Mix and Freeze
First, grab your bowl. Pour in the vanilla protein shake.
Then, sprinkle the stevia and the pudding mix right on top. Now, grab your whisk or frother and mix it like you mean it for about a minute. You want the stevia to completely dissolve. You’ll probably still see tiny specks from the pudding mix, and the whole thing will get a little thick and bubbly. That’s totally normal!
Let the mixture sit for a minute to let the bubbles calm down. Then, carefully pour it into your Creami pint. Make sure you don’t go over the max fill line.
Pop the lid on and stick it in the freezer. Pro tip: make sure it’s sitting on a completely flat surface. If it freezes at an angle, it can mess things up for the machine later.
Now comes the hard part… we wait. At least 12 hours, but 24 is even better.
Part 2: The Creami Magic
This is where the fun happens!
Take your pint out of the freezer and remove the lid. It’s going to be a solid, hard-as-a-rock block. Don’t worry!
Place the pint into the outer bowl, attach the paddle to the lid, and lock it all together. Slide it into your Ninja Creami, twist to lock, and hit the “Ice Cream” button.
After about two minutes, the first spin will finish. When you open it up, it will probably look dry, crumbly, and powdery. I remember the first time I saw this, I thought I’d messed it up completely. Do not panic! This is exactly what’s supposed to happen with a low-fat, high-protein recipe.
The secret is the next step.
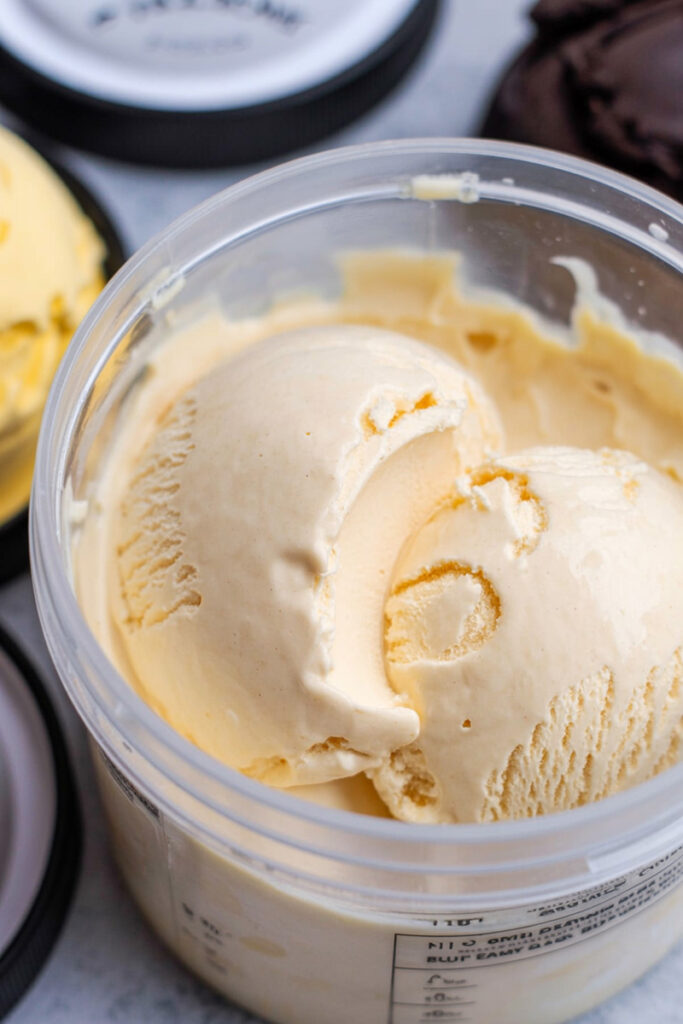
Just lock the pint right back into the machine and press the “Re-spin” button. This second spin is what turns that powdery stuff into thick, rich, and creamy ice cream. Sometimes, if my freezer is running extra cold, it might even need a third spin.
If it’s still a little crumbly after two re-spins, just add a tablespoon of milk or more of the protein shake and spin it one last time. You’ll know it’s ready when it looks just like regular, scoopable ice cream.
Let’s Get Creative
This vanilla base is the perfect starting point for all kinds of flavors.
- Chocolate Lover: Add 2 tablespoons of unsweetened cocoa powder to the base before you freeze it.
- Mint Chip: Mix in 1/4 teaspoon of peppermint extract. After it’s spun, use the “Mix-In” feature to add some chocolate chips.
- Coffee Buzz: Dissolve 1-2 teaspoons of instant espresso powder in the shake before you freeze it.
- Pumpkin Spice: Perfect for fall! Add a teaspoon of pumpkin spice to the base. You can even mix in a spoonful of pumpkin puree.
Want to make it dairy-free? Just use a good plant-based protein shake and milk. It might freeze a bit harder, so you’ll probably need an extra re-spin with a splash of plant-based milk to get it creamy.
How to Serve and Store It
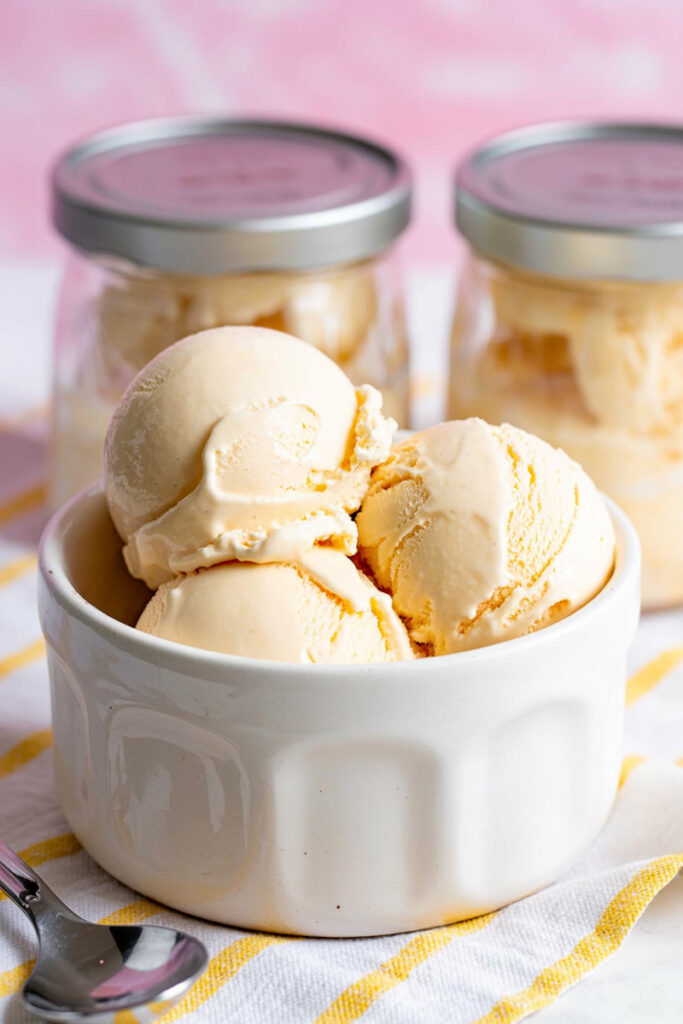
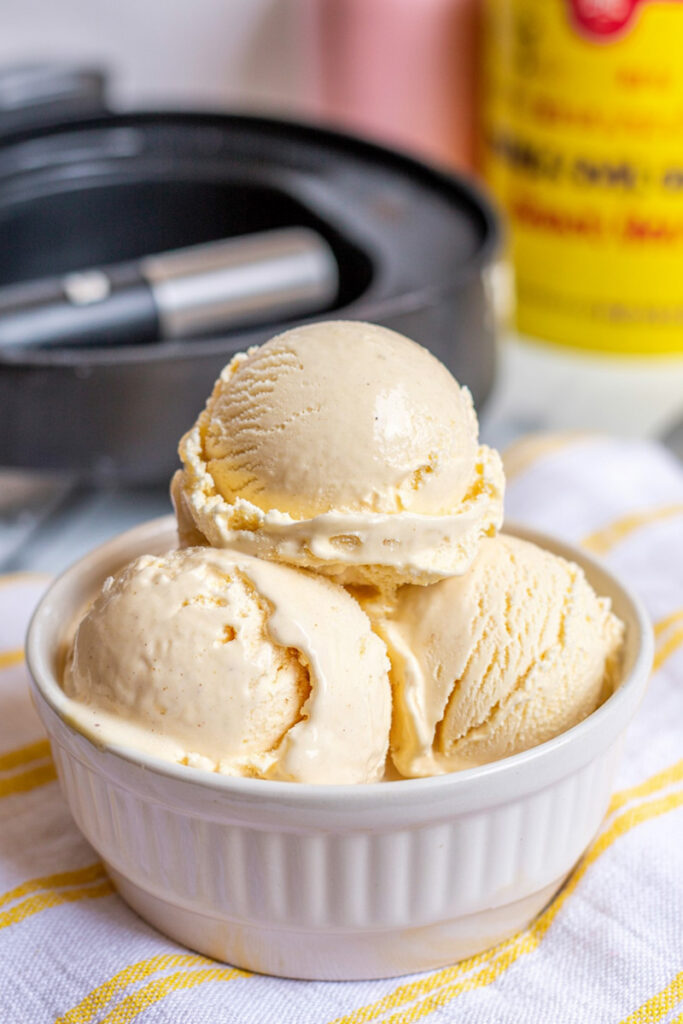
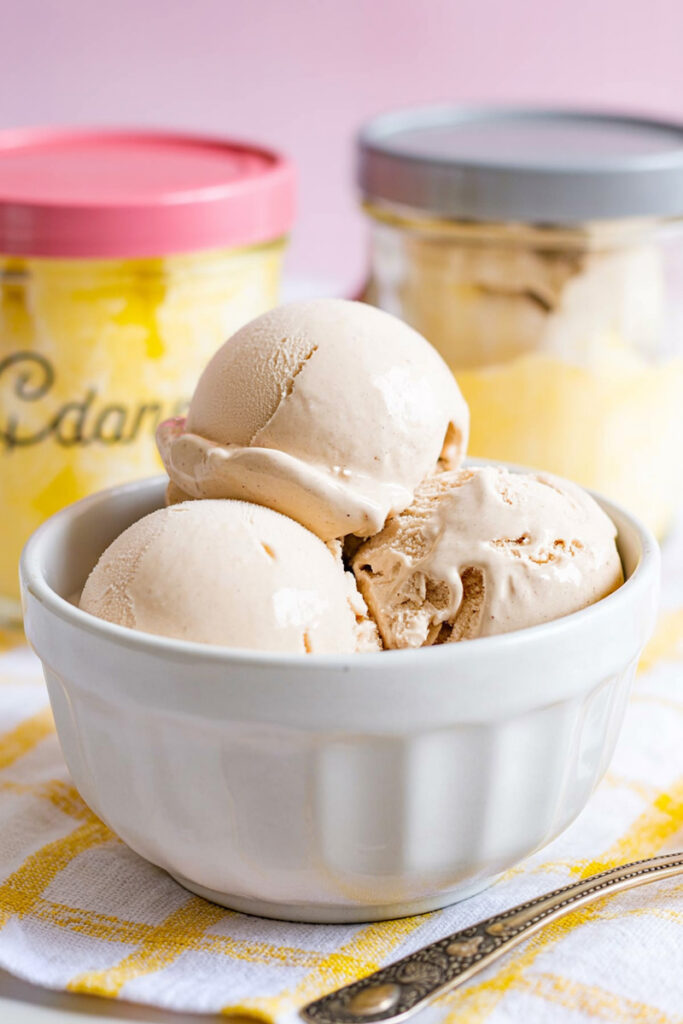
Honestly, this ice cream is at its absolute best right after the final spin. That’s when it’s creamiest. I like to scoop it into a chilled bowl and maybe add a drizzle of sugar-free caramel or some crushed nuts.
Now, if you actually have leftovers (good for you!), just smooth out the top of the ice cream in the pint, put the lid back on, and pop it back in the freezer.
Because it’s low-fat, it will freeze solid again. When you want more, you’ll have to repeat the last step: put it back in the machine and run it on the “Re-spin” cycle once or twice. This will bring it right back to that perfect, creamy texture.
Enjoy every bite. You just made a dessert that’s as good for you as it is delicious!
PrintNinja Creami Vanilla Protein Ice Cream

Tired of chalky protein treats? This recipe is the answer. It uses one simple trick to create the creamiest, smoothest high-protein vanilla ice cream you’ll ever taste. It’s a simple, guilt-free dessert that tastes just like the real deal from an ice cream shop.
- Prep Time: 5 minutes
- Cook Time: 4 minutes
- Total Time: 24 hours 9 minutes (includes freezing)
- Yield: 1 Pint 1x
- Category: Dessert, Healthy Snack
- Cuisine: American
Ingredients
- 14 oz Fairlife® Core Power Vanilla Protein Shake
- 1 tbsp Stevia (or your preferred granulated sweetener)
- 1 tbsp Sugar-Free Instant Vanilla Pudding Mix
Instructions
- Mix the Base: In a small bowl, pour in the protein shake. Add the stevia and instant pudding mix. Whisk vigorously for about a minute until the powders are mostly dissolved. It’s okay if you still see tiny specks of pudding mix.
- Freeze: Carefully pour the mixture into a Ninja Creami pint container, making sure not to fill past the max line. Secure the lid and freeze on a level surface for at least 12 hours. For the best texture, I recommend freezing for a full 24 hours.
- First Spin: Once frozen solid, place the pint into the outer bowl, attach the paddle lid, and lock it into your Creami. Press the “Ice Cream” button.
- Re-Spin for Creaminess: After the first spin, the mixture will look dry and powdery. This is normal! Put it back in the machine and press the “Re-spin” button. This is where the magic happens! If it’s still not perfectly creamy, re-spin one more time.
Notes
- Serving Suggestions: This ice cream is best enjoyed immediately after spinning! Scoop it into a chilled bowl and top with fresh berries, a drizzle of sugar-free caramel, or some chopped nuts.
- Tips & Tricks: The instant pudding mix is the secret to a super smooth, non-icy texture—don’t skip it! If your ice cream is still a bit crumbly after two re-spins, add 1 tablespoon of milk or a splash of protein shake and spin it one last time.
- Storage Instructions: Level any leftovers in the pint, secure the lid, and return it to the freezer. It will freeze solid again. When you’re ready for more, just pop it back in the machine and use the “Re-spin” function to bring it back to its creamy state.