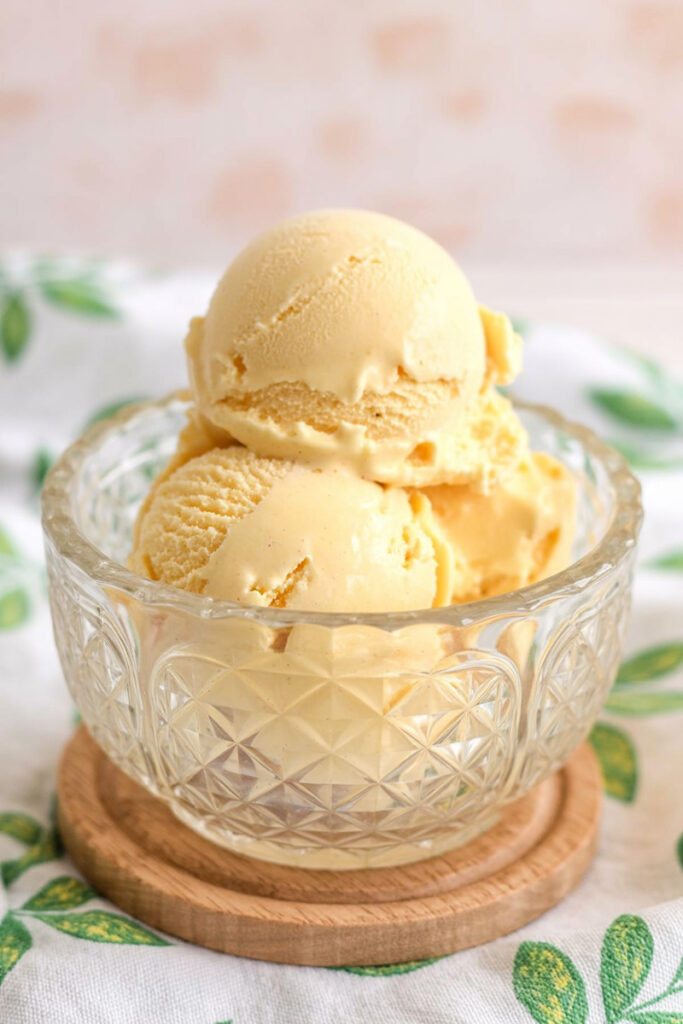
Hey friends, welcome to my kitchen! Today, we’re going to make something truly special: the richest, smoothest, most flavorful vanilla gelato you’ve ever tasted. And we’re going to do it with our trusty Ninja Creami.
I’ll never forget my first trip to Florence. I bought a scoop of vanilla gelato from a tiny little shop, and it completely changed my world. It was nothing like the ice cream I knew. It’s richer than regular ice cream. Denser, too. And because it’s not served bone-chillingly cold, you can actually taste the pure, amazing flavor.
For years, I thought that kind of texture was impossible to make at home without some crazy expensive Italian machine. Not anymore.
What makes this recipe different? We’re doing it the old-school way. We’re making a real, cooked custard base. This extra step of gently heating egg yolks with milk and cream is the secret sauce. It’s what gives the gelato that crazy rich and silky texture that simpler, no-cook recipes just can’t touch. I’ve tried dozens of recipes, and this is the one that takes me right back to that little shop in Italy.
So, grab your apron. Let’s make some magic.
Recipe Roadmap
Before we start, here’s a quick peek at what we’re getting into.
How Much Time Do I Need?
This recipe isn’t quick, but most of the time is just waiting around. The hands-on part? Super fast.
- Active Time: About 15-20 minutes (to make the custard)
- Inactive Time: 24 hours (for freezing)
- Total Time: Around 24 hours and 20 minutes
How Much Does This Make?
This recipe makes one perfect pint, designed to fit your Ninja Creami container exactly. One of the best things about the Creami is making small, fresh batches.
What if you need more? Just make multiple separate pints instead of trying to double or triple the base in one big pot. Trust me on this one. This ensures each pint freezes perfectly and spins up beautifully in the machine.
Here’s a quick guide if you’re making multiple pints at once:
| Pints to Make | Egg Yolks | Light Corn Syrup | Granulated Sugar | Whole Milk | Heavy Cream | Vanilla Extract |
| 1 Pint | 2 | 1 Tbsp | 1/3 cup | 1 cup | 2/3 cup | 2 tsp |
| 2 Pints | 4 | 2 Tbsp | 2/3 cup | 2 cups | 1 1/3 cups | 4 tsp |
| 3 Pints | 6 | 3 Tbsp | 1 cup | 3 cups | 2 cups | 6 tsp |
Is It Hard to Make?
I’d call this “easy, but you need to pay attention.” The steps themselves are simple, but the custard part needs a little focus. Don’t worry, I’ll walk you right through it. If you have a kitchen thermometer, you’re golden.
What Tools Do I Need?
- Ninja Creami Ice Cream Maker: Obviously!
- A small or medium saucepan
- Whisk
- Fine-mesh sieve: This little tool is a secret weapon for smoothness.
- Kitchen thermometer: A clip-on candy thermometer is great, but an instant-read one works perfectly. This is your best friend for this recipe—it takes all the guesswork out.
- Ninja Creami Pint Container & Lid
The Ingredients: What Makes It So Good
For a flavor as simple as vanilla, the quality of your ingredients really, really matters. Let’s break down our shopping list.
First up, 2 egg yolks. These are the heart of our custard. They add richness, a beautiful pale-yellow color, and act as a natural smoother-outer for the gelato.
Next, 1 Tablespoon of light corn syrup. Now, don’t be scared of this! Its job isn’t really about sweetness. Think of it as a bouncer for ice crystals. It stops the big, crunchy ones from forming, which is a pro trick to guarantee your gelato stays incredibly smooth and not icy. We’ll also add 1/3 cup of granulated sugar for that perfect sweetness.
For the creamy part, we need 1 cup of whole milk and 2/3 cup of heavy cream. This specific ratio of milk to cream gives us just the right amount of fat. It’s what makes gelato dense and chewy, not light and airy like some American ice creams.
And finally, the star: 2 teaspoons of vanilla extract. Because vanilla is the only flavor here, please use the good stuff. A high-quality pure vanilla extract or vanilla bean paste will take your gelato from “nice” to “wow.”
Step-by-Step: Let’s Do This!
Okay, let’s get to it. Follow these steps, and you can’t go wrong.
Part 1: Making the Custard Base
Grab your saucepan, but don’t turn on the stove yet. Add your egg yolks, corn syrup, and sugar to the cold pan.
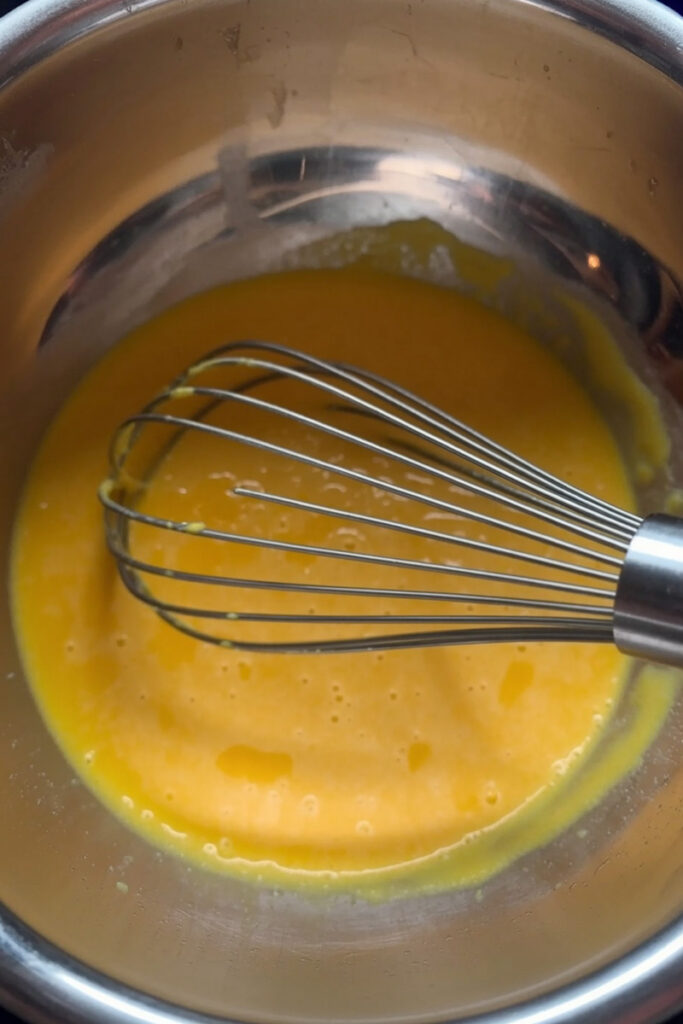
Now, whisk them together like you mean it. You want the mixture to get thick, smooth, and turn a lovely pale yellow. This step is super important because it dissolves the sugar and protects the yolks from scrambling later.
Once it looks pale and ribbony, it’s time for the dairy. Slowly pour in the milk and heavy cream while you keep whisking. Go slow! Keep whisking until it’s all one smooth liquid. Finally, stir in your vanilla.
Now you can put the pan on the stove over medium heat. This is the part where you need to pay attention. Whisk slowly and constantly, making sure you’re scraping the bottom and corners of the pan. We’re gently heating the mix.
The magic number is between 165-175°F (74-79°C). This is the perfect temperature to cook the eggs safely and thicken the custard. Do not let it boil. If it gets too hot, the eggs will scramble. You’ll know it’s ready when it’s steaming a bit and thick enough to coat the back of a spoon. A thermometer makes this part foolproof!
Part 2: The Chill Down
The second your custard hits that temperature, take it off the heat.
Place your fine-mesh sieve over your empty Ninja Creami pint. Carefully pour the hot custard through the sieve. This is like a final quality check—it catches any tiny sneaky bits of cooked egg and guarantees a perfectly smooth texture.
Now, we need to cool it down fast. I do this with an ice bath. Just put your pint container in a bigger bowl, then fill the bowl with ice and a little cold water. Let it sit, giving it a stir every now and then, until the base feels cool.
Part 3: The Big Freeze
Once the base is cool, dry off the pint, pop the lid on, and get it in the freezer.
Make sure you put it on a perfectly flat spot. If it freezes crooked, the machine’s blade can have a tough time spinning it, and we don’t want to risk damaging it. Let it freeze for a solid 24 hours. Be patient!
Part 4: The Ninja Creami Magic
This is the moment! Take the pint out of the freezer and remove the lid. It will look like a solid brick of ice. Don’t worry, that’s exactly what we want.
Place the pint in the outer bowl, attach the blade lid, and lock it into your Ninja Creami.
Press the “Gelato” button.
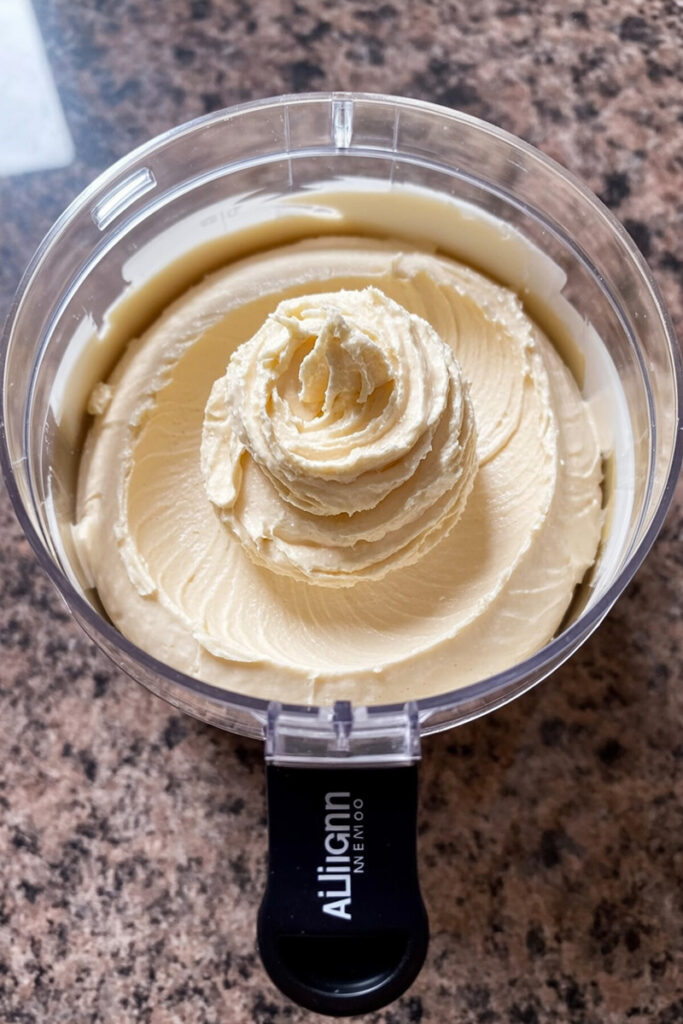
When the first spin is done, take a look. It will probably look dry, crumbly, or a little powdery. This is totally normal! Don’t panic. Just lock it back in and press the “Re-spin” button.
That second spin usually does the trick. If it still looks a little crumbly (this can happen if your freezer is extra cold), just add one tablespoon of milk right into the middle of the pint and hit “Re-spin” one last time.
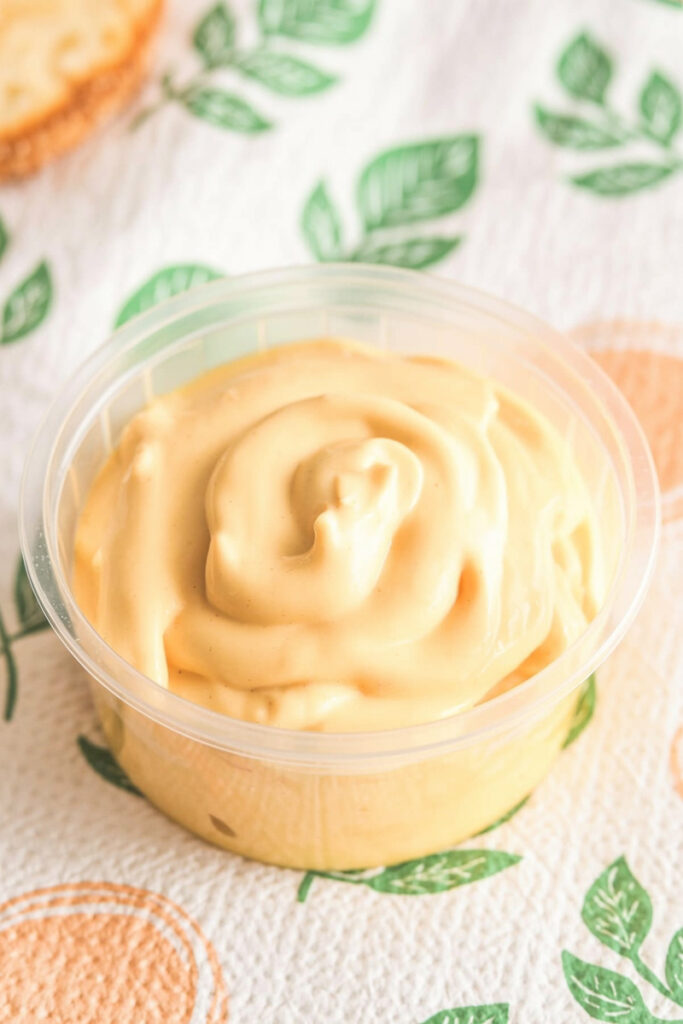
Boom. Perfect, scoopable, creamy gelato.
Let’s Get Creative: Variations
Okay, now that you’ve mastered the classic vanilla, think of it as a blank canvas. Let’s play!
- Flavor Fun: You can easily change the flavor. For a rich Coffee Gelato, just whisk in a tablespoon of instant espresso powder with the sugar. For a deep Chocolate Gelato, add a few tablespoons of good cocoa powder.
- Awesome Mix-Ins: After the last re-spin, use the “Mix-In” button to add goodies. Mini chocolate chips, chopped pistachios, a swirl of caramel sauce, or crushed cookies are all amazing.
- Feeling Fancy? Want to feel like a true Italian gelato master? Use a whole vanilla bean. Split the bean, scrape out the seeds, and toss both the seeds and the pod into the milk as it heats. Just remember to pull the pod out before you strain it!
- A Note on Diets: This recipe really relies on eggs and dairy, so making it vegan or dairy-free is tough. You’d be better off finding a great recipe that starts with something like coconut milk instead of trying to substitute everything here.
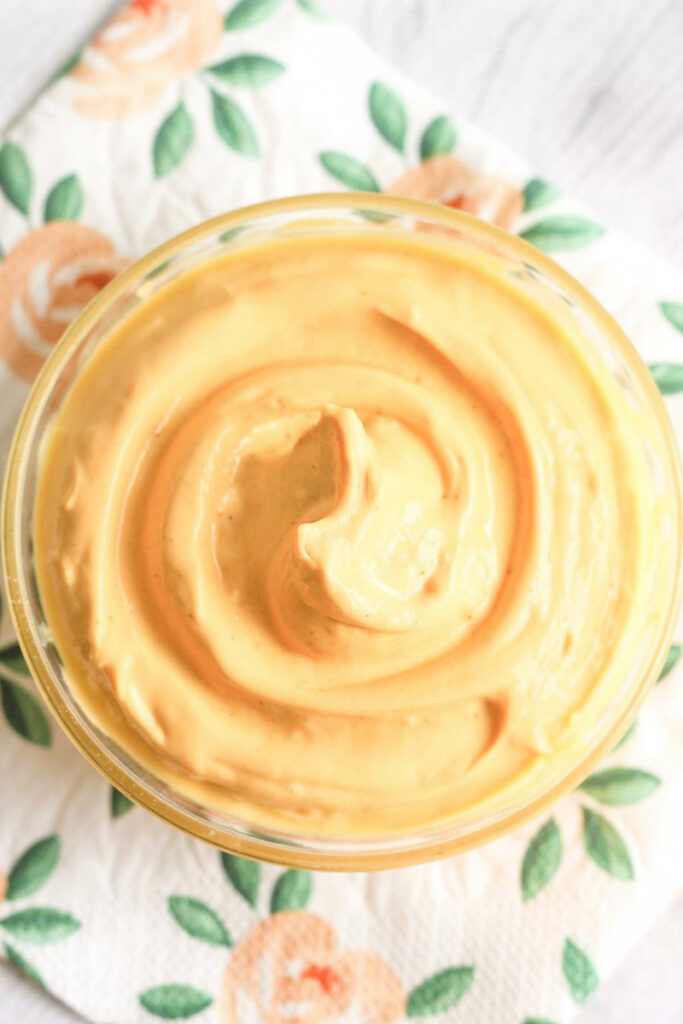
How to Serve and Store It
Your gelato is ready to eat!
Serving Ideas:
Serve it right after the final spin. That’s when it’s at its absolute creamiest. I like to scoop it into bowls that I’ve chilled in the freezer for a few minutes. It’s fantastic on its own, but it’s also incredible with a warm brownie or a slice of apple pie.
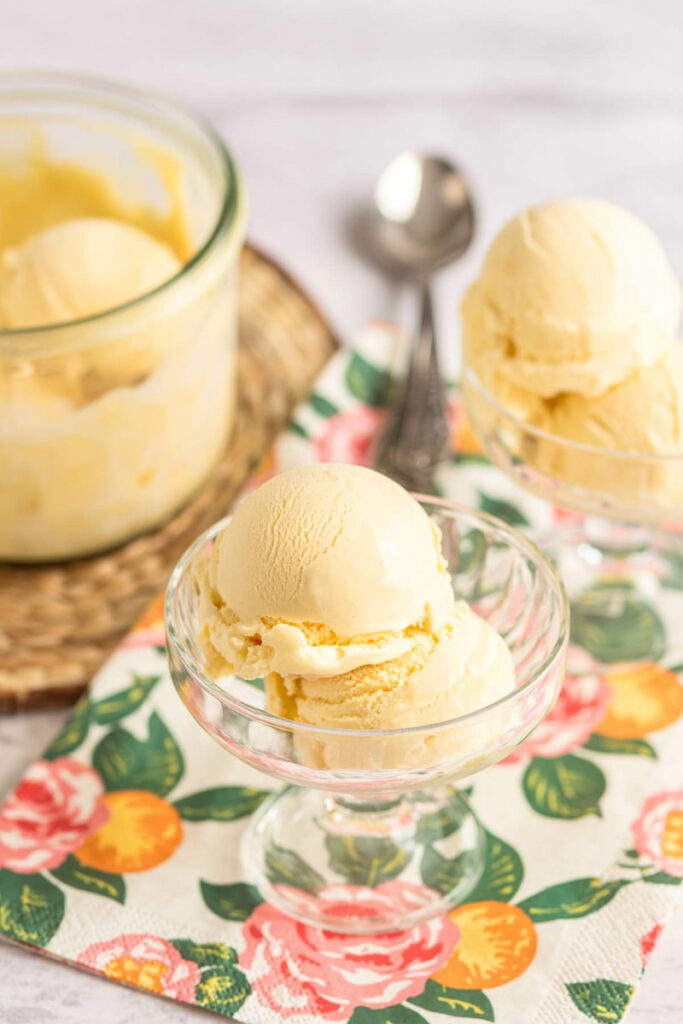
Storing Leftovers:
Homemade gelato is best fresh, but you can save it. Smooth the top in the pint and press a small piece of parchment paper right on the surface to prevent ice crystals. Put the lid on and store it in the back of your freezer for up to a week.
The Most Important Tip for Leftovers:
When you take the pint out of the freezer again, it will be rock-solid. You must re-process it in the Ninja Creami to get that creamy texture back. Just pop it back in the machine and run the “Gelato” cycle again. It will be just as perfect as when you first made it.
I hope you love making this. Happy churning!
PrintNinja Creami Vanilla Gelato
This recipe uses a simple, cooked custard base to create the richest, smoothest, and most authentic vanilla gelato right in your Ninja Creami. That little extra step is the secret to a perfect, creamy texture that tastes like it came straight from a shop in Italy.
- Prep Time: 15 minutes
- Cook Time: 5 minutes
- Total Time: 24 hours 20 minutes (includes freezing)
- Yield: 1 Pint 1x
- Category: Dessert
- Cuisine: Italian
Ingredients
- 2 large egg yolks
- 1/3 cup granulated sugar
- 1 tbsp light corn syrup
- 1 cup whole milk
- 2/3 cup heavy cream
- 2 tsp pure vanilla extract
Instructions
- Make the Custard: In a small saucepan (off the heat), whisk the egg yolks, sugar, and corn syrup together until the mixture is pale yellow and thick.
- Heat Gently: Slowly whisk in the milk and heavy cream. Place the pan over medium heat. Stir constantly until the base thickens and reaches a temperature of 165-175°F (74-79°C). A thermometer is your best friend here! Do not let it boil.
- Strain and Chill: Remove from heat and stir in the vanilla extract. Pour the custard through a fine-mesh sieve into your Ninja Creami pint container. Let it cool completely. To speed this up, place the pint in an ice bath.
- Freeze: Secure the lid and place the pint on a perfectly level surface in your freezer. Freeze for at least 24 hours.
- Spin to Perfection: Place the frozen pint into your Ninja Creami and process using the “Gelato” setting. The texture will likely look dry or crumbly after the first spin—this is normal!
- Final Spin: Add 1 tablespoon of milk, place it back in the machine, and use the “Re-spin” function. It should now be perfectly smooth and creamy.
Notes
- Tips & Tricks:
- Don’t skip the corn syrup! It’s the secret weapon against ice crystals, ensuring a silky-smooth texture.
- Pouring the custard through a sieve is a non-negotiable step for catching any tiny imperfections.
- Make sure the pint is frozen on a completely flat surface to protect the machine’s blade.
- Serving Suggestions:
- For the most authentic experience, serve your gelato immediately after the final spin when it’s at its creamiest.
- It’s delicious on its own, served with fresh berries, or alongside a slice of warm pie.
- Storage Instructions:
- Store leftovers in the pint with the lid on for up to one week. Pressing a small piece of parchment paper directly onto the surface helps prevent freezer burn.
- Important: The gelato will freeze solid again. You must re-process it on the “Gelato” setting before enjoying leftovers to restore its creamy texture.
