Hello, dessert lovers! Let me tell you, my Ninja Creami has seriously changed my life. I used to stand in front of those fancy ice cream shop windows, totally stumped on what to order. Now? I make my own amazing creations at home.
Today, we’re making something special. Something that takes you right back to childhood.
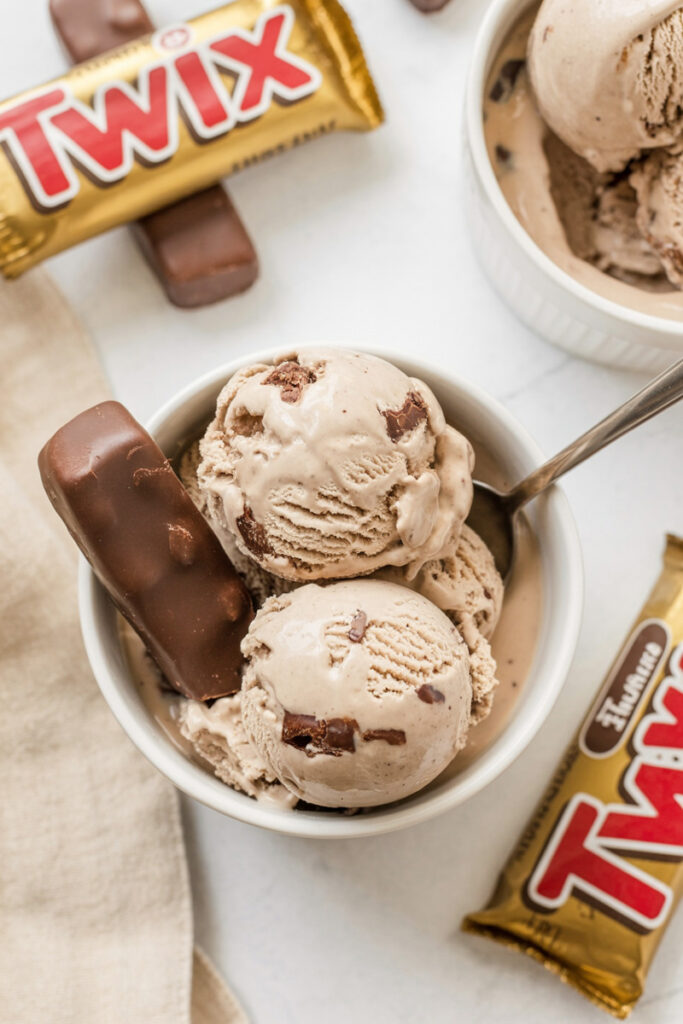
We’re turning a classic Twix bar—with that perfect cookie, caramel, and chocolate combo—into the creamiest ice cream you’ve ever had. I was inspired because, let’s be honest, those scoop shops never put in enough candy. When you make it yourself, you’re in control. You want a whole candy bar in every bite? Go for it!
The secret is the Ninja Creami. This thing is wild. It doesn’t just churn ice cream. It takes a solid block of frozen cream and shaves it into something incredibly smooth. Like, fancy gelato smooth. All from your own kitchen.
So, let’s get started. I promise this will be your new go-to treat. You’ll never look at the freezer aisle the same way again.
What You’re Getting Into
Before we jump in, here’s the basic plan. Don’t worry, it’s super simple.
I’d call this an Easy recipe. For real. The hardest part is just waiting for the base to freeze. The machine does all the tough stuff. You just get to be the flavor genius.
Time-wise, you’re looking at about 5 minutes to mix the base. Then comes the wait… 24 hours in the freezer. After that, it’s a quick 3-5 minutes in the machine. Done. This recipe makes about 4 good-sized servings. Perfect for sharing… or not. I won’t tell.
The Gear You’ll Need
The main event is obviously the Ninja Creami Machine. You’ll also need at least one Ninja Creami Pint Container with a lid. That’s pretty much it!
Want to make a bigger batch? You can’t fill a pint past the max line, but you can easily make multiple pints at once. I like to make a Twix one and maybe a Reese’s one at the same time. Then I’ve got options ready to go all week.
Here’s a simple chart if you want to make more than one pint:
| Servings | Pints to Make | Cream Cheese | Granulated Sugar | Whole Milk | Heavy Cream |
| 4 | 1 Pint | 1 tbsp | 1/3 cup | 1/2 cup | 3/4 cup |
| 8 | 2 Pints | 2 tbsp | 2/3 cup | 1 cup | 1 1/2 cups |
| 12 | 3 Pints | 3 tbsp | 1 cup | 1 1/2 cups | 2 1/4 cups |
This is the perfect make-ahead dessert since the base has to be frozen for a day anyway.
What You’ll Need (The Ingredients)
Awesome ice cream starts with good ingredients. Here’s our lineup.
For the Silky Vanilla Base:
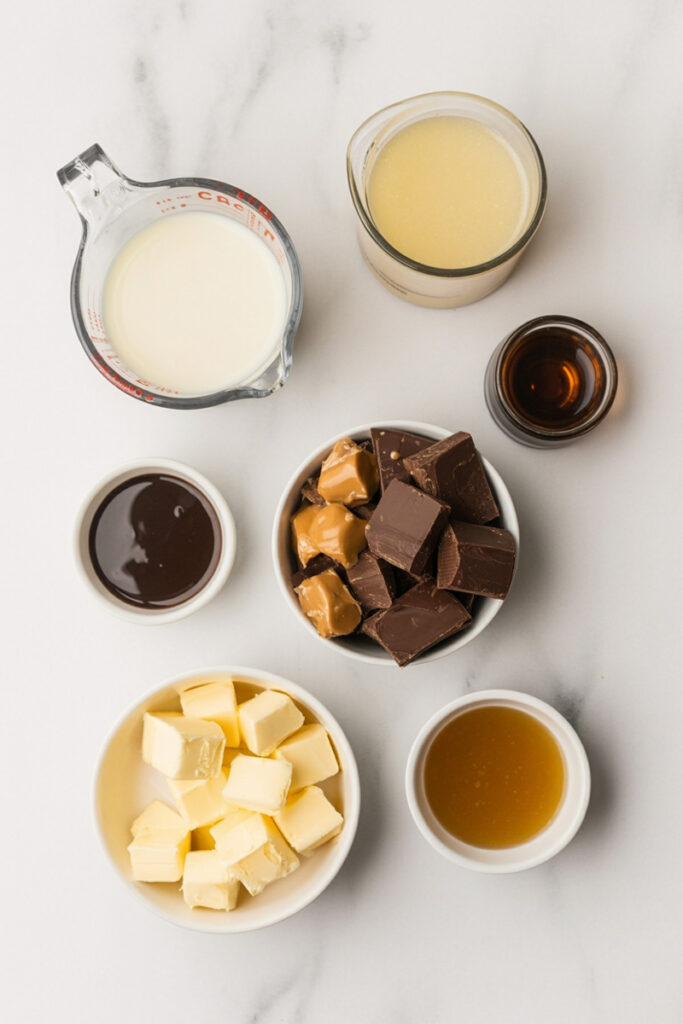
- 1 tbsp Cream Cheese: This might sound weird, but trust me. It needs to be at room temperature. This is my secret trick to stop the ice cream from getting icy. It adds a little tang and makes it feel so professional.
- 1/3 cup Granulated Sugar: Just for that classic sweetness.
- 1 tsp Vanilla Extract: If you have the fancy vanilla bean paste, now’s the time to use it!
- 1/2 cup Whole Milk
- 3/4 cup Heavy Cream: This is key. The fat content is what makes the ice cream rich and creamy. Don’t substitute this one!
For the Twix Magic (The Mix-Ins):
- 2 full-sized Twix Bars: Chop these up! I like to chop some into a fine dust to flavor the ice cream and leave other pieces nice and chunky.
- 2 tsp Chocolate Sauce (or Dulce de Leche): For that gooey swirl.
- 2 tsp Crushed Cookies: Shortbread or vanilla wafers are perfect for adding an extra crunch.
How to Make It, Step-by-Step
Alright, let’s do this! I’ll walk you through it.
Step 1: Create the Base
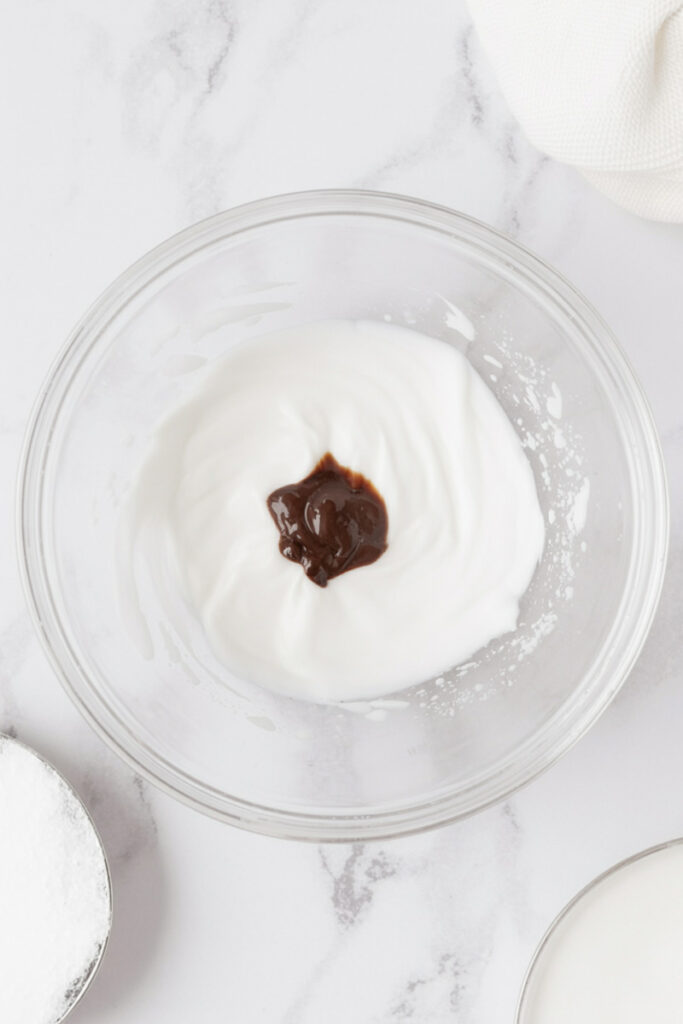
Grab your Ninja Creami pint. Add the room-temperature cream cheese, sugar, and vanilla. Now, get a spoon and mix them together until it’s a smooth paste. Seriously, if the cream cheese is cold, you’ll get little lumps. We don’t want lumps.
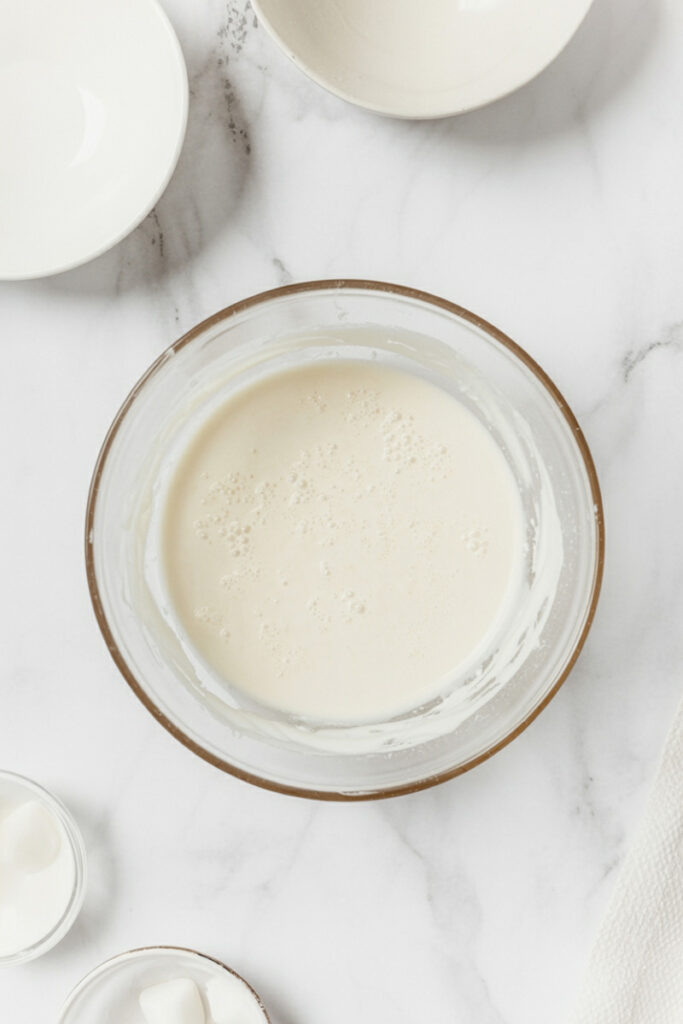
Once it’s smooth, slowly pour in the heavy cream and whole milk. Keep stirring until all the sugar dissolves. It should look like a silky, consistent liquid. Put the lid on the pint nice and tight.
Step 2: The Big Freeze
This is the easiest step, but also the hardest. Patience!
Put the sealed pint in the freezer. Pro tip: Make sure it’s on a totally flat surface. I learned this the hard way. A level base freezes evenly, which helps the machine work its magic and gives you a much better texture.
Leave it in there for a full 24 hours. Don’t rush it!
Step 3: The First Spin!
It’s time! Take the pint out of the freezer and remove the lid. It’ll be a solid brick of cream. Lock the pint into your Ninja Creami and hit the “Ice Cream” button. It’s loud, but that’s the sound of amazing ice cream being born.
After it’s done, check the texture. Sometimes, if my freezer is extra cold, it comes out looking a little dry or powdery. Don’t panic! This happens all the time.
The fix? Just add one tablespoon of whole milk, put it back in the machine, and press the “Re-spin” button. That second spin almost always does the trick, turning it into perfectly smooth, scoopable ice cream.
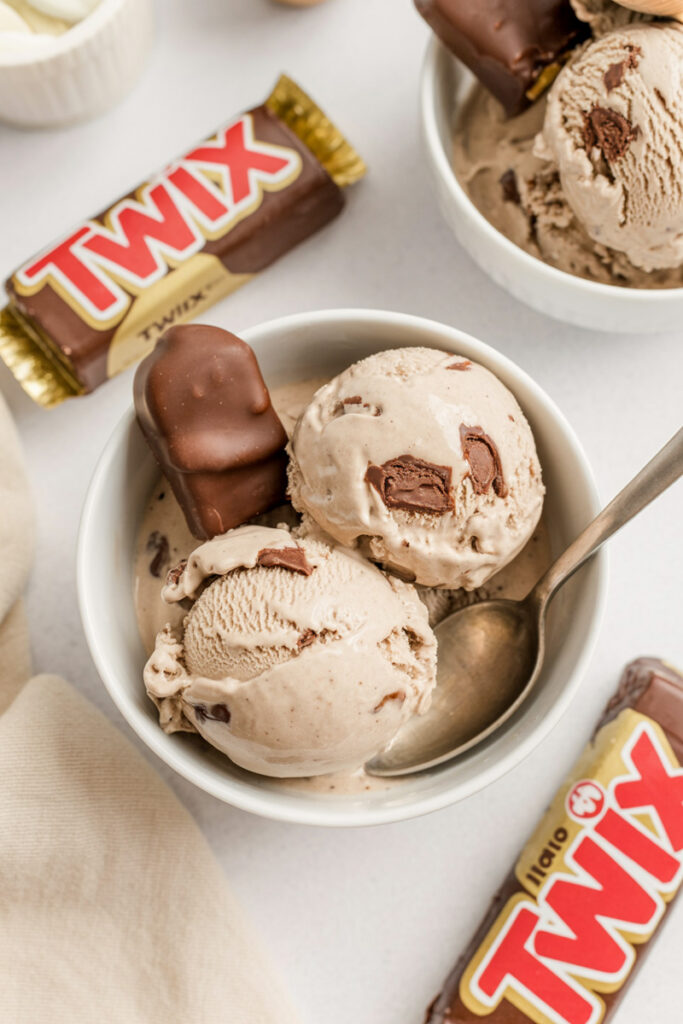
Step 4: The Best Part—The Mix-Ins!
Okay, now for the real fun. Take a spoon and dig a hole about an inch wide all the way down the center of the ice cream. This is the perfect spot for your treasures.
Drop in your chopped Twix bars, the crushed cookies, and drizzle in the chocolate sauce.
Put it back in the machine and press the “Mix-In” button. This cycle is shorter and gentler, so it won’t destroy your candy. It just perfectly mixes everything together. The result is pure heaven.
Make It Your Own
The best part about this recipe is that it’s just a starting point. Go wild with it!
- Want to try other candies? Snickers, Kit Kats, or Reese’s Cups would all be incredible.
- Feeling salty? Add a small pinch of sea salt to the base before you freeze it for a salted caramel vibe.
- Making it fancy? Use a high-quality vanilla bean paste and serve it with some delicate chocolate shavings on top.
- Gluten-free? Easy. Just use a gluten-free candy bar and your favorite gluten-free cookies for the crunch.
How to Serve and Store It
Serve this right away in some chilled bowls. It helps slow down the melting!
Now, for leftovers… if you have any. Here’s the unique thing about Ninja Creami ice cream. You can’t just stick the pint back in the freezer. It’ll turn back into a frozen rock.
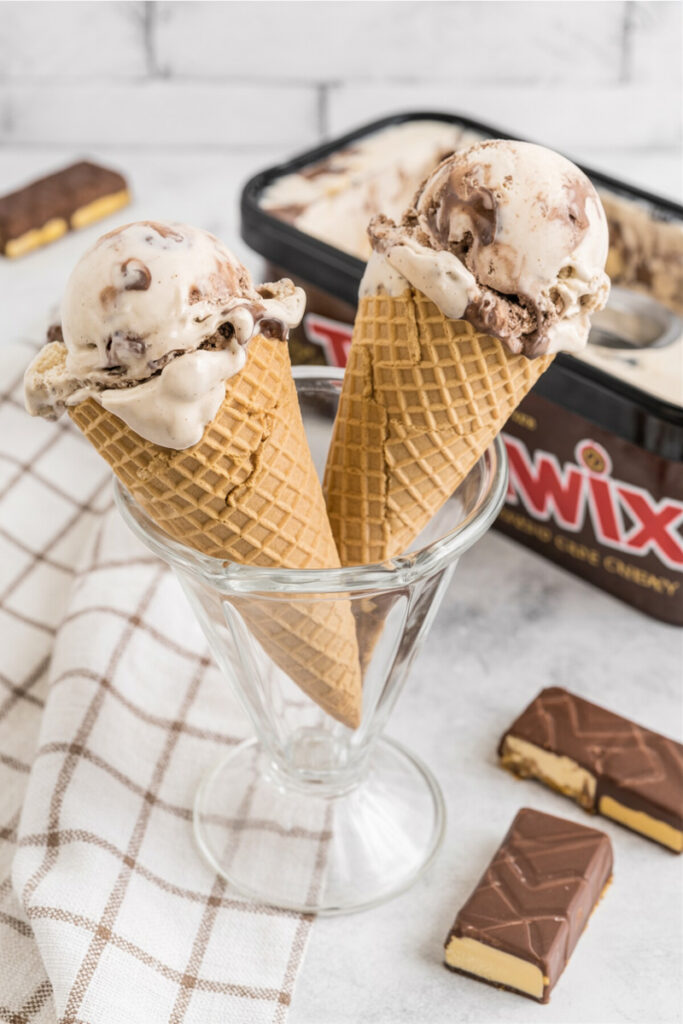
What you have to do is smooth the top of the leftover ice cream with a spoon, put the lid on, and refreeze it.
When you want to eat it again, just pop it back in the machine and run the “Ice Cream” or “Re-spin” cycle. This brings it right back to that amazing, just-made texture. It’s a tiny extra step that is so worth it.
Enjoy!
PrintNinja Creami Twix Ice Cream
Ever wished you could get more candy in your ice cream? Now you can! This simple recipe turns a classic Twix bar into the smoothest, dreamiest dessert you’ll ever make at home, all thanks to the magic of the Ninja Creami.
- Prep Time: 5 minutes
- Cook Time: 5 minutes
- Total Time: 24 hours 10 minutes (includes 24 hours of freeze time)
- Yield: 4 1x
- Category: Dessert
- Cuisine: American
Ingredients
For the Ice Cream Base:
- 1 tbsp Cream Cheese (at room temperature!)
- 1/3 cup Granulated Sugar
- 1 tsp Vanilla Extract
- 1/2 cup Whole Milk
- 3/4 cup Heavy Cream
For the Twix Mix-Ins:
- 2 full-sized Twix Bars, chopped
- 2 tsp Chocolate Sauce or Dulce de Leche
- 2 tsp Crushed Shortbread Cookies
Instructions
- Make the Base: In your Ninja Creami pint, use a spoon to mix the room-temperature cream cheese, sugar, and vanilla into a smooth paste. Slowly stir in the milk and heavy cream until the sugar is fully dissolved.
- Freeze: Secure the lid and place the pint on a level surface in your freezer. Freeze for a full 24 hours. Don’t rush this step!
- First Spin: Place the frozen pint in your Ninja Creami and press the “Ice Cream” button. If the texture looks powdery after the first spin (this is normal!), add 1 tablespoon of milk and run a “Re-spin” cycle.
- Add the Good Stuff: Use a spoon to create a 1-inch wide hole down the center of the ice cream. Add your chopped Twix, crushed cookies, and chocolate sauce.
- Final Spin: Place the pint back in the machine and press the “Mix-In” button. Serve immediately and enjoy!
Notes
Serving Suggestions:
- Serve in chilled bowls to keep it from melting too fast.
- Top with an extra drizzle of chocolate sauce and a sprinkle of cookie crumbs.
Tips & Tricks:
- Making sure the pint freezes on a perfectly flat surface is the secret to an ultra-smooth texture.
- Don’t substitute the heavy cream! Its high-fat content is essential for that rich, creamy result.
Storage Instructions:
- To store leftovers, smooth the top surface of the ice cream in the pint and refreeze. It will become a solid block again.
- You must re-process it before eating again. Just run it through an “Ice Cream” or “Re-spin” cycle to bring it back to its original creamy texture.
