You know that feeling? Strolling through a sunny street in Italy, a scoop of incredible gelato in hand. It’s pure magic. Gelato isn’t just a fancy word for ice cream. It’s something else entirely. It’s denser, silkier, and packs a huge flavor punch that ice cream can only dream of.
For years, I thought making real, authentic gelato at home was a lost cause. The texture was always off. It was either icy or just… not quite right. Traditional methods are tough without a special, slow-churning machine.
But then I got a Ninja Creami.
Honestly, this machine changed everything. It makes getting that perfect, dense gelato texture surprisingly easy, right in your own kitchen. This recipe is all about letting simple, fresh ingredients do the talking. We’re taking beautiful, ripe strawberries and turning them into pure happiness in a bowl.
Let’s get to it!
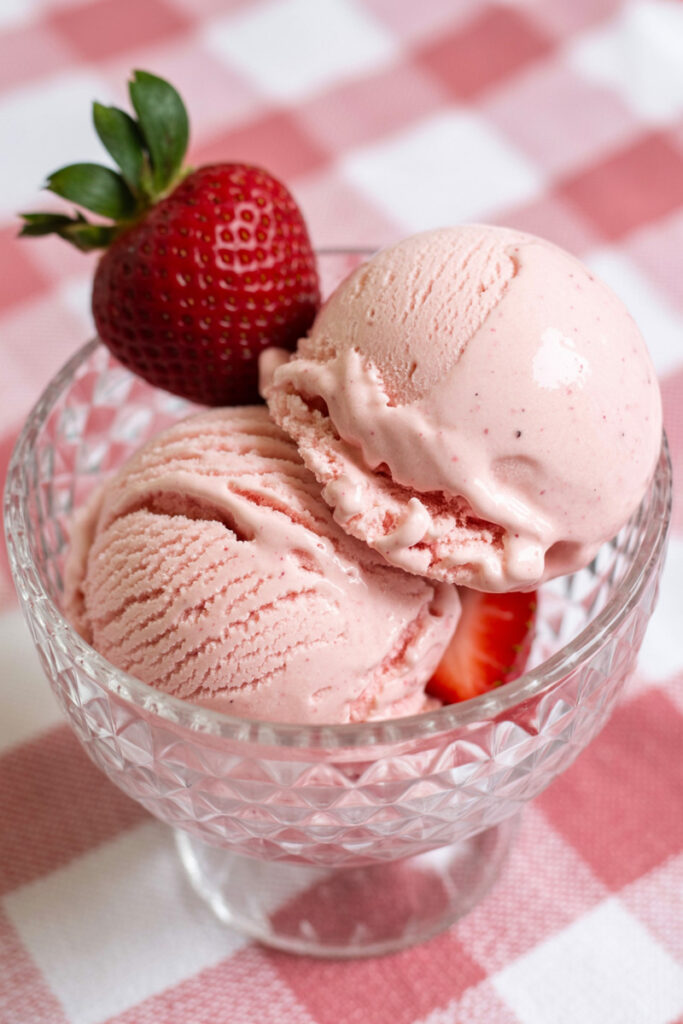
The Quick Scoop on What You’re Doing
Before we jump in, here’s a quick rundown. Don’t worry, the machine does almost all the work.
Time Commitment: You only need about 15 minutes of actual, hands-on prep time. The hardest part? Waiting 24 hours while your gelato base freezes solid. It’s a real test of patience, I know! This waiting period is the key to making the Creami work its magic.
How Much It Makes: This recipe fills one standard Ninja Creami pint. That gives you about 4 nice little servings. Or, if you’re like my family, you might call it two generous servings. If you’re having people over, just make a few pints at once!
Difficulty Level: I’d rate this a 1 out of 5. For real. If you can stir stuff in a bowl and press a button, you can absolutely nail this recipe.
What You’ll Need
- A Ninja Creami Machine: This is the non-negotiable star of our show.
- A Blender: An immersion blender (also called a stick blender) is fantastic because it means fewer dishes to wash. But a regular countertop blender works perfectly fine, too.
- Ninja Creami Pint Container: You’ll need at least one of these to freeze and spin your gelato.
- The Usual Kitchen Suspects: A mixing bowl, measuring cups and spoons, and a spatula.
The good news? This is the perfect make-ahead dessert. You actually have to prep it a day or two before you want to eat it. It’s one less thing to worry about!
Let’s Talk Ingredients
Great gelato starts with great ingredients. Since we’re only using a few, every single one is important.
Here, we’re using a simple but powerful mix of fresh strawberries, sugar, milk, and heavy cream. The star, of course, is the strawberries. We’re going to do something called maceration. Sounds fancy, right? It just means we’re letting the strawberries hang out in sugar for a bit. The sugar works its magic, pulling all the natural juices out of the berries. You’re left with softened berries swimming in their own gorgeous syrup. This is where all that intense strawberry flavor comes from.
The milk gives the gelato its body, and the heavy whipping cream is our secret weapon. The fat in the cream is essential for keeping big, crunchy ice crystals from forming. It’s what keeps your gelato from tasting “icy” and gives it that signature creamy, smooth texture.
Your Shopping List:
- 1 1/4 cups sliced fresh strawberries
- 1/4 cup sugar (or a monkfruit sweetener alternative works well)
- 3/4 cup milk (I find 2% or whole milk gives the best richness)
- 1/4 cup heavy whipping cream
My biggest tip: Find the best, reddest, most fragrant strawberries you can. The kind that smell like pure summer. The better your berries, the more incredible your gelato will be. It’s worth the little extra effort to find good ones!
Okay, Let’s Make Some Gelato!
I’ll walk you through this step-by-step. It’s easier than you think.
Step 1: Get Those Berries Juicy
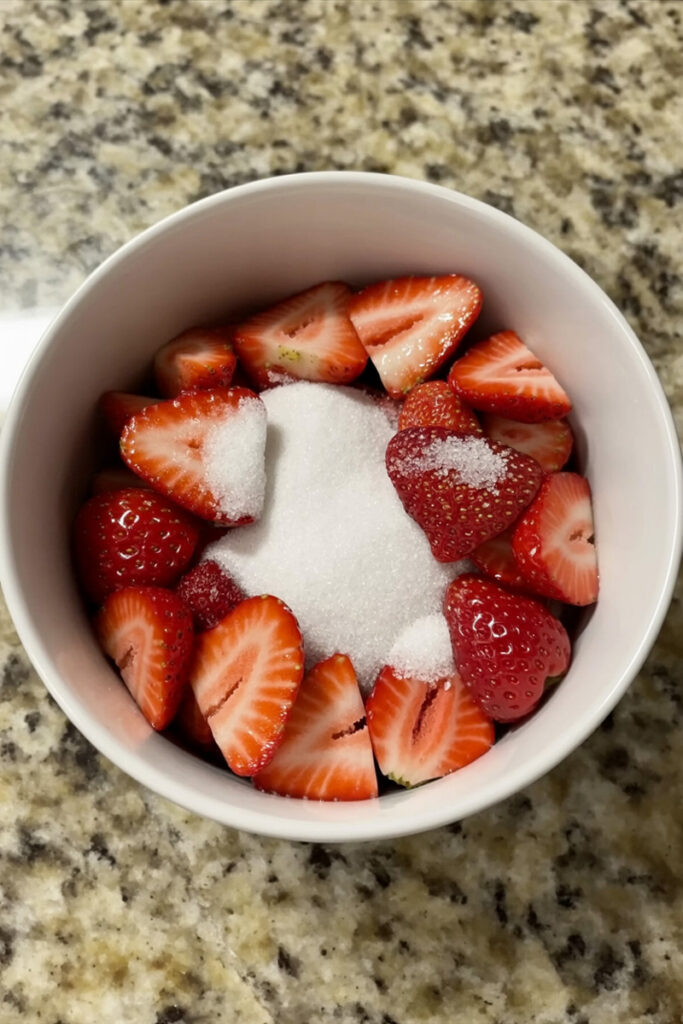
Remember that fancy word, macerate? Time to do it. Add your 1 1/4 cups of sliced strawberries and 1/4 cup of sugar to a mixing bowl. Give it a good stir so every slice gets a little sugar hug.
Now… you wait. Let the bowl sit on your counter for about 10 minutes. You’ll see the magic happen right before your eyes. A luscious, bright red syrup will start to pool at the bottom of the bowl. Give it a little stir now and then. I like to gently mash a few of the berries with my spoon to help release even more of that amazing juice.
Step 2: Create the Gelato Base
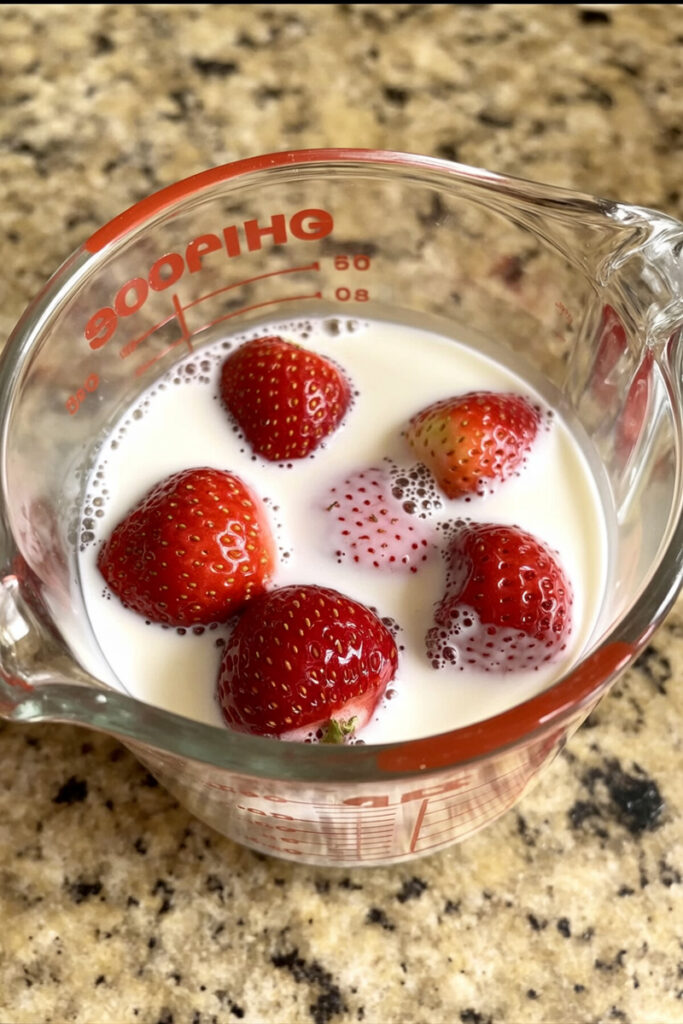
Once your strawberries are swimming in that glorious syrup, pour the entire contents of the bowl—berries, juice, and all—into your blender.
Blend until the mixture is completely smooth and a beautiful pale pink. You shouldn’t see any big chunks left. Next, pour in the 1/4 cup of heavy whipping cream and just stir it all together with a spatula until it’s combined. That’s it! Your gelato base is officially done.
Step 3: The Big Freeze
This is the easiest step, but it requires the most self-control. Pour your perfectly blended strawberry base into a Ninja Creami pint container. Important: Do not fill it past the max fill line printed on the side.
Secure the lid and place it in the freezer. Try to find a nice, level surface. If it freezes at a weird angle, the machine might give you an error message later. Now, walk away. Forget about it for at least 24 hours. Don’t be tempted to rush this! The base needs to be frozen into a solid block for the Creami to work properly.
Step 4: The Creami Transformation
It’s time! Remove your pint from the freezer and take off the lid. It will look like a solid pink brick. Place the pint into the outer bowl of your Ninja Creami, put the paddle lid on top, and lock it into place. Secure the whole thing in the machine.
Press the Gelato button and let the magic begin.
Step 5: The All-Important Re-Spin
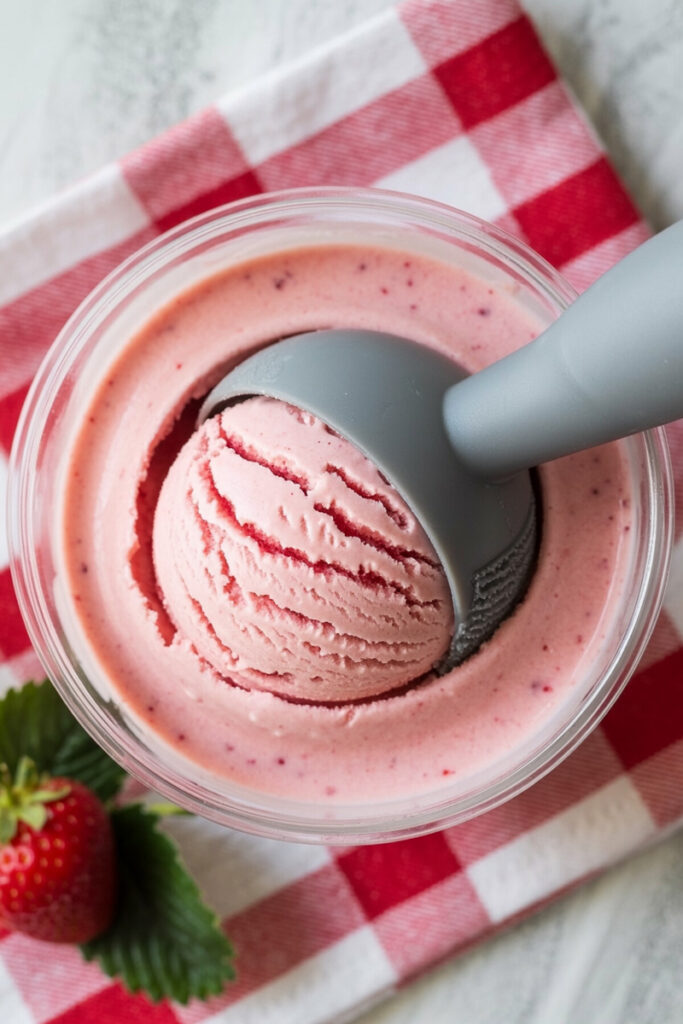
When the first cycle finishes, your gelato might look a bit crumbly or powdery. Do not panic! This is completely normal and happens most of the time.
Simply lock the pint back into the machine and press the Re-spin button. This second spin is usually where the real transformation happens, turning that frozen block into creamy, dreamy gelato.
Check the consistency again. If it’s still a little crumbly (sometimes this happens if your freezer is extra cold), add one tablespoon of cold milk. Just a splash. Then, hit Re-spin one last time. That tiny bit of liquid will help everything come together into a perfectly smooth, dense, and scoopable gelato.
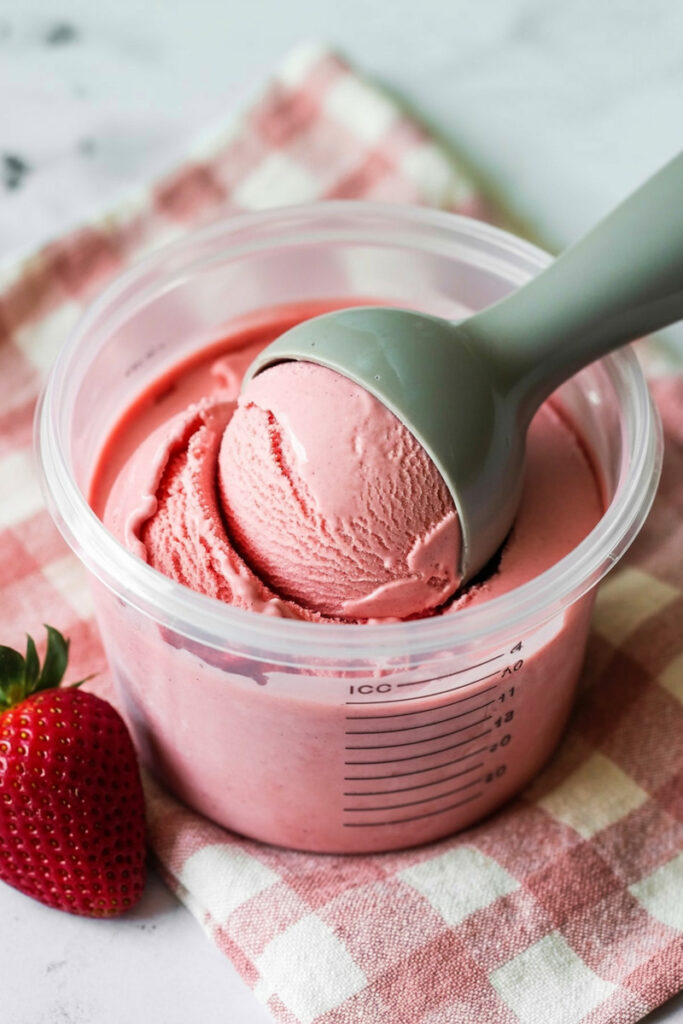
Serve it up right away and enjoy the rewards of your (very minimal) effort!
Want to Mix It Up?
This recipe is a great starting point. Here are a few ideas to play with:
- Go Dairy-Free or Vegan: This is an easy swap! Instead of the milk and cream, use one full can of full-fat coconut milk. Use maple syrup instead of sugar. The result is unbelievably rich and creamy.
- Get a Little Fancy: Add a teaspoon of vanilla bean paste to the base before you freeze it. When you’re ready to serve, try a tiny drizzle of a good aged balsamic glaze over the top. It sounds strange, but the sweet and tangy flavor with strawberries is a classic Italian pairing. It’s incredible!
- Add Some Crunch: After the gelato is spun and creamy, you can use the machine’s “Mix-in” function. I love adding things like white chocolate chips, crushed shortbread cookies, or even little chunks of cheesecake.
How to Serve and Store It
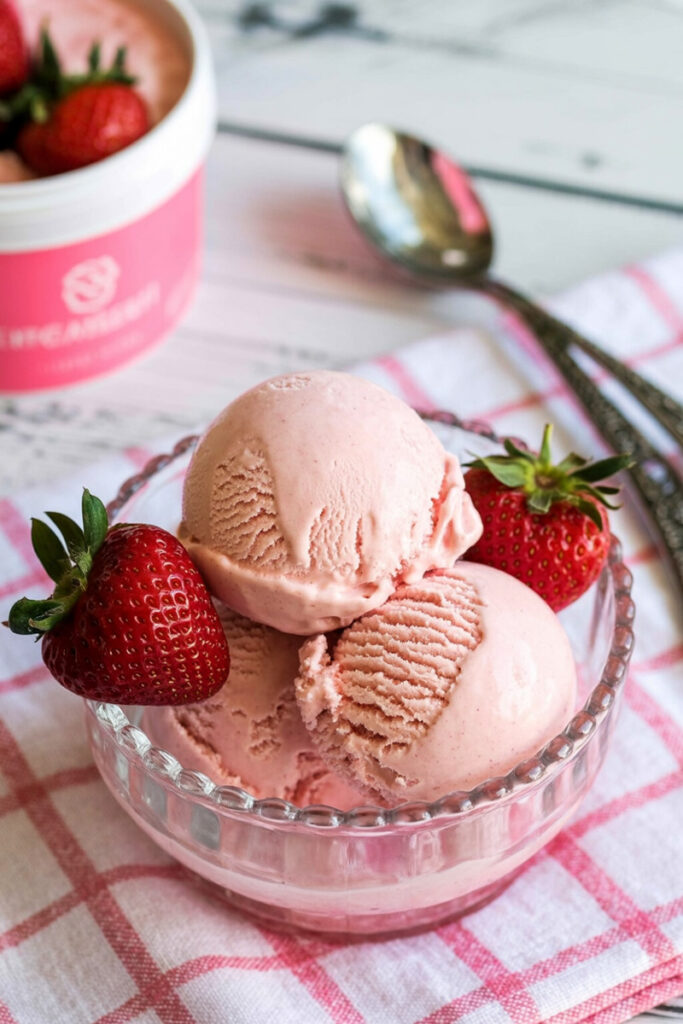
This gelato is at its absolute peak of creaminess the moment it comes out of the machine. I like to scoop it into chilled bowls or cones to help it stay frozen just a little bit longer. A fresh strawberry slice on top makes it look extra special.
Got leftovers? No problem. The best way to store them is right back in the Ninja Creami pint with the lid on.
When you take it out of the freezer again, it will be rock-hard. Don’t try to scoop it! Just pop it back into the machine and run the Re-spin cycle once. It will bring it right back to that perfect, scoopable texture.
Making a Big Batch?
Because you have to prep this in advance, it’s perfect for stocking your freezer. Here’s a quick guide for making multiple pints at once.
| Pints to Make | Sliced Strawberries | Sugar/Monkfruit | Milk | Heavy Cream |
| 1 Pint | 1 1/4 cups | 1/4 cup | 3/4 cup | 1/4 cup |
| 2 Pints | 2 1/2 cups | 1/2 cup | 1 1/2 cups | 1/2 cup |
| 3 Pints | 3 3/4 cups | 3/4 cup | 2 1/4 cups | 3/4 cup |
| 4 Pints | 5 cups | 1 cup | 3 cups | 1 cup |
And that’s really all there is to it! You just made incredible, authentic-tasting gelato in your own kitchen. I hope you love making and sharing this recipe as much as I do. Happy churning!
PrintNinja Creami Strawberry Gelato
Tired of icy homemade frozen treats? This simple recipe uses your Ninja Creami to create the creamiest, most flavorful strawberry gelato you’ve ever had. It’s a taste of Italy, made right in your kitchen!
- Prep Time: 15 minutes
- Cook Time: 24 hours
- Total Time: 24 hours 15 minutes
- Yield: 1 Pint (about 4 scoops) 1x
- Category: Dessert
- Cuisine: Italian-Inspired
Ingredients
- 141 cups fresh strawberries, sliced
- 41 cup granulated sugar (or monkfruit sweetener)
- 43 cup milk (2% or whole milk works best)
- 41 cup heavy whipping cream
Instructions
- Prep the Berries: In a medium bowl, stir the sliced strawberries and sugar together. Let them sit on the counter for about 10 minutes. The sugar will draw out the natural juices, creating a delicious syrup.
- Blend the Base: Transfer the entire berry mixture (syrup and all!) to a blender. Blend until completely smooth. Stir in the milk and heavy cream until just combined.
- Freeze Solid: Pour the strawberry base into a Ninja Creami pint container, making sure not to fill past the max fill line. Secure the lid and freeze on a level surface for at least 24 hours. The base must be frozen solid.
- Spin to Perfection: Place the frozen pint into your Ninja Creami and select the GELATO function. After the first spin, it will likely look powdery or crumbly—this is normal! Just place it back in and press the RE-SPIN button. If needed, add 1 tablespoon of cold milk and re-spin one more time for an extra creamy texture.
Notes
- Tip for Success: The better your strawberries, the better your gelato! Use the freshest, ripest, reddest berries you can find for the most intense flavor.
- Serving Suggestions: This gelato is best enjoyed immediately after spinning. Serve it in chilled bowls to keep it from melting too fast. It’s wonderful alongside a shortbread cookie or a slice of angel food cake.
- Storage Instructions: Store any leftovers right in the lidded Creami pint in the freezer. When you’re ready for more, the gelato will be frozen solid again. No worries! Just run it through the RE-SPIN cycle to bring it back to that perfect, creamy consistency.
