Let me tell you about a flavor that takes me right back to being a kid.
I remember sitting around a crackling bonfire, stick in hand, trying to get that perfect golden-brown toast on my marshmallow without setting it on fire. The gooey, melty chocolate, the crunch of the graham cracker… it’s more than just a dessert. It’s a whole vibe. It’s starry nights and laughing with friends.
I wanted to bottle up that exact feeling. But, you know, turn it into amazing ice cream I could eat with a spoon on my couch.
The problem with a lot of homemade ice cream is the texture. It gets icy. It’s just not the same as the stuff you buy. That’s where my Ninja Creami comes in. This machine is just incredible for turning a simple frozen puck into something ridiculously smooth.
So, I started experimenting. And this S’mores recipe? Oh, this is the one. It’s not just a bowl of ice cream; it’s an experience. Let me show you how to make it.
A Quick Look at What We’re Doing
Before we get our hands dirty, here’s the game plan.
- Time Commitment: Okay, a heads-up: this isn’t instant gratification. You’ll need about 10 minutes to mix the base, a full 24 hours for it to freeze solid (don’t cheat!), and another 10 minutes for the Creami to do its thing. Trust me, it’s worth the wait.
- How Much It Makes: This recipe makes one 16-ounce pint. In my house, that’s a single serving. Kidding! (Mostly). If you want to have another one ready to go, just double the ingredients and use a second Creami pint. It’s perfect for prepping dessert for the week.
- Difficulty: Honestly? This is super easy. If you can measure stuff and stir it, you’re golden. The machine does all the heavy lifting.
- Gear You’ll Need: Well, you obviously need a Ninja Creami machine for this one. You’ll also need one of its pint containers, a small bowl, and a whisk or spoon. A fork works fine if you don’t have a tiny whisk.
- Make-Ahead Pro Tip: Here’s what I do: I make a few bases on a Sunday and pop them in the freezer. That way, I’m just a few minutes away from fresh, homemade ice cream anytime the craving hits.
The Ingredients: Our S’mores Dream Team
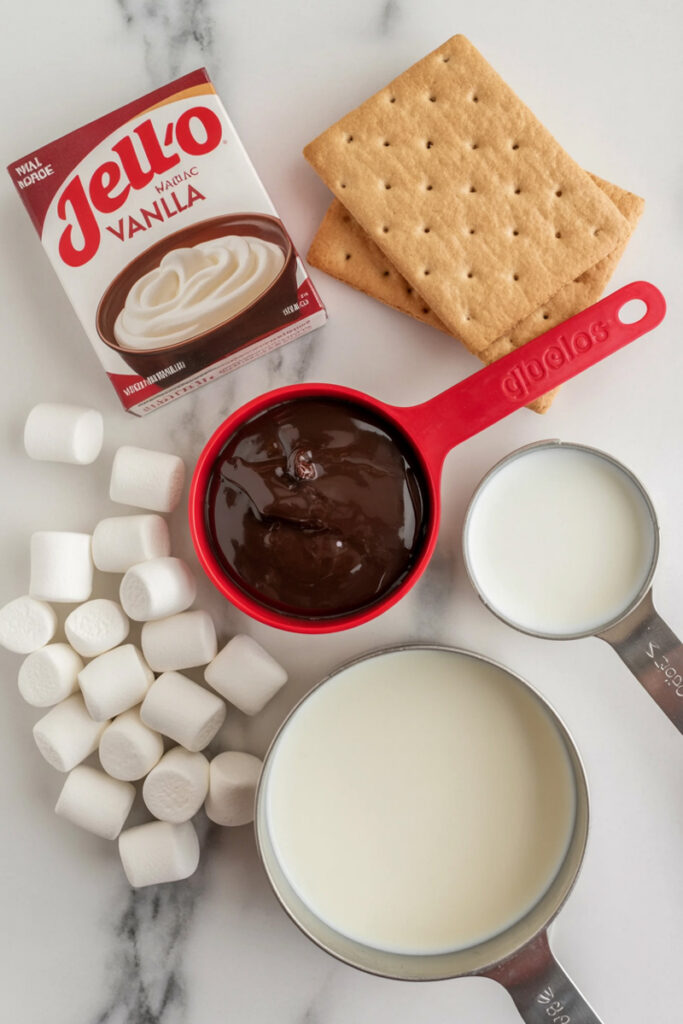
Great ice cream starts with a few key players. The list for this is simple, but every single ingredient has an important job.
The base is what makes it creamy and delicious.
- 2 Tablespoons of Instant Vanilla Pudding Mix: This is the secret. Seriously. It acts as a stabilizer, which is a fancy way of saying it stops annoying ice crystals from forming. It’s the key to making it smooth.
- 1 teaspoon of Vanilla Extract: Just a little bit for that warm, classic ice cream flavor in the background.
- 2 Tablespoons of Chocolate Sauce: Use a chocolate sauce you actually love to eat by the spoonful. Quality matters here!
- ½ Cup of Marshmallow Cream (or Fluff): This stuff is pure magic. It dissolves right into the base, so you get that sweet, gooey marshmallow flavor in every single bite.
- ½ Cup of Milk: I use whole milk or 2% because it makes the ice cream richer. But you can totally use skim milk or a non-dairy option like almond or oat milk. Just pour it right up to the “Max Fill” line on the pint.
And for the good stuff we add at the end… the mix-ins!
- ⅛ Cup of Crushed Graham Crackers
- ¼ Cup of Mini Marshmallows
Ingredient Chart for Making More
| Ingredient | For 1 Pint | For 2 Pints | For 3 Pints |
| Instant Vanilla Pudding Mix | 2 Tbsp | 4 Tbsp | 6 Tbsp |
| Vanilla Extract | 1 tsp | 2 tsp | 1 Tbsp |
| Chocolate Sauce | 2 Tbsp | ¼ Cup | 6 Tbsp |
| Marshmallow Cream | ½ Cup | 1 Cup | 1 ½ Cups |
| Milk | To Fill Line | To Fill Line | To Fill Line |
| Crushed Graham Crackers | ⅛ Cup | ¼ Cup | ⅓ Cup |
| Mini Marshmallows | ¼ Cup | ½ Cup | ¾ Cup |
Let’s Make Some Ice Cream! Step-by-Step
Alright, let’s do this. I’ll walk you through it.
Step 1: Make the Magical Base
First, we build our flavor foundation. Grab your empty Ninja Creami pint.
Dump in the instant vanilla pudding mix, vanilla extract, chocolate sauce, and that amazing marshmallow cream. Now, stir it all together. You’re aiming for a smooth, thick paste, kind of like frosting. Don’t rush this part! Scrape the bottom and sides to make sure there are no dry clumps of pudding mix hiding.
Step 2: Add Milk and Freeze
Once the base is smooth, it’s time for the milk.
Slowly pour the milk in, stirring as you go, until you hit that “Max Fill” line. Give it one final, good stir to make sure everything is mixed together.
Put the lid on tight and stick the pint in the freezer. Here’s a little tip: make sure it’s sitting on a completely flat surface. If it freezes at an angle, the machine might have trouble spinning it evenly.
Now for the hard part. The waiting game. It needs a full 24 hours to freeze solid. I know, it’s tough. But this is the most important step for getting that perfect Creami texture. Seriously, don’t rush it.
Step 3: The First Spin!
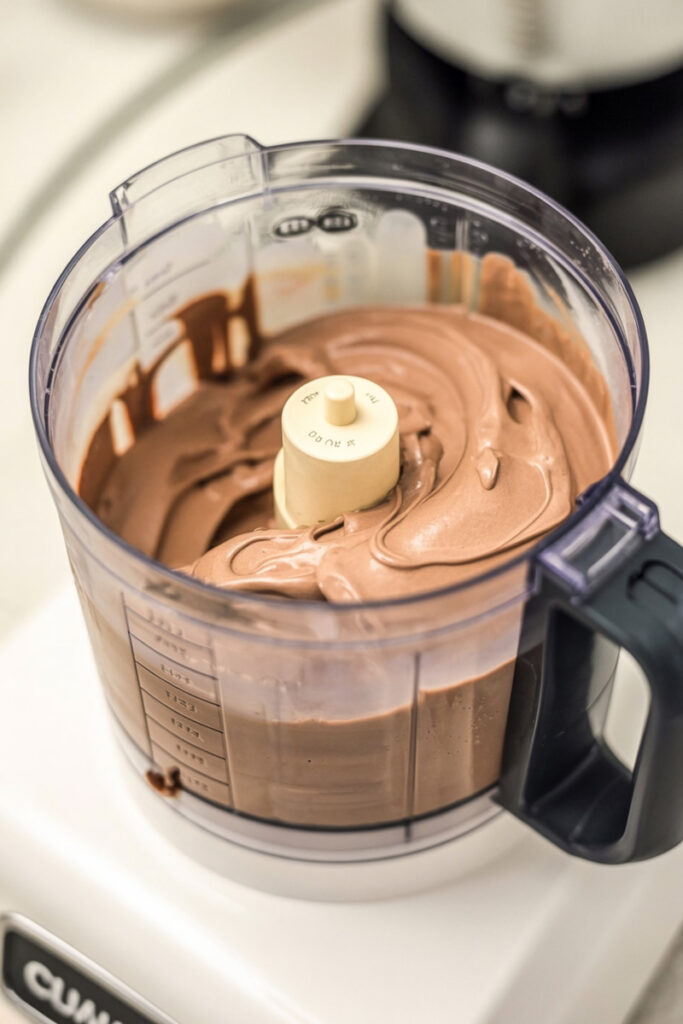
Okay, it’s time! Pull your pint out of the freezer, take off the lid, and place it into the outer bowl of the Creami. Lock the blade lid on top, put the whole thing in the machine, and twist it up to lock it in place.
Hit the “ICE CREAM” button. It’s going to get loud—that’s the sound of science happening!
When it’s done, take it out and look. Don’t freak out if it looks dry or kind of powdery. This is totally normal, especially with recipes that have a lot of sugar or less fat. We’re about to fix it.
Step 4: The Re-Spin (This is the Secret!)
To turn that crumbly texture into a dreamy cream, all you have to do is add one tablespoon of milk. Just pour it right over the top.
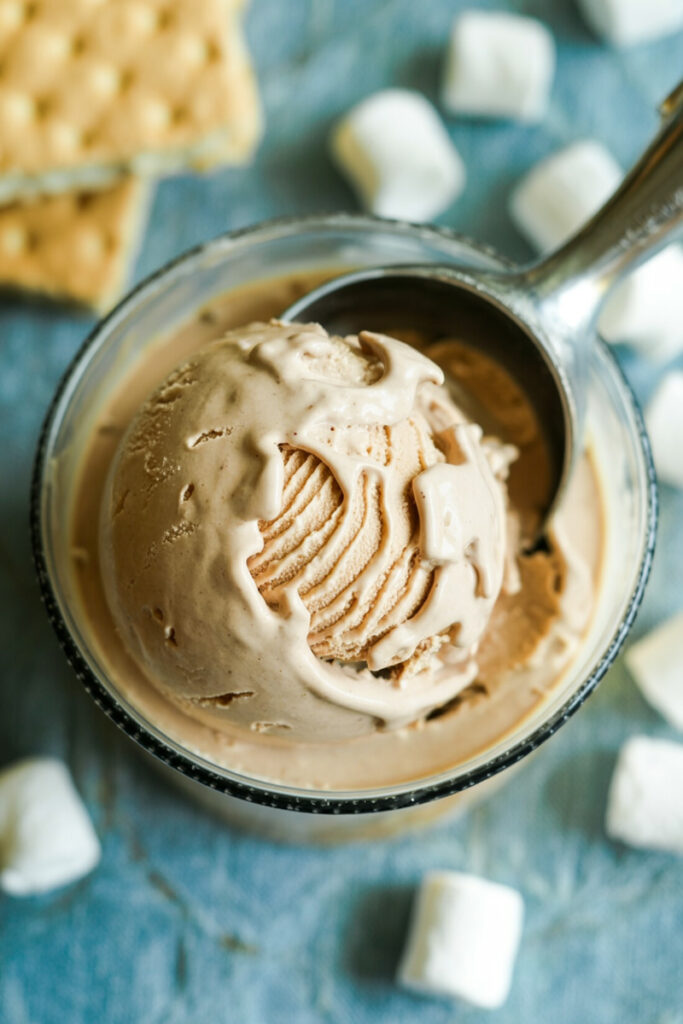
Put it back in the machine and run the “ICE CREAM” cycle one more time. This re-spin is like the secret handshake for Creami owners. It lets the machine whip that little bit of liquid into the base, making it incredibly smooth and luscious. This time, it should look like perfect, scoopable ice cream.
Step 5: Add the Good Stuff (Mix-Ins!)
Now for the best part.
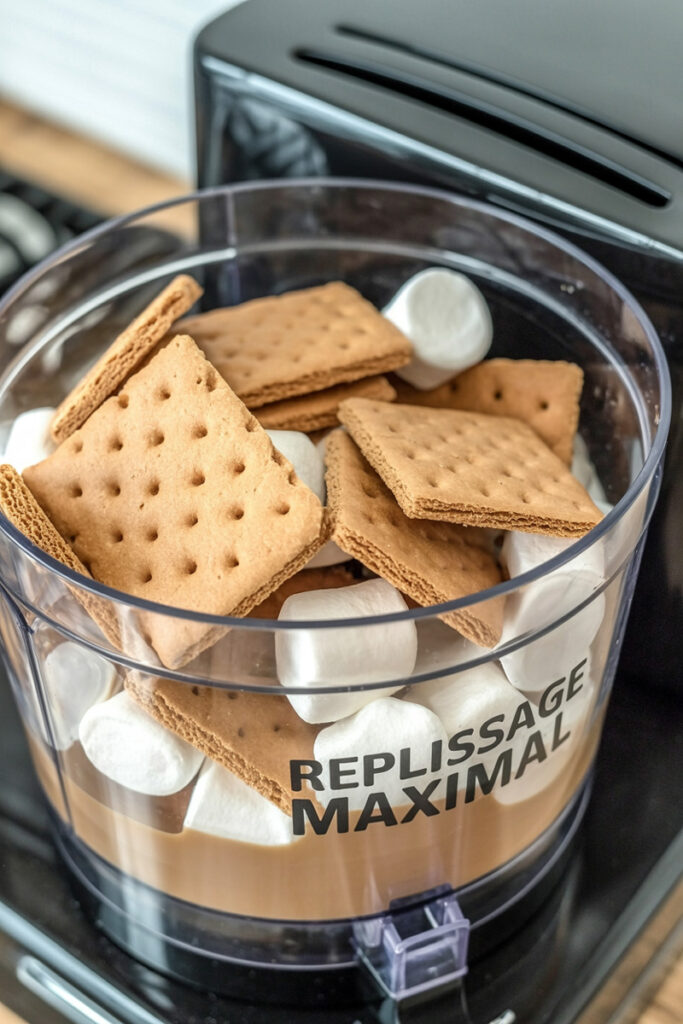
Take a spoon and carve out a hole about an inch wide all the way down the center of the ice cream. This is your little treasure chest. Drop in the crushed graham crackers and mini marshmallows. If you’re like me, you’ll add an extra drizzle of chocolate sauce in there, too.
Don’t mix it by hand! Lock it back into the machine and press the “MIX-INS” button. This cycle is much gentler and is designed to fold everything in perfectly without crushing your graham crackers into dust.
Once it stops, it’s done. You did it!
Want to Mix It Up? Some Fun Ideas
Don’t be afraid to play with your food! Think of this recipe as your starting point.
- Dietary Tweaks: For a gluten-free version, just use gluten-free graham crackers. Easy. To cut down on sugar, look for sugar-free pudding mix and chocolate sauce.
- New Flavors: Want a Peanut Butter S’mores? Add a tablespoon of powdered peanut butter to the base and use chopped peanut butter cups as a mix-in. For a Salted Caramel S’mores, swap the chocolate sauce for caramel and add a pinch of sea salt to the base.
- Make It Fancy: If you have guests over and want to impress them, try this. Spread the mini marshmallows on a baking sheet and toast them under your broiler for a minute. Watch them like a hawk because they burn fast! Then, let them cool before adding them as a mix-in. It adds a real, smoky campfire flavor that is just amazing.
How to Serve and Store It
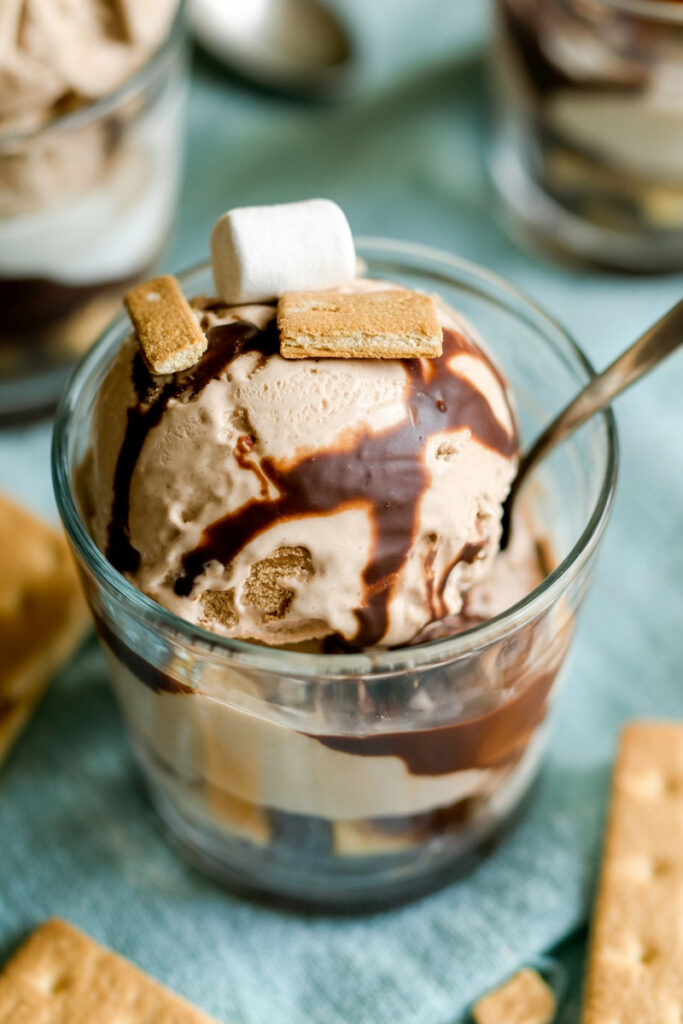
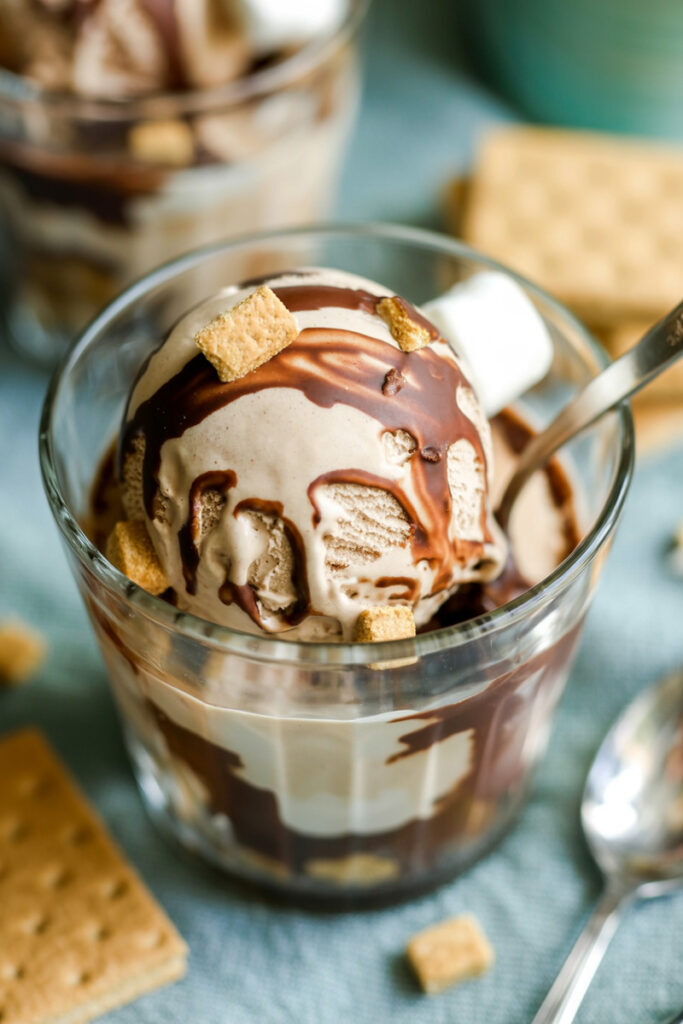
The absolute best time to eat this is right away. The texture is like the most luxurious soft-serve you’ve ever had. I scoop it into a bowl and top it with more crushed graham crackers, another drizzle of chocolate, and maybe a single, perfectly toasted marshmallow.
If you somehow have leftovers, you can store them right in the pint. Just smooth the top down, press a little piece of plastic wrap against the surface to keep ice crystals away, and pop the lid on.
When you’re ready for more, it will be frozen solid again. No biggie. Just put it back in the Ninja Creami and run the “ICE CREAM” function one more time. It’ll come right back to that perfectly creamy texture.
Enjoy!
PrintNinja Creami S’mores Ice Cream
Capture the magic of a campfire in a pint! This recipe delivers a super smooth, creamy s’mores ice cream with gooey marshmallow and crunchy graham crackers in every single bite.
- Prep Time: 10 minutes
- Cook Time: 10 minutes
- Total Time: 24 hours 20 minutes (includes freeze time)
- Yield: 1 Pint (about 2 servings) 1x
- Category: Dessert
- Cuisine: American
Ingredients
For the Ice Cream Base:
- 2 Tbsp Instant Vanilla Pudding Mix
- 1 tsp Vanilla Extract
- 2 Tbsp Chocolate Sauce
- ½ Cup Marshmallow Cream (Fluff)
- ½ Cup Milk (Whole or 2% works best), plus 1 Tbsp for re-spinning
For the Mix-Ins:
- ⅛ Cup Crushed Graham Crackers
- ¼ Cup Mini Marshmallows
Instructions
- Make the Base: In your Ninja Creami pint, whisk the pudding mix, vanilla, chocolate sauce, and marshmallow cream until it’s a smooth, thick paste. No lumps!
- Add Milk & Freeze: Slowly stir in the milk until the mixture reaches the max fill line. Secure the lid and place the pint on a perfectly flat surface in your freezer for at least 24 hours.
- First Spin: Once fully frozen, place the pint into your Ninja Creami and process it using the ICE CREAM function. Don’t worry if it looks dry or crumbly after this first spin—that’s completely normal.
- Re-Spin for Creaminess: Add 1 tablespoon of milk directly to the top of the crumbly base. Put it back in the machine and run the ICE CREAM cycle a second time. This is the secret to making it perfectly smooth and scoopable.
- Fold in the Good Stuff: Use a spoon to carve a 1-inch wide hole down the center of the ice cream. Add your crushed graham crackers and mini marshmallows. Process one last time using the MIX-INS function to evenly distribute them.
Notes
- Serving Suggestion: This ice cream is best enjoyed right away for a perfect soft-serve texture. Top it with an extra drizzle of chocolate sauce and a sprinkle of graham cracker crumbs.
- Tips & Tricks: The 24-hour freeze is essential for the best results, so don’t skip it! For an authentic campfire flavor, toast your mini marshmallows on a baking sheet under the broiler for 30-60 seconds (watch them closely!) before adding them as a mix-in.
- Storage Instructions: To store leftovers, smooth the top of the ice cream in the pint, press a small piece of parchment paper directly on the surface, and seal with the lid. When you’re ready to eat it again, you will need to re-process it on the ICE CREAM function to restore its creamy texture.
