
Hey there! If you’re anything like me, you’ve probably dreamed of making amazing ice cream at home. The kind that’s super creamy, packed with flavor, but maybe not packed with a ton of guilt. Well, you’ve found the right recipe.
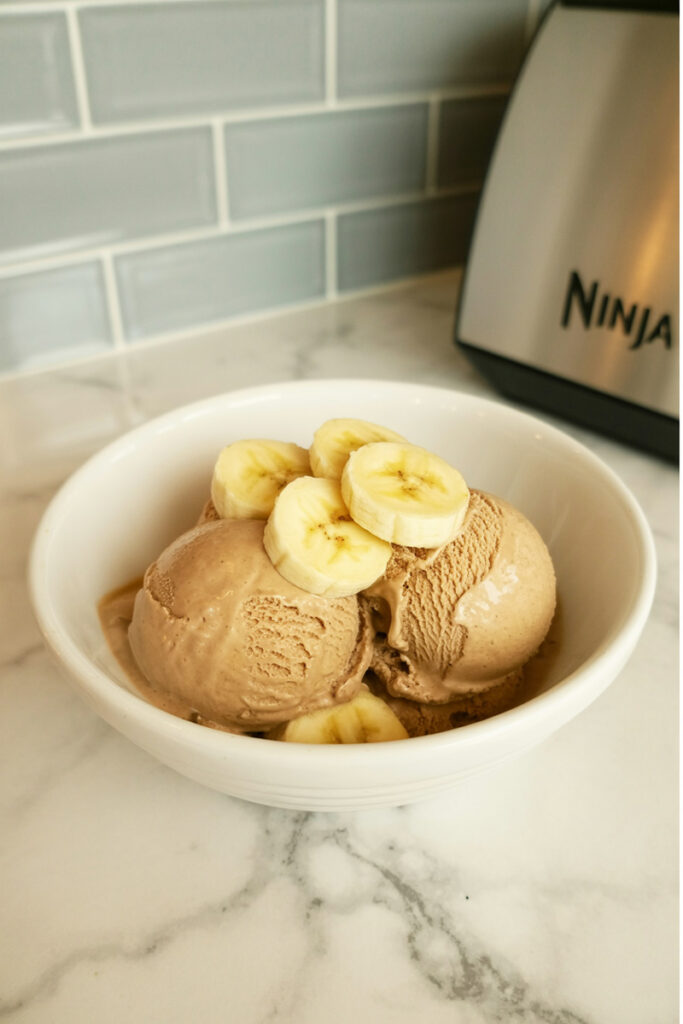
Today, we’re making a Peanut Butter Banana Ice Cream using the Ninja Creami.
Let’s be honest, peanut butter and banana is a classic combo for a reason. It’s sweet, a little salty, and just plain satisfying. But getting that perfect, scoop-shop texture at home? It used to be a real pain. That is, until the Ninja Creami showed up. This thing really does make it easy to turn a few simple ingredients into a seriously impressive dessert.
I’ve tweaked this recipe a bunch of times to get it just right. The secret? A little bit of cream cheese and some coconut cream. It sounds weird, I know, but it creates a rich, velvety texture that’s just incredible.
So, let’s get into it and make something delicious.
What to Expect
Before we jump in, here’s a quick rundown of what you’re getting into. This recipe is mostly about waiting, with a huge payoff at the end.
- Active Time: About 5 minutes. Seriously. It’s just blending the base. The hard part is waiting 24 hours for it to freeze solid. This step is super important for the Creami to do its job.
- Servings: This makes one perfect pint. I love making single pints because it’s great for portion control or just having a few different flavors ready to go in the freezer. You can easily make a few bases at once.
- Difficulty: I’d say this is as easy as it gets. If you can use a blender and a microwave, you’ve got this. The machine does all the real work.
Want to make a bigger batch? Here’s a handy guide for scaling up.
| Pints to Make | Cream Cheese | Cocoa Powder | Stevia | Agave Nectar | Banana Extract | Coconut Cream | Almond Milk | Peanut Butter | Ripe Banana |
| 1 | 2 Tbsp | 1 ½ Tbsp | ½ Tsp | 2 ½ Tbsp | 1 Tsp | ¾ Cup | 1 Cup | 2 Tbsp | 1 |
| 2 | ¼ Cup | 3 Tbsp | 1 Tsp | 5 Tbsp | 2 Tsp | 1 ½ Cups | 2 Cups | ¼ Cup | 2 |
| 3 | 6 Tbsp | 4 ½ Tbsp | 1 ½ Tsp | 7 ½ Tbsp | 3 Tsp | 2 ¼ Cups | 3 Cups | 6 Tbsp | 3 |
Equipment You’ll Need:
- The star of the show: A Ninja Creami Machine. This is the one thing you can’t substitute.
- A blender. A fancy high-speed one is nice, but a regular one or even an immersion blender will work just fine.
- A small microwave-safe bowl.
- Ninja Creami pint containers.
The good news? This entire recipe is designed to be made ahead. I usually whip up a few of these bases on a Sunday and stash them in the freezer. That way, whenever I want fresh ice cream, it’s only a few minutes away.
Here’s What You’ll Need
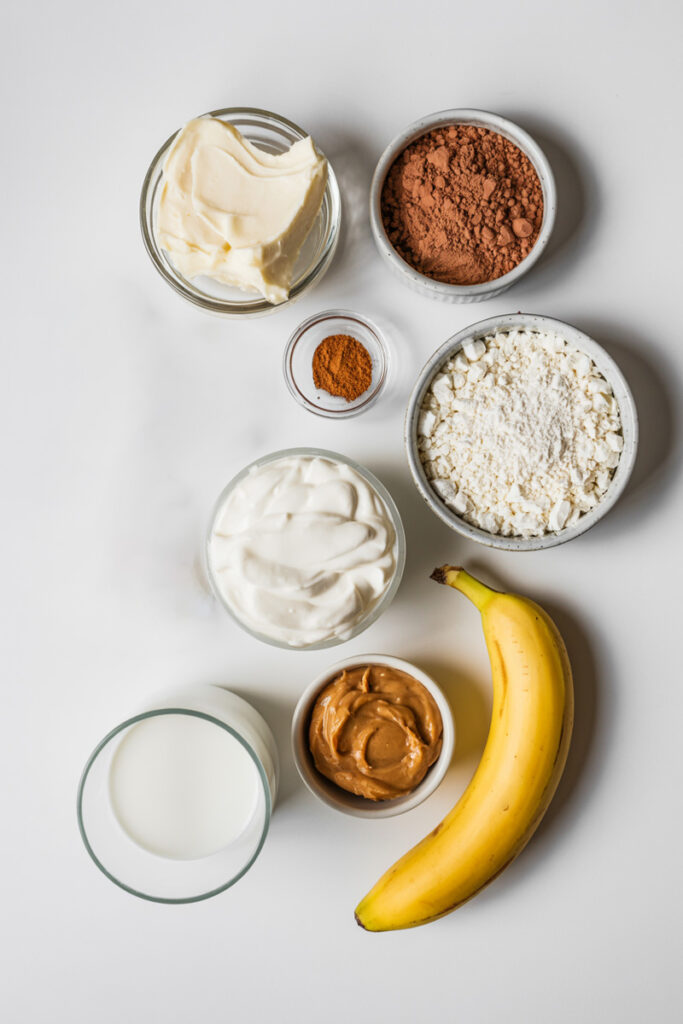
Great ingredients make great ice cream. It’s that simple. Here’s a look at our lineup and why each one plays an important role.
For the creamy base, we’re using 2 Tablespoons of Cream Cheese and ¾ Cup of Coconut Cream. The cream cheese is the key to fighting iciness. Its fat and stabilizers give the ice cream a dense, rich body, kind of like a frozen cheesecake. Then, the coconut cream comes in and adds an extra layer of velvety smoothness. For this, you want the full-fat stuff from a can, not the thin coconut milk you find in a carton.
For flavor, it’s all about our power trio: chocolate, banana, and peanut butter. You’ll need 1 ½ Tablespoons of Cocoa Powder, 1 Teaspoon of Banana Extract, and one ripe Banana. I like using dark cocoa for a deeper chocolate flavor. The extract gives it a consistent banana flavor all the way through, while the fresh banana adds natural sweetness. Pro tip: make sure your banana has some brown spots on it. That’s when it’s the sweetest! And of course, 2 Tablespoons of Peanut Butter. A smooth, natural kind blends in the best.
To sweeten things up, we’ll use ½ Teaspoon of Stevia and 2 ½ Tablespoons of Raw Agave Nectar. This combo gives us sweetness without being overpowering.
Finally, 1 Cup of Almond Milk ties everything together. You can totally swap this out. I’ve had great results with ultra-filtered milk (like Fairlife) or a rich oat milk, too.
Your Step-by-Step Guide
Okay, time to make some ice cream. Just follow these steps, and you’ll be good to go.
Step 1: Soften the Cream Cheese
First up, pop your 2 Tablespoons of cream cheese into a small bowl and microwave it for about 10 seconds. You just want to soften it up, not melt it. This tiny step is so important because it helps the cream cheese blend in completely, so you don’t end up with little white specks in your ice cream.
Step 2: Blend the Base
Scoop the softened cream cheese into your blender. Now, add everything else: the cocoa powder, stevia, agave, banana extract, coconut cream, almond milk, peanut butter, and the banana. Put the lid on and blend it for about a minute. You’re looking for a super smooth, silky liquid, like a fancy milkshake. No lumps allowed!
Step 3: The Big Freeze
This is the hardest part… waiting. Pour your mixture into a Ninja Creami pint, making sure to stop at the max fill line. Then, stick it in the freezer on a completely flat surface. A little trick I learned is to leave the lid off while it freezes. This helps prevent that annoying hump from forming on top.
Now, walk away for 24 hours. Your freezer needs to be pretty cold for this to work, somewhere between 9°F and -7°F.
Step 4: The First Spin
It’s time! Pull your pint out of the freezer. It will look like a solid, frozen brick. Don’t worry, that’s what you want. Place the pint into the outer bowl, snap on the processor lid, lock it into your machine, and hit the “LITE ICE CREAM” button.
Step 5: The Re-Spin (Where the Magic Happens)
After the first spin, take a look. It will probably look dry and crumbly, almost like powder.
Do not panic! This is totally normal.
To fix it, add one tablespoon of almond milk right on top of the crumbly mixture. Put it back in the machine and press the “RE-SPIN” button.
Check it again. It should be looking much creamier. If it’s still a bit powdery in the middle, just add one more tablespoon of milk and re-spin it one last time. Sometimes it takes two or three re-spins. Just trust the process. You’ll see it transform from powder into thick, creamy, perfect ice cream.

Making It Your Own
This recipe is a great starting point, but now it’s time to have some fun with it.
- Want to make it vegan? Easy. Just use a vegan cream cheese. All the other ingredients are already plant-based. This recipe is also gluten-free!
- Need a protein boost? Add a scoop of your favorite chocolate or vanilla protein powder when you blend the base. It’s perfect for a post-workout snack.
- Time for Mix-Ins! After the ice cream is creamy, use a spoon to make a little hole in the center, add your goodies, and run the “MIX-IN” cycle. Here are a few ideas:
- The Chunky Monkey: Add chopped walnuts and chocolate chunks.
- The Elvis: Feeling brave? Mix in some crumbled crispy bacon. It’s surprisingly good.
- The Cookie Lover: Crushed Oreos or chocolate chip cookies are always a winner.
- The Candy Aisle: Chopped Reese’s Peanut Butter Cups or M&M’s.
One quick note: if you want a pretty swirl of peanut butter or chocolate fudge, it’s best to do that by hand. The mix-in cycle will blend it all together. Just scoop the finished ice cream into a container, add a few blobs of peanut butter, and gently fold it in with a spoon.
How to Serve and Store It
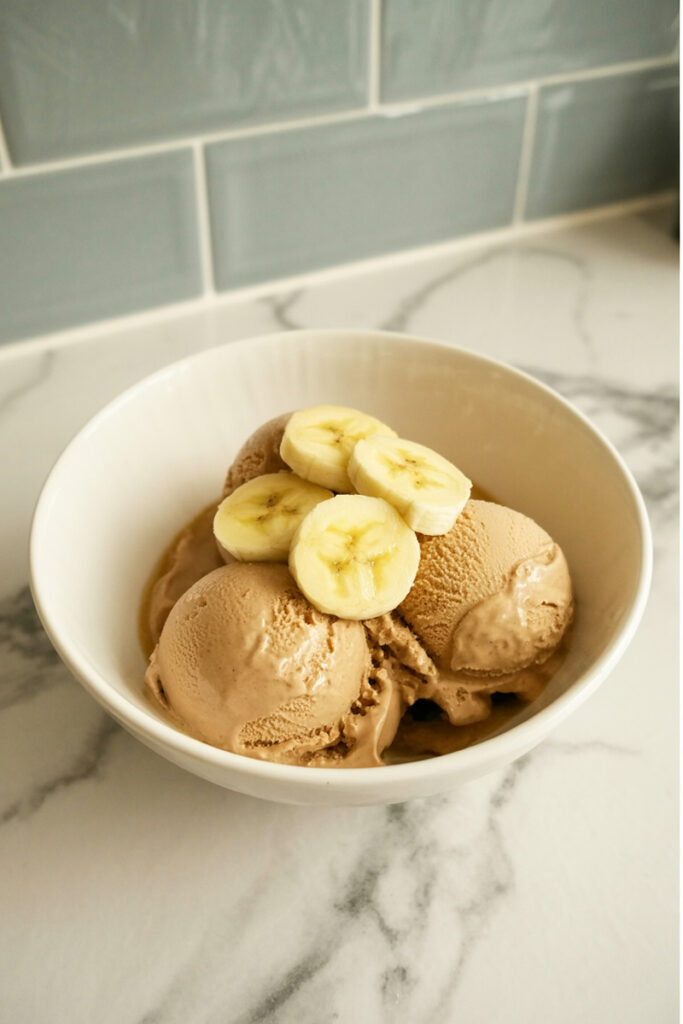
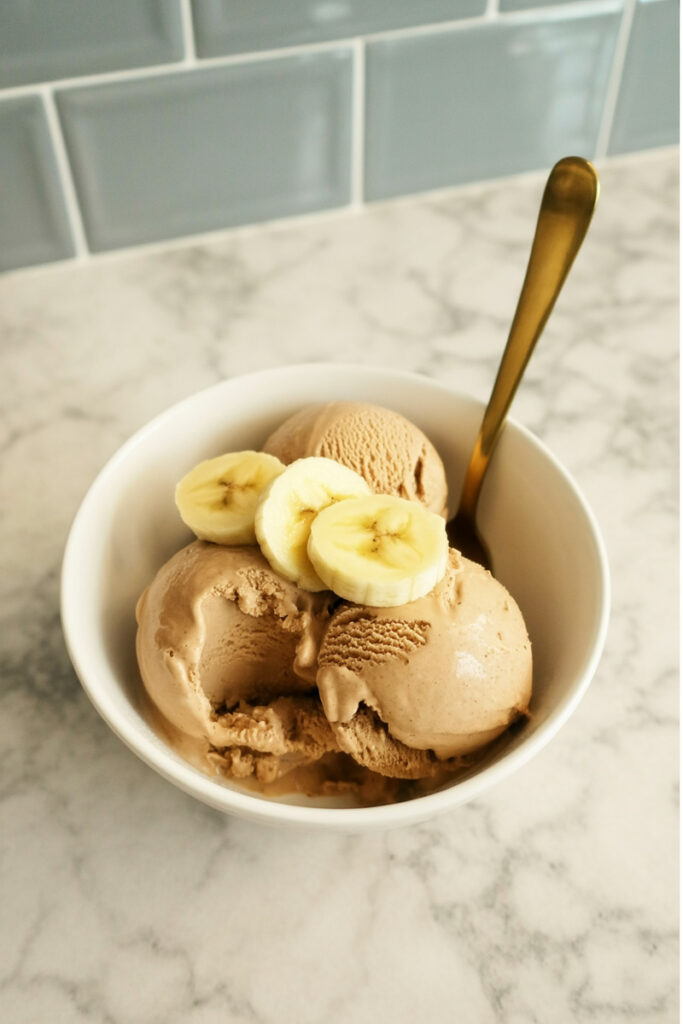
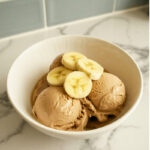
You did it! The best way to enjoy this is immediately after the final re-spin. It will be at its absolute creamiest. Scoop it into a bowl and top with some fresh banana slices or a drizzle of chocolate syrup.
What about leftovers? This is where the Creami really shines. Normal homemade ice cream gets hard and icy after being re-frozen. Not this stuff.
Just scoop any leftovers back into the pint, smooth the top so it’s flat, and pop it back in the freezer. When you’re ready for more, you can just run it through another “RE-SPIN” cycle to bring it right back to that fresh, creamy texture.
PrintNinja Creami Peanut Butter Banana Ice Cream
Tired of icy homemade ice cream? This recipe is your answer. It blends peanut butter, banana, and a hint of chocolate into an unbelievably creamy, rich treat right in your Ninja Creami. It tastes indulgent but is surprisingly simple to whip up!
- Prep Time: 5 minutes
- Cook Time: None
- Total Time: 24 hours 5 minutes (includes 24-hour freeze time)
- Yield: 1 Pint 1x
- Category: Dessert
- Cuisine: American
Ingredients
- 2 Tbsp Cream Cheese, softened
- 1 ripe Banana
- 2 Tbsp Peanut Butter
- ¾ cup Coconut Cream (full-fat, from a can)
- 1 cup Almond Milk (or milk of choice)
- 1 ½ Tbsp Cocoa Powder
- 2 ½ Tbsp Raw Agave Nectar
- ½ tsp Stevia
- 1 tsp Banana Extract
Instructions
- Prep the Base: Pop the cream cheese in a microwave-safe bowl for 10 seconds to soften it. This is the secret to a perfectly smooth texture!
- Blend It Up: Add the softened cream cheese and all other ingredients to a blender. Blend on high for about 60 seconds until everything is completely smooth and combined.
- Freeze Solid: Pour the mixture into a Ninja Creami pint container, stopping at the max fill line. Place it on a level surface in your freezer for a full 24 hours.
- First Spin: Once frozen solid, place the pint into your Ninja Creami and process it using the ‘LITE ICE CREAM’ function. Don’t worry if it looks dry and crumbly—that’s totally normal.
- Re-Spin to Perfection: Add 1 Tbsp of almond milk directly on top of the crumbly mixture and press the ‘RE-SPIN’ button. If it’s still not creamy, add one more tablespoon of milk and re-spin again. You’ll have perfect, scoopable ice cream.
Notes
- Serving Suggestions: This ice cream is at its absolute best right after the final re-spin. Scoop it into a chilled bowl and top with fresh banana slices, a drizzle of chocolate syrup, or chopped peanuts.
- Pro-Tips: Don’t skip softening the cream cheese, as this prevents lumps. For best results, make sure your banana is ripe with a few brown spots for maximum sweetness.
- Storage Instructions: Got leftovers? Simply smooth the top surface flat inside the pint container and pop it back in the freezer. When you’re ready for another scoop, just run it through a ‘RE-SPIN’ cycle to bring it back to its original creamy glory.