
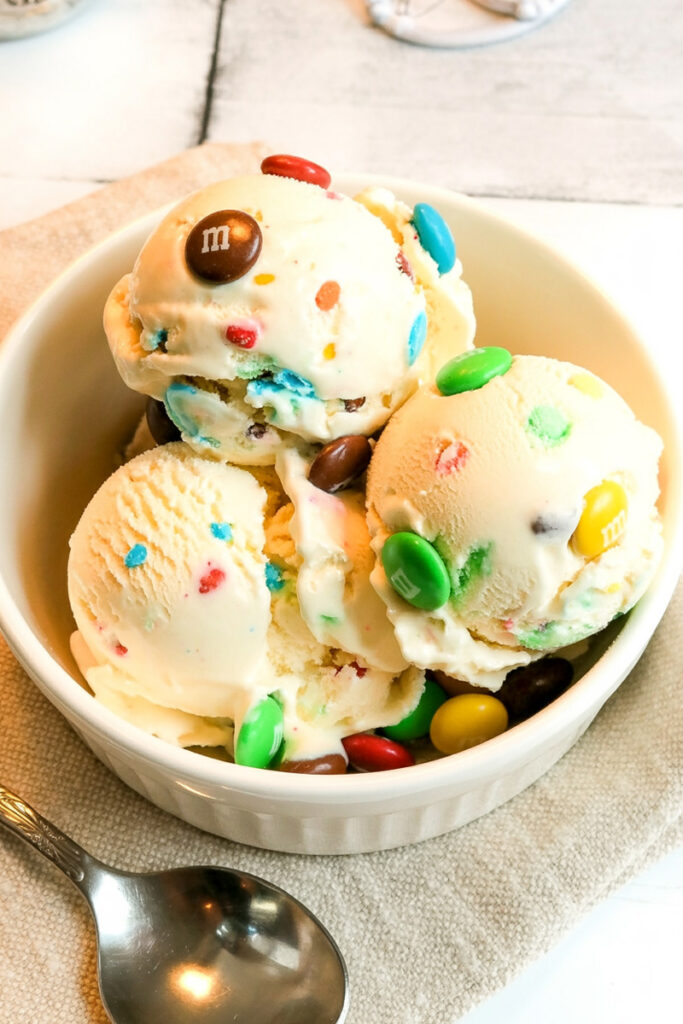
Hey everyone! Get ready to make the best M&M ice cream of your life. Seriously. There’s just something special about M&M ice cream, isn’t there? That creamy, sweet base. The crunch of the candy. That pop of chocolate in every bite. It’s a dessert that instantly takes me back to being a kid—think movie nights and summer treats.
But let’s be real. Store-bought M&M ice cream can be a letdown. Sometimes the candy is stale, or the ice cream itself just isn’t creamy enough. That’s why I had to create my own version with the Ninja Creami. The result? A dessert that’s not just better, it’s unbelievably rich and silky smooth. With the Creami, we aren’t just making ice cream; we’re creating a custom-made treat.
Recipe at a Glance
This recipe is simple. The Ninja Creami does most of the work for you. No fancy churning, no special skills needed. The goal? A perfect soft-serve style ice cream that’s both fun to make and delicious to eat.
Prep & Freeze Time: You’ll spend about 5 minutes of active time prepping, then you’ll need to wait 24 hours for the base to freeze solid. So, the total time from start to finish is 1 day and 5 minutes.
Servings: This makes one pint. Want more? Just double or triple the ingredients and make a few pints at once.
Difficulty: This is a beginner-friendly recipe. The Creami is the real chef here.
What You’ll Need: A Ninja Creami machine and a pint container. A small blender is great for mixing the base, but a whisk and a bowl work just fine.
Make-Ahead Option: This recipe is perfect for meal prep. You can make the base and freeze it for weeks. So when that ice cream craving hits, you’re ready to go!
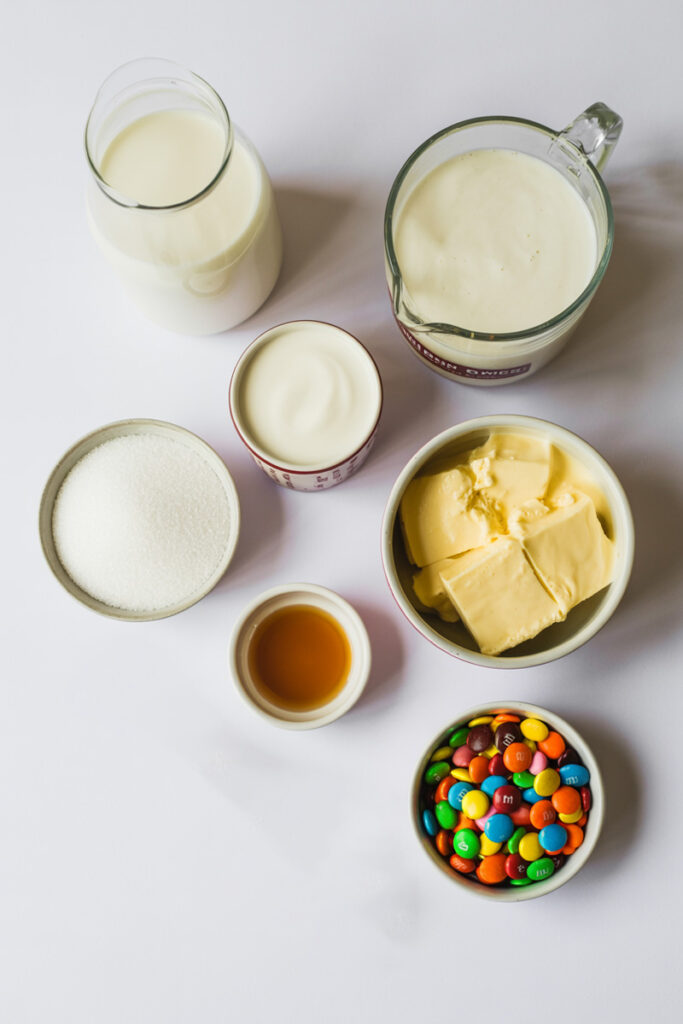
Ingredients for Your Ninja Creami Masterpiece
To make this ice cream, you’ll need just a few simple ingredients. The magic happens when whole milk, half and half, and instant pudding mix come together. This combo makes for a super creamy, rich base.
| Ingredient | Measurement | Notes |
| Whole Milk | 1 Cup (236 mL) | The base of your ice cream. |
| Half and Half | ½ Cup (121 g) | Adds a rich, smooth texture. |
| Sugar | ⅓ Cup (66 ⅔ g) | For sweetness. |
| Instant Pudding Mix (Vanilla) | 2 Tablespoons | A must-have for a creamy, scoopable finish. |
| Vanilla Bean Paste | 1 Teaspoon | A concentrated flavor that makes a big difference. |
| M&Ms | ¼ Cup (59 1/7 g) | The star of the show! |
Ingredient Notes & Swaps: The beauty of this recipe? It’s super flexible.
- For a lighter version, you can use low-fat milk, but be warned: it might get a little icy.
- Need a sugar sub? A blend like Swerve Allulose works perfectly.
- The instant pudding mix is a key ingredient. It’s the secret to stopping ice crystals from forming. Don’t skip it! But you can use a sugar-free mix if you like.
- No vanilla bean paste? Vanilla extract is a great substitute.
- And of course, you can swap out the M&Ms for any small chocolate candies you love.
Step-by-Step Method: Your Guided Tour to Perfect Ice Cream
This process is a breeze. I’ll walk you through each stage and share my best tips.
1. Creating the Perfect Base:
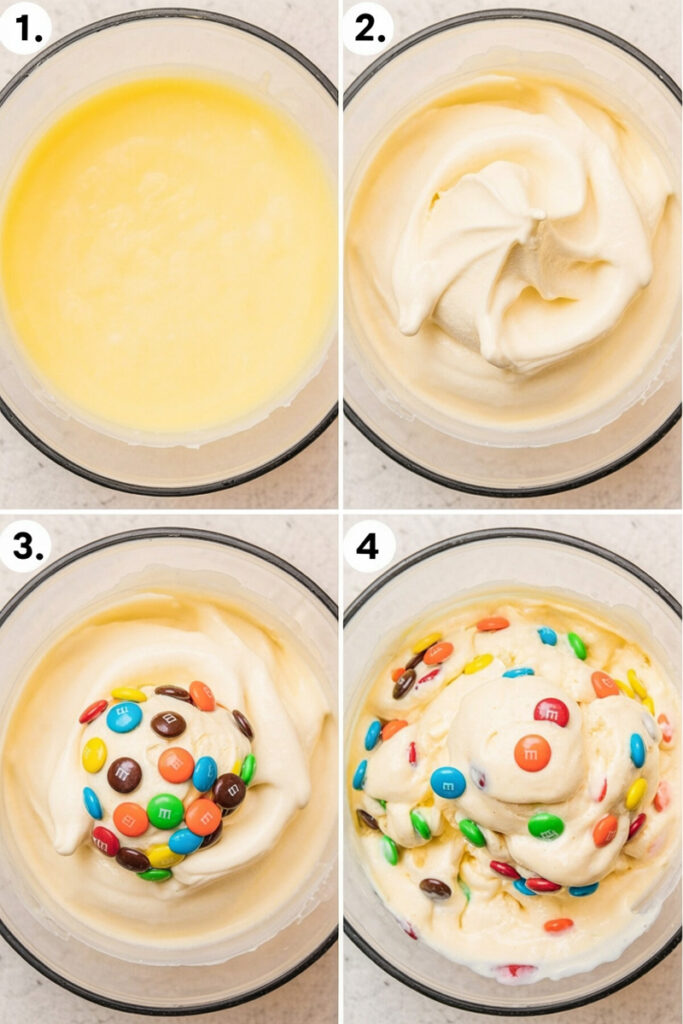
First, let’s make the foundation for our ice cream. Grab a blender and toss in the whole milk, half and half, sugar, instant vanilla pudding mix, and vanilla bean paste. Blend for a minute or two until the sugar is totally dissolved and the mixture is smooth. If you’re doing this by hand, just whisk it like crazy in a bowl until there are no lumps.
The mixture should look a bit thicker and have a light, creamy color. Pour the liquid into your Ninja Creami pint container, making sure you don’t go over the max fill line.
Pro Tip: For a super smooth result, place the container in your freezer without the lid. This prevents a dome from forming on top, which can mess with the machine’s blade. Also, make sure your freezer is set between 9°F and -7°F for the best results.
2. The Waiting Game (Freezing):
This is the most important step. The final texture depends entirely on how well this base freezes. Put the pint on a level shelf in your freezer and let it freeze for a full 24 hours. Don’t rush this! We’re looking for a solid, evenly frozen block.
What to look for: After 24 hours, the mixture should be completely solid and opaque. No liquid or slushy spots.
3. The Magic Moment (Processing):
Time for the Creami to do its thing! Take the pint out of the freezer and put it into the outer bowl. Lock the lid in place and select the “ICE CREAM” setting. The machine will spin your frozen block into a fluffy, delicious treat.
Common Mistake to Avoid: Don’t freak out if it looks crumbly or powdery after the first spin. This is totally normal, especially with a lower-fat base.
4. The Respin for Creaminess:
If your ice cream is powdery, just add a tablespoon or two of milk to the pint. This little bit of liquid helps the mixture become smoother. Put it back in the machine and hit the “RESIN” button. You might have to do this once or twice until you get that perfect, creamy soft-serve texture. You’ll know it’s ready when it looks silky and smooth.
5. Mixing in the M&Ms:
The best part! Use a spoon to dig a small well down the center of your perfectly spun ice cream. Pour in the M&Ms. Want smaller pieces? Chop them up a bit first. Put the pint back in the machine and this time, select the “MIX-IN” function. This will fold the M&Ms into the ice cream without crushing them into dust.
What to feel and smell for: You’ll feel the texture get even smoother, and the subtle smell of chocolate will fill the air.
Variations & Customization
This M&M ice cream recipe is just a starting point. Get creative!
- Dietary Tweaks: For a vegan or dairy-free version, use full-fat coconut milk instead of milk and half and half. Just make sure your instant pudding mix is certified gluten-free if needed.
- Beyond M&Ms: You can swap the M&Ms for anything you like! Try crushed cookies, chocolate chips, mini peanut butter cups, or a swirl of fudge or caramel sauce.
- Fancy vs. Everyday: For a fancy twist, use high-quality dark chocolate M&Ms and a premium vanilla bean paste. For a simple version, standard M&Ms and vanilla extract are perfect.
- Seasonal Fun: Use red and green M&Ms for Christmas or pastel colors for Easter. Easy!
Serving & Storage
You did it! Now, it’s time to enjoy the reward.
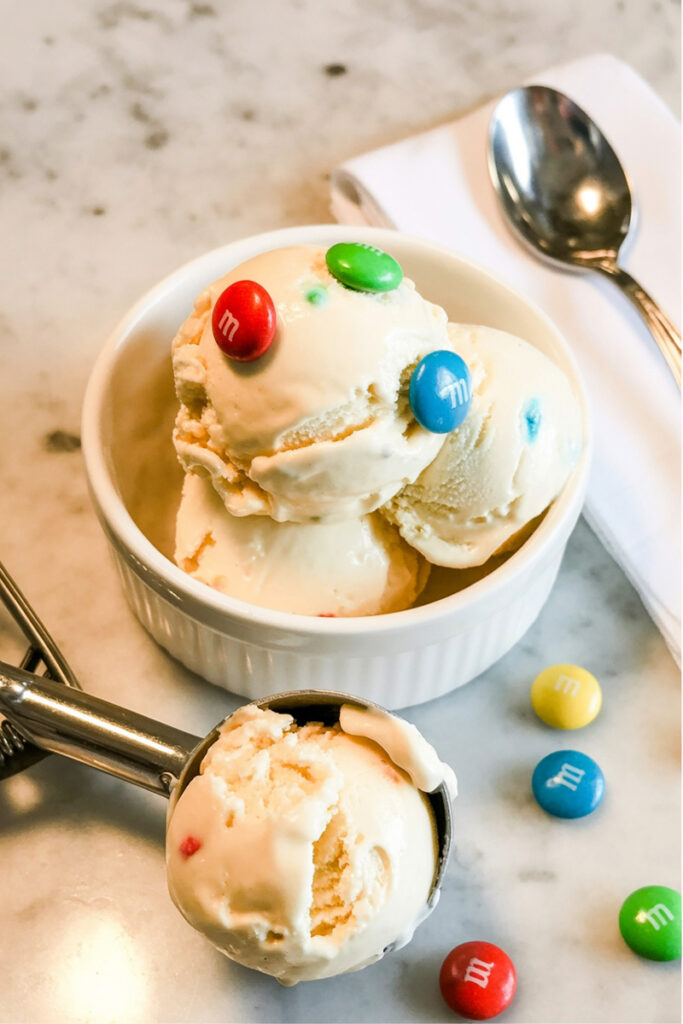
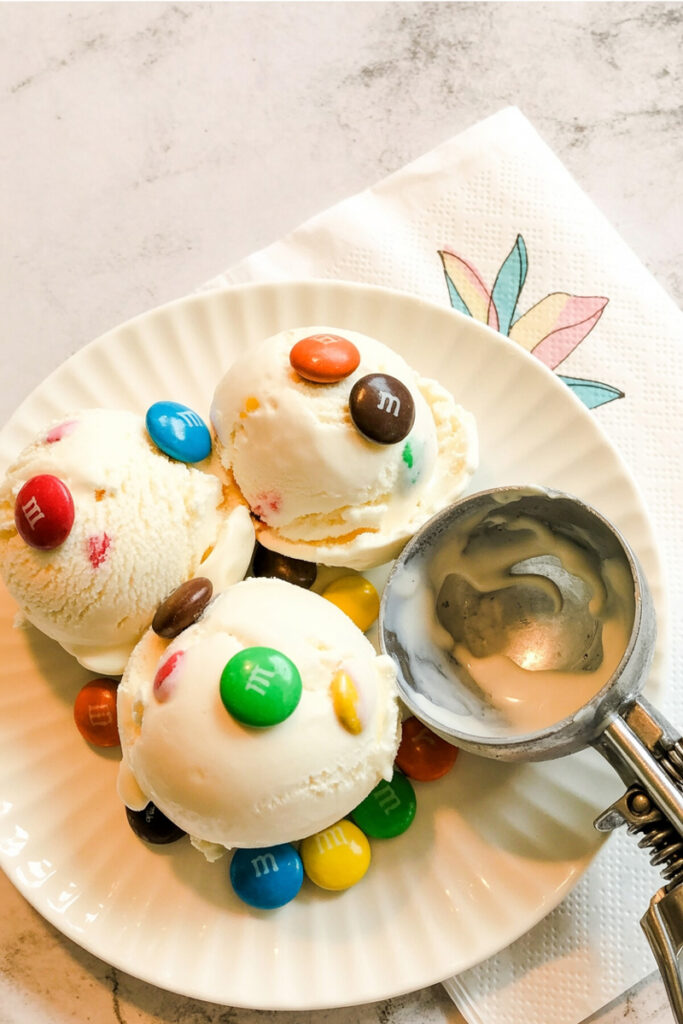
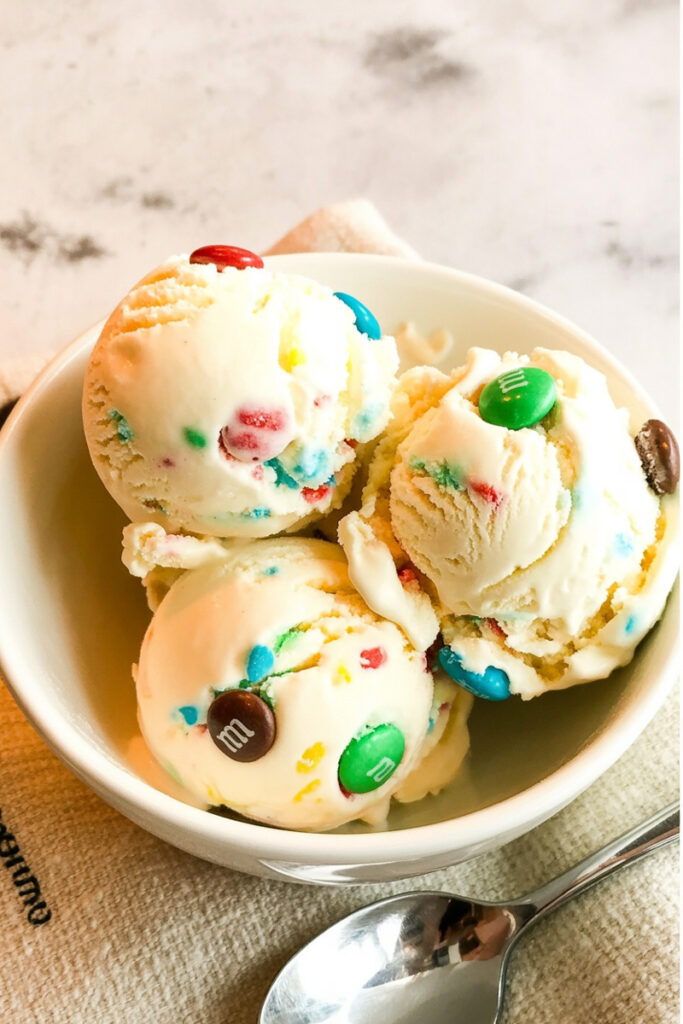
- Serving: The easiest way is to just grab a spoon and eat it straight from the pint. But if you want to be fancy, scoop it into a bowl and top it with a few extra M&Ms and some chocolate sauce.
- Pairs Well With: This ice cream is amazing on its own, but it also goes great with warm brownies or a slice of apple pie.
- Storing Leftovers: If you somehow have any left (unlikely!), just smooth the top and pop the lid back on the container. Put it back in the freezer.
- Re-making Leftovers: The next time you want a scoop, your leftovers will be rock-hard. No problem. Just put the pint back in the Ninja Creami and re-spin it. It’ll get that silky-smooth texture back. Just know that the M&Ms might get a little more crushed and spread out. You can always add a few fresh ones on top for garnish!
Ninja Creami M&M Ice Cream

This recipe makes a rich, creamy, and satisfying M&M ice cream that tastes way better than anything you’ll find at the store. The Ninja Creami does all the heavy lifting, so you get a perfect soft-serve texture every time.
- Prep Time: 5 minutes
- Cook Time: None
- Total Time: 1 day, 5 minutes (includes 24-hour freeze time)
- Yield: 1 pint 1x
- Category: Dessert
- Cuisine: American
Ingredients
- cup whole milk
- ½ cup half and half
- ⅓ cup sugar
- 2 tablespoons instant vanilla pudding mix
- 1 teaspoon vanilla bean paste
- ¼ cup M&Ms
Instructions
- Make the base. In a blender, combine the milk, half and half, sugar, pudding mix, and vanilla. Blend until the sugar is dissolved and the mixture is smooth.
- Freeze it up. Pour the mixture into a Ninja Creami pint container, staying below the max fill line. Place it in the freezer on a level surface for a full 24 hours until it’s a solid block.
- Spin it. Remove the pint from the freezer and place it into the outer bowl of your Ninja Creami. Lock the lid and press the “ICE CREAM” button.
- Respin if needed. If your ice cream looks crumbly, add a tablespoon of milk and hit the “RESIN” button. You might need to do this a couple of times for a super creamy texture.
- Mix in the M&Ms. Once the ice cream is smooth, use a spoon to dig a small well in the center. Pour in the M&Ms. Put the pint back in the machine and select “MIX-IN”. Enjoy!
Notes
- For a lighter version, you can use low-fat milk, but the texture might be a little icier.
- The pudding mix is key! It acts as a stabilizer and helps prevent ice crystals from forming.
- Serving: This is best eaten right out of the pint. For a nice presentation, you can scoop it into a bowl and top with a few extra M&Ms.
- Storage: If you have leftovers, smooth the top and put the lid back on the container. Freeze it until you’re ready to eat it again.
- Re-spinning leftovers: The next day, your ice cream will be rock hard. Just put the pint back in the Ninja Creami and re-spin it to get that perfect soft-serve texture back.