
Hey there! Let’s talk about something I’m super passionate about: dessert that doesn’t mess up my health goals.
For years, I was stuck. I’d crave ice cream, try to make a “healthy” protein version at home, and end up with a frozen brick. It was always icy, impossible to scoop, and just… sad. I figured creamy, delicious protein ice cream was a myth.
Then I got a Ninja Creami.
This thing is a legit kitchen wizard. It takes a solid-frozen block and turns it into the smoothest, creamiest treat you can imagine. It completely changed the game for me.
After a lot of trial and error (and eating a lot of ice cream, for science!), I finally perfected this recipe. It’s inspired by classic cookies ‘n’ cream but with a deep chocolate flavor and a nice protein punch.
The best part? It is genuinely scoopable right from the freezer. No more waiting, no more chipping away at an ice block. You’re about to make guilt-free dessert that tastes ridiculously good.

Here’s What You’re In For
Before we jump in, let’s get a quick lay of the land. This recipe is incredibly simple. The machine does all the hard work. Your biggest challenge will be waiting for it to freeze!
Time Commitment: You only need about 15 minutes of hands-on time to mix the base. Then comes the hard part… the 24-hour freeze. This is non-negotiable for the Creami to do its thing.
How Much It Makes: This recipe makes one perfect pint. It’s great for one or two people. But trust me, you’ll want more. It’s super easy to make a few different pints at once.
Here’s a quick guide if you want to prep a few:
| Servings | Chocolate Milk | Chocolate Protein Powder | Pudding Mix | Salt |
| 1 Pint | 1 ½ cups | 2 Tbsp. | 1-2 Tbsp. | 1 pinch |
| 2 Pints | 3 cups | 4 Tbsp. | 2-4 Tbsp. | 2 pinches |
| 4 Pints | 6 cups | ½ cup | 4-8 Tbsp. | ¼ Tsp. |
Skill Level: Total beginner. Seriously. If you can stir stuff in a container, you can absolutely nail this recipe.
The Gear You’ll Need
- The Star of the Show: A Ninja Creami is a must. You can’t get that same texture with a blender, I’ve tried. It just doesn’t work the same.
- The Supporting Cast: You’ll need a Ninja Creami Pint container, a whisk, and your usual measuring cups and spoons. My secret weapon? A cheap handheld milk frother. It makes the base perfectly smooth in seconds.
Making It Ahead: This recipe is designed to be made ahead. I usually spend a little time on Sunday prepping 3 or 4 pints with different flavors. That way, I have ice cream ready to go all week long. It’s the best.
What You’ll Need: The Ingredients
The magic of this recipe is how simple it is. We’re using just a few basic ingredients to get an amazing result.
- 1 ½ cups of Chocolate Milk: I’m a big fan of Fairlife chocolate milk for this. Because it’s ultra-filtered, it’s already higher in protein and lower in sugar, which helps make the ice cream super creamy. But honestly? Use whatever chocolate milk you love. If you want it extra rich, go for whole milk. For a dairy-free version, chocolate oat or almond milk works great.
- 2 tablespoons of Chocolate Protein Powder: This is where the “protein” part comes in! I use Clean Simple Eats because it tastes great, but your favorite brand will work just fine. I’ve found that powders with a whey/casein blend tend to give the creamiest results. Some people swear by GHOST Oreo Protein Powder to really double down on that cookies-and-cream vibe!
- 1-2 tablespoons of Oreo or Chocolate Pudding Mix: Okay, this is the secret weapon. The pudding mix acts as a stabilizer and stops big ice crystals from forming. It’s the trick to getting a smooth, non-icy texture. No pudding mix? No problem. About ⅛ teaspoon of guar gum or xanthan gum will do the same job.
- A pinch of Salt: It sounds small, but don’t skip it! Salt makes chocolate taste more chocolatey. It just deepens the flavor.
- Oreo Thins (or other mix-ins): The grand finale! I use Oreo Thins, but regular Oreos, chocolate chips, or brownie bits would be awesome too.
Let’s Make Some Ice Cream!
Alright, time to get started. It’s so easy, you’ll have it memorized after the first time.
Step 1: Mix the Base
First, grab your empty Ninja Creami pint. Pour in the chocolate milk, then add the protein powder, pudding mix, and the pinch of salt.
Now, mix it all up. You can use a whisk, but like I said, a handheld milk frother is a game-changer. It gets the base perfectly smooth with zero clumps in about 30 seconds. You want it to look like a thin chocolate milkshake. Make sure to get any powder that’s stuck to the bottom.
Step 2: The Big Chill
This is the easiest and hardest step. Put the pint in the freezer. Here is the most important tip of the entire recipe:
Make sure it’s on a completely flat surface and leave the lid off.
If you freeze it on an angle, a hump can form on top. This isn’t just about looks—that hump can hit the blade when it’s spinning and potentially damage your machine. So, find a level spot and let it freeze solid for a full 24 hours. Don’t rush this part!
Step 3: The Magic Spin
It’s been 24 hours! Your pint should be a solid block. Take it out of the freezer, pop it into the outer bowl, and snap the lid on. You’ll hear it click into place. Put the whole thing on the Creami base and twist the handle to lock it in.
Hit the power button and choose the “Lite Ice Cream” setting. The machine will get loud, but that’s the sound of magic happening. After a couple of minutes, it will stop.
Open it up and check it out. Don’t panic if it looks dry or powdery! This is super common and depends on your freezer temp. If it happens, just add a splash of chocolate milk (about a tablespoon), put it all back in, and hit the “Re-Spin” button. That almost always turns it perfectly creamy.
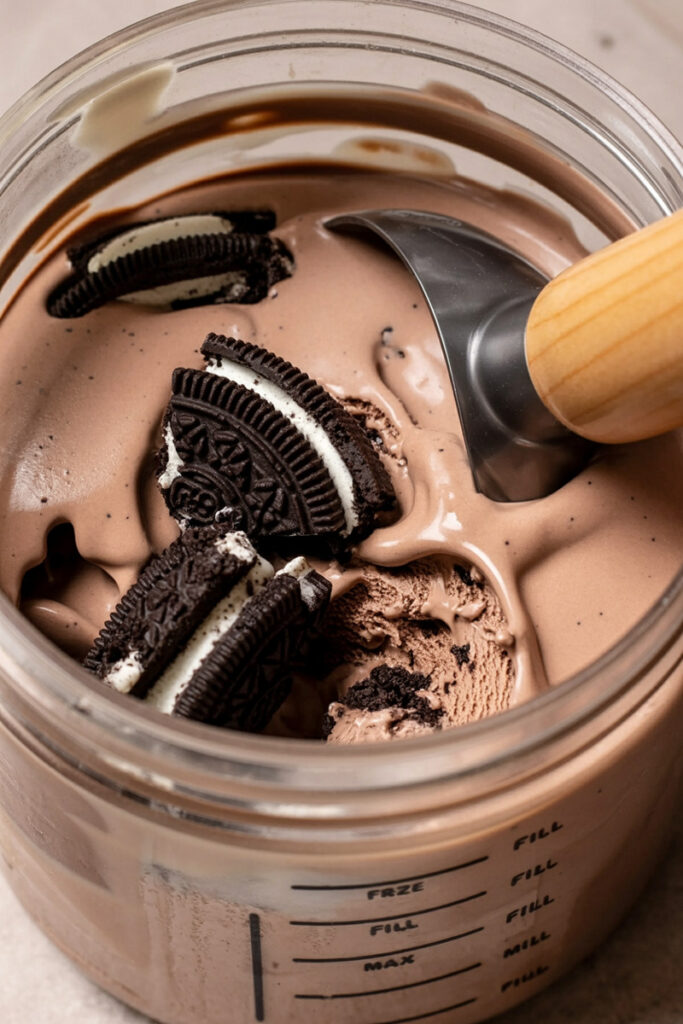
Step 4: Add the Good Stuff
Now for the best part. Use a spoon to carve out a hole down the middle of the ice cream, about an inch wide. Drop in your crumbled Oreo Thins.
Put the pint back in the machine and press the “Mix-In” button. This cycle is shorter and just gently folds everything together so you still have nice chunks of cookie.
And that’s it! You’ve got a perfect pint of Chocolate Oreo Protein Ice Cream.
Make It Your Own
This recipe is a great starting point, but feel free to get creative.
- Dairy-Free / Vegan? Easy. Use chocolate oat milk, a vegan protein powder, and vegan pudding mix. Classic Oreos are already vegan, so you’re good to go!
- Gluten-Free? Just use your favorite gluten-free sandwich cookies for the mix-in.
- Lower Sugar? Use an unsweetened chocolate almond milk, a sugar-free protein powder, and a sugar-free pudding mix.
Want to try other flavors?
- Mocha Oreo: Add 1 teaspoon of instant espresso powder to the base.
- Peanut Butter Oreo: Add a tablespoon of powdered peanut butter to the base, or use the mix-in function to add a swirl of real peanut butter.
- Mint Chocolate Cookie: Add ¼ teaspoon of peppermint extract and use mint Oreos.
How to Serve and Store It
You made it, now let’s eat it.
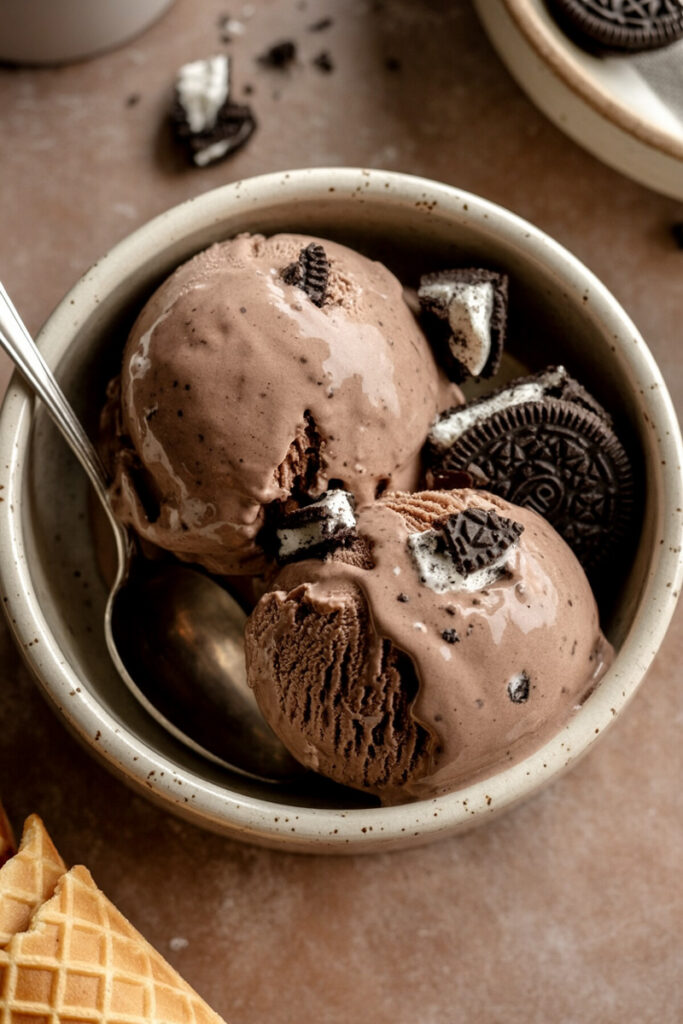
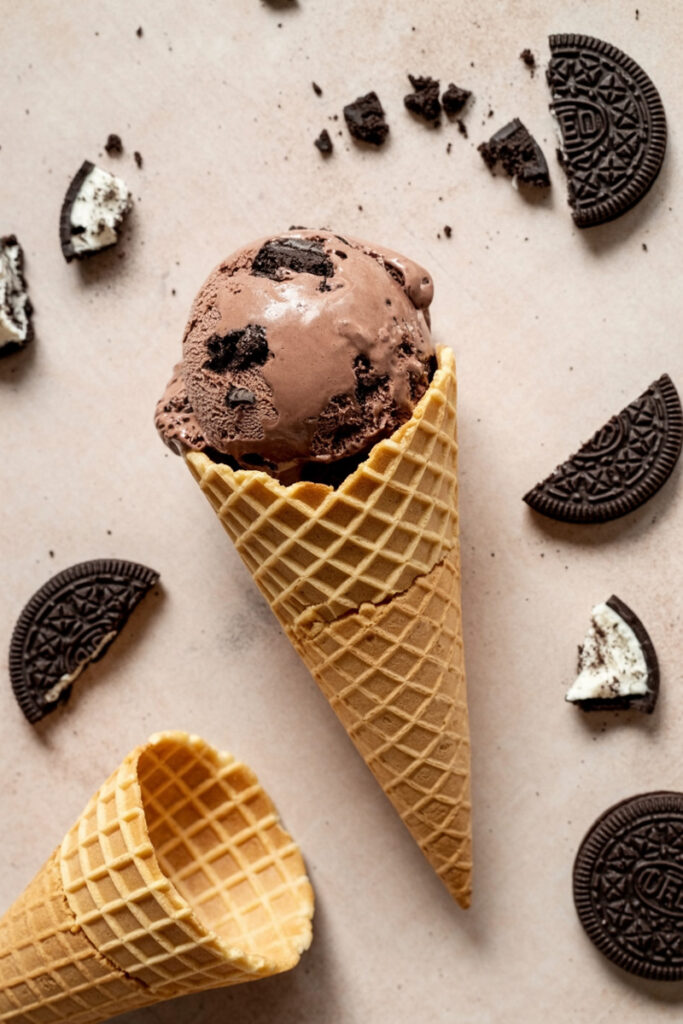
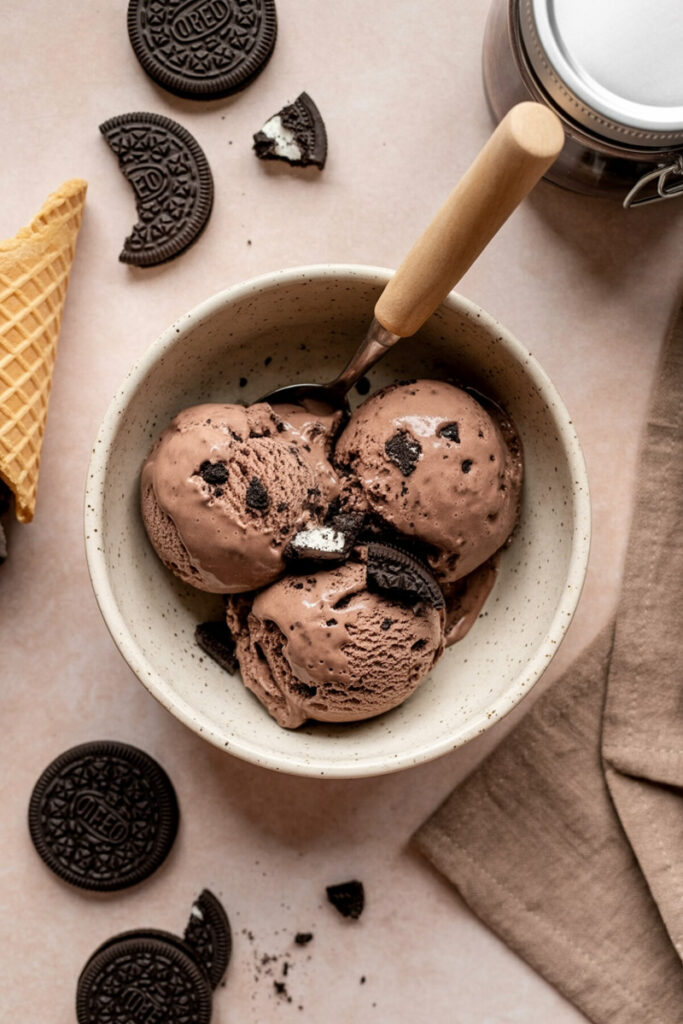
You can get fancy and scoop it into a chilled bowl with some extra Oreo crumbles on top. But honestly? I usually just eat it straight from the pint. It’s also amazing next to a warm brownie.
For storing, just put the storage lid on the pint and pop it back in the freezer. This recipe stays pretty scoopable!
Pro-Tip: I learned a cool trick from other Creami fans. Adding 1 teaspoon of vegetable glycerin to the base before freezing helps keep the ice cream even softer for days.
If your leftovers get a little too hard, just let the pint sit on the counter for 5-10 minutes. Or, if it’s really firm, you can always give it another quick “Re-Spin” in the Creami to bring that perfect texture right back. Enjoy!
PrintNinja Creami Chocolate Oreo Protein Ice Cream

Finally, a protein ice cream that’s actually creamy and scoopable right from the freezer! This easy Ninja Creami recipe tastes just like a rich chocolate cookies ‘n’ cream treat, without the guilt. Say goodbye to icy, rock-hard protein desserts for good.
- Prep Time: 10 minutes
- Cook Time: None
- Total Time: 24 hours 15 minutes (includes freeze & spin time)
- Yield: 1 Pint (about 2 servings) 1x
- Category: Dessert, Healthy
- Cuisine: American
Ingredients
- 1 ½ cups Chocolate Milk (I love Fairlife for extra protein, but any kind works!)
- 2 tbsp Chocolate Protein Powder
- 1–2 tbsp Instant Chocolate or Oreo Pudding Mix (this is the secret to a creamy texture!)
- 1 pinch Salt
- 3–4 Oreo Thins (or regular Oreos), crumbled
Instructions
- Mix the Base: Pour the chocolate milk, protein powder, pudding mix, and salt directly into your Ninja Creami pint container. Use a whisk or a handheld milk frother to blend until it’s completely smooth and there are no clumps.
- Freeze Solid: Place the open pint on a perfectly level surface in your freezer. Let it freeze for a full 24 hours. Do not put the lid on while freezing!
- First Spin: Once frozen solid, place the pint into the outer bowl, secure the blade lid, and lock it into your Ninja Creami machine. Select the “Lite Ice Cream” function and let it run.
- Check & Re-spin: After the cycle finishes, check the texture. If it looks dry or powdery (which is totally normal!), add 1 tablespoon of chocolate milk, place it back in the machine, and hit the “Re-Spin” button.
- Add Mix-ins: Use a spoon to create a hole down the center of the ice cream. Drop in your crumbled Oreos, put it back in the machine, and press the “Mix-In” button. Your ice cream is ready!
Notes
- Serving Suggestions: Enjoy it straight from the pint for the easiest treat ever! For a fancier look, scoop it into a chilled bowl and top with more crushed Oreos or a drizzle of sugar-free chocolate syrup.
- Tips & Tricks: A handheld milk frother is your best friend for getting a super smooth, clump-free base in seconds. Don’t skip the pudding mix—it’s essential for preventing that icy texture found in most homemade protein ice creams.
- Storage Instructions: Snap the storage lid onto the pint and keep it in the freezer. If it’s a little too firm when you take it out again, just let it sit on the counter for 5-10 minutes or give it one more quick “Re-Spin” to bring back that perfectly creamy, scoopable texture.