
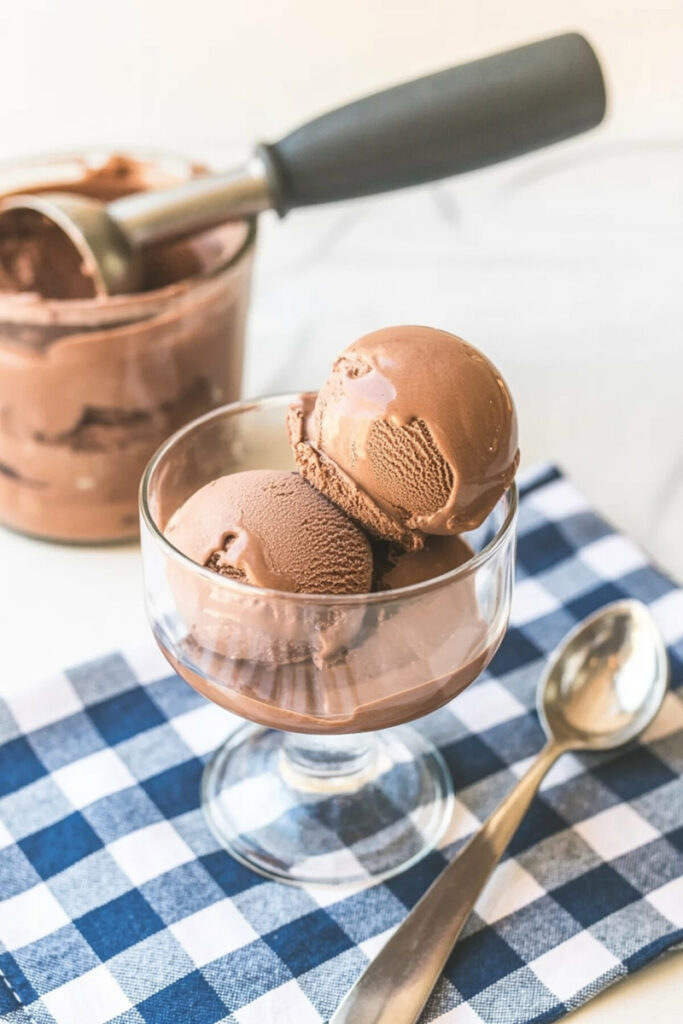
Hey everyone, welcome! Today, I’m sharing a recipe that I am genuinely excited about. It’s the one I make when I get a serious craving for that fast-food, soft-serve style ice cream. You know the kind. Super smooth, perfectly rich, and almost frosty.
Well, what if I told you that you could make it at home? And that it’s ridiculously easy?
The Ninja Creami is an amazing machine, but the real secret here is something you probably already have in your pantry: a box of instant pudding mix. Yep, you heard me right. Pudding mix is the cheat code for perfect homemade ice cream. It stops those crunchy ice crystals from forming and guarantees a silky, smooth texture every single time. It also gives the chocolate flavor a real boost.
I stumbled upon this method when I was tired of making complicated custard bases. I just wanted great ice cream without all the fuss. This recipe is the result. It’s pretty much foolproof, and honestly, it’s just plain fun to make. So, let’s get into it.
Here’s What to Expect
Don’t let the “1 day” total time scare you. I promise you’re not going to be stuck in the kitchen. Most of that is just hands-off time while your freezer does all the hard work.
- Active Prep Time: 5 minutes, tops.
- Freeze Time: At least 24 hours. Don’t rush this part!
- Spin Time: About 5-10 minutes.
This recipe makes one Ninja Creami pint, which is about 2 or 3 servings. But let’s be real, it’s a very satisfying single serving, too.
A little tip from me to you: make two pints while you’re at it. Since all the ingredients are out anyway, you might as well. You will definitely thank yourself later when you remember you have a backup pint ready to go.
| Servings | Whole Milk | Heavy Cream | Instant Pudding Mix | Vanilla Extract |
| 1 Pint | 1 1/2 cups | 1/2 cup | 4 tbsp | 1/2 tsp |
| 2 Pints | 3 cups | 1 cup | 8 tbsp | 1 tsp |
Difficulty: Super Easy. If you can stir things in a bowl, you’ve got this. The Ninja Creami does the rest.
What You’ll Need
The main event is the Ninja Creami machine, of course. Besides that, you just need a few basic kitchen tools:
- A Ninja Creami pint container with its lid
- A small bowl (or even just a big 4-cup measuring cup works great)
- A whisk
- Your standard measuring cups and spoons
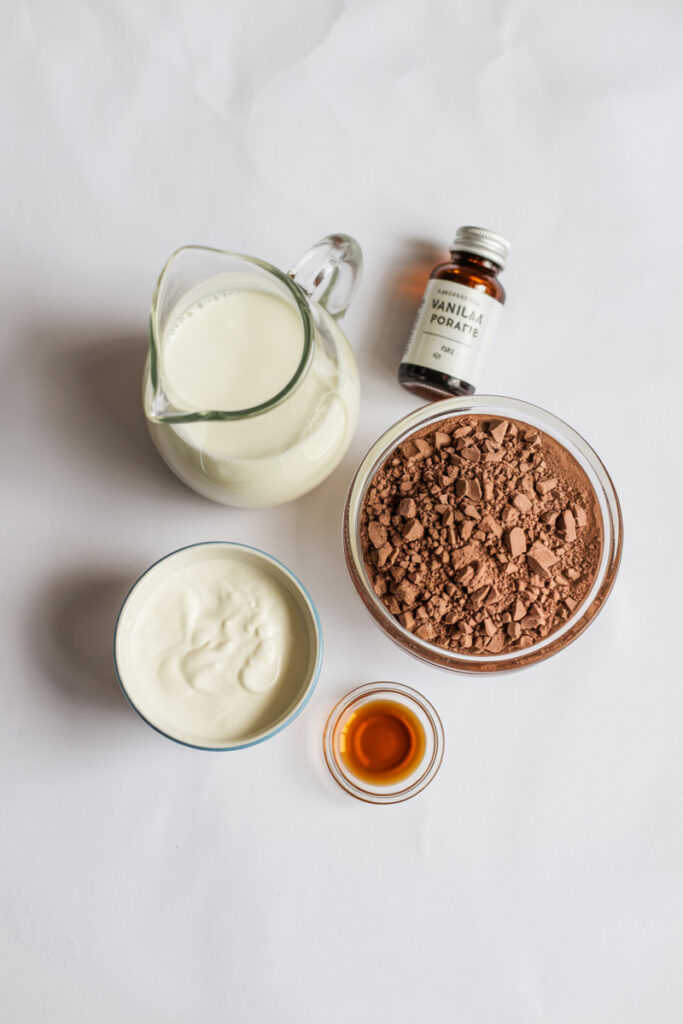
The Simple Ingredients
Great results start with simple, good ingredients. Let’s break down what we’re using and why.
First up, we have our dairy: whole milk and heavy cream. The fat content here is what gives us that rich, creamy texture we’re after. Think of it this way: fat = creamy goodness. The milk gives the ice cream its body, and the cream brings that luxurious feel.
Next is our secret weapon: dry instant chocolate pudding mix. This part is super important. You have to use the instant kind, not the “cook and serve” variety. I made that mistake once, and it just doesn’t work. The instant mix has stuff in it that prevents ice crystals, which is how we get that flawlessly smooth texture. Any brand you find at the store is fine!
And last, just a tiny bit of vanilla extract. I know, I know. Vanilla in a chocolate recipe? It sounds weird, but trust me. A little vanilla doesn’t make it taste like vanilla. Instead, it makes the chocolate taste more chocolaty and rich. It’s a classic baker’s trick.
Let’s Get Mixing: Step-by-Step
Alright, grab your whisk. This part is fast, but doing it right is key.
Step 1: Make the Base
Pour the 1 1/2 cups of whole milk into your bowl. Then, add the 4 tablespoons of dry instant chocolate pudding mix. Now, whisk it like you mean it for about a minute. We’re on a mission to destroy any and all clumps. You want it to look like a smooth, slightly thick chocolate milk. Once it’s totally smooth, pour in the heavy cream and the vanilla extract. Give it one final whisk to combine everything. And that’s it! The base is done. See? Easy.
Step 2: Time to Freeze
Pour your mix into the Ninja Creami pint. Snap on the lid and stick it in the freezer. Here’s a tip that actually matters a lot: make sure the pint is sitting on a flat, level surface. If it freezes at a weird angle, the machine can have trouble spinning it evenly. Now, the hard part… waiting. Let it freeze for a solid 24 hours. Patience is key!
Step 3: The First Spin
Time for the magic. Take the pint out of the freezer and remove the lid. It’ll be a solid block of ice. Don’t worry. Place the pint into the outer bowl, click the blade lid into place, and lock it into your Ninja Creami. Press the ICE CREAM button and let it do its thing. It gets loud, but that’s the sound of progress!
Step 4: The All-Important Re-Spin
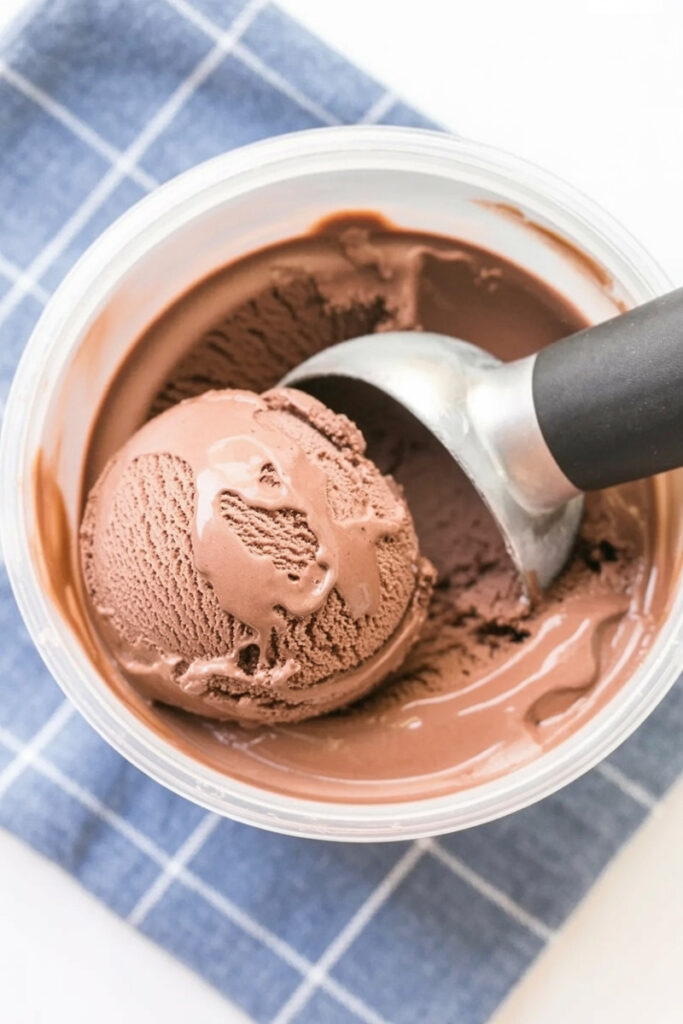
When the machine stops, take out the pint and have a look. It will probably look dry and crumbly, almost like powder. Do not panic! This is completely normal.
This is where the RE-SPIN button saves the day. Just put the pint right back in the machine and hit RE-SPIN. Nine times out of ten, this second spin transforms the powder into creamy, dreamy ice cream.
If it still looks a little crumbly after the re-spin, just add one tablespoon of cold milk right on top of the ice cream and hit RE-SPIN one more time. That little splash of liquid is usually all it needs to become perfectly smooth.
Step 5 (Optional): Add Your Mix-Ins!
Want to dress it up? Now’s the time. Use a spoon to dig a hole down the center of the ice cream, about an inch wide. Drop in your favorite treats—I love crushed Oreos, mini chocolate chips, or even chunks of brownie. Put it back in the machine and hit the MIX-IN button. It will gently fold everything together.
Make It Your Own
This simple recipe is a great starting point. Here are a few ideas to play around with:
- Mocha: Add 1 teaspoon of instant espresso powder to the base when you add the pudding mix.
- Spicy Chocolate: Add 1/2 teaspoon of cinnamon and a tiny pinch of cayenne pepper for a Mexican hot chocolate vibe.
- Peanut Butter Cup: Use the MIX-IN function to add chopped peanut butter cups.1
- Mint Chocolate: Instead of vanilla extract, use 1/4 teaspoon of peppermint extract. Then mix in some chocolate chips.
How to Serve and Store It
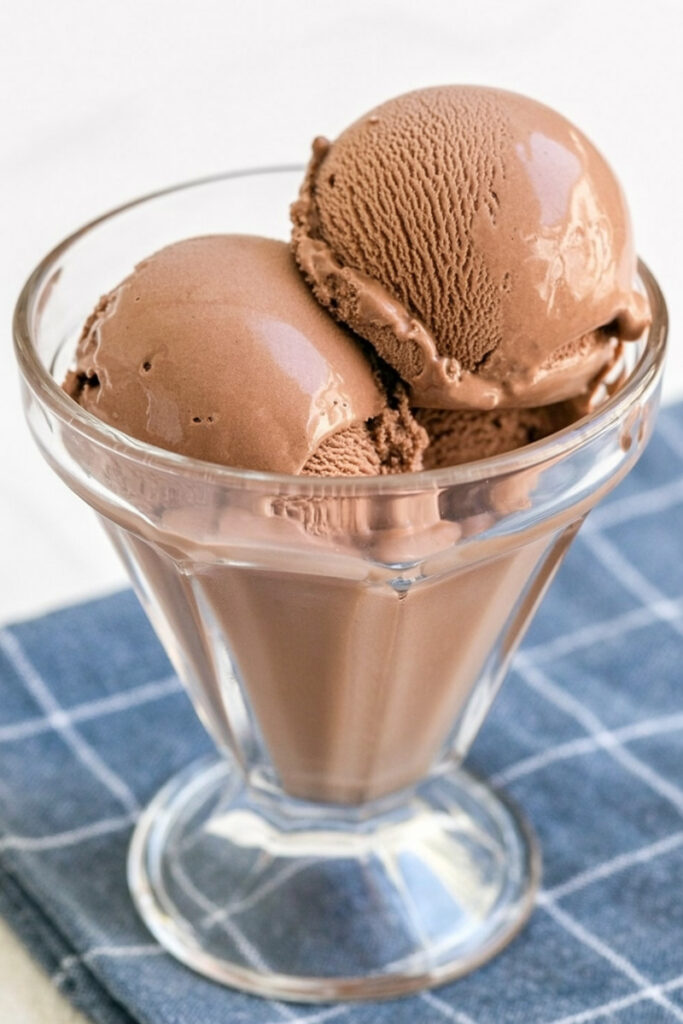
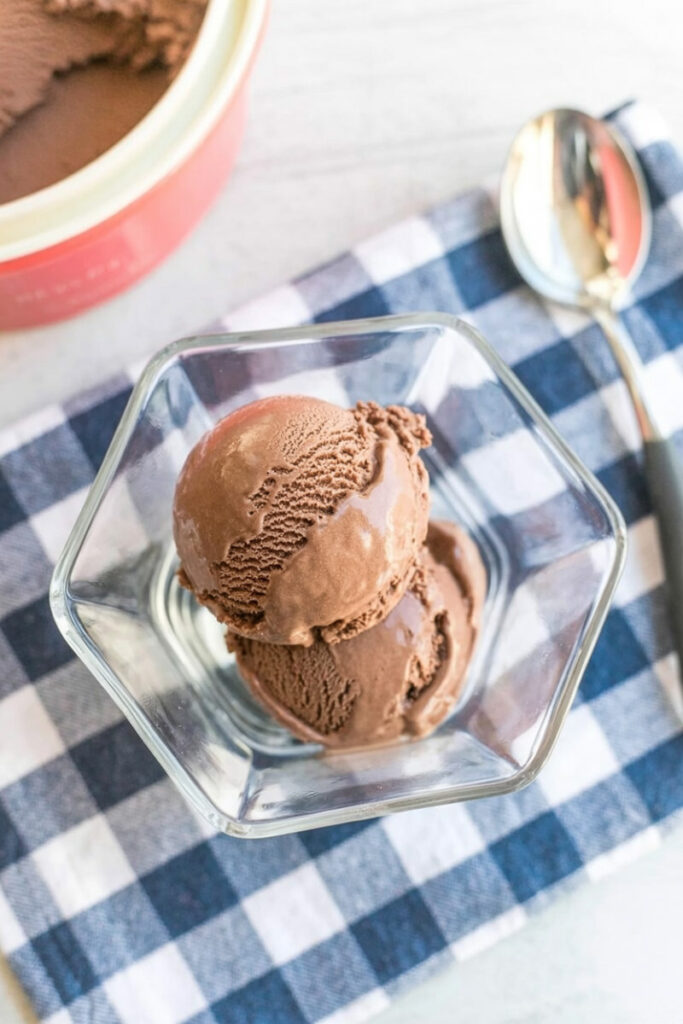
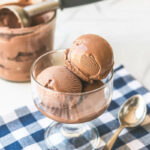
This ice cream is at its absolute best right after it’s been spun. The texture is perfect. Scoop it into a bowl and enjoy it right away.
If you have leftovers, just smooth the top down in the pint, put the lid back on, and store it in the freezer.
When you want to eat it again, it will be frozen solid. Don’t try to scoop it like regular ice cream. Just pop the whole pint back into the Ninja Creami and run it on the ICE CREAM setting again. It will bring it right back to that perfect, creamy texture. It’s one of the best things about this machine!
Enjoy!
PrintNinja Creami Chocolate Ice Cream with Pudding Mix
This is your new go-to for incredibly smooth and creamy chocolate ice cream at home. The secret? A box of instant pudding mix! It’s a simple trick for a perfect, Wendy’s Frosty-like texture every single time, with no complicated steps.
- Prep Time: 5 minutes
- Cook Time: None
- Total Time: 24 hours 5 minutes (includes 24-hour freeze time)
- Yield: 2–3 servings (1 pint) 1x
- Category: Dessert
- Cuisine: American
Ingredients
- 12/1 cups Whole Milk
- 4 tbsp Dry Instant Chocolate Pudding Mix (must be instant)
- 2/1 cup Heavy Cream
- 2/1 tsp Vanilla Extract
Instructions
- Make the Base: In a small bowl, vigorously whisk the whole milk and instant pudding mix for about a minute until completely smooth and no clumps remain.
- Combine: Stir in the heavy cream and vanilla extract until just combined.
- Freeze: Pour the mixture into a Ninja Creami pint container and secure the lid. Place it on a perfectly level surface in your freezer for at least 24 hours.
- First Spin: Once fully frozen, place the pint into your Ninja Creami and process it using the ICE CREAM function.
- Re-Spin for Creaminess: After the first spin, the mixture will likely look dry or crumbly. This is normal! Simply place it back in the machine and press the RE-SPIN button. This second spin is what makes it ultra-creamy. If it’s still a bit crumbly, add 1 tbsp of cold milk and re-spin one last time.
- Add Mix-Ins (Optional): If using, create a well in the center of the ice cream, add your mix-ins (like chocolate chips or brownie bits), and process using the MIX-IN function.
Notes
- Tips & Tricks:
- Using instant pudding mix is essential; the “cook and serve” kind will not work.
- Freezing the pint on a level surface prevents the machine from spinning unevenly, which can damage the blade.
- Don’t be alarmed by a powdery texture after the first spin! The RE-SPIN cycle is the most important step for achieving a smooth consistency.
- Serving Suggestions:
- For the best texture, serve this ice cream immediately after the final spin.
- Top with whipped cream, chocolate sauce, or your favorite sprinkles.
- Storage Instructions:
- Store leftovers by smoothing the top, securing the lid, and placing the pint back in the freezer.
- To enjoy again, do not scoop the frozen block. Simply run the entire pint through the ICE CREAM cycle again to restore its original creamy texture.