
Hey, everyone! Ever wanted to make that perfect, creamy, and crunchy ice cream right at home? I’ve been on that mission for a while now, and I’m super excited to share this recipe with you. It’s a total game-changer. This Ninja Creami Butterfinger Ice Cream recipe is my favorite because it takes a few simple ingredients and turns them into something that tastes exactly like your favorite candy bar. It’s pure nostalgia in a pint!
The magic of Butterfinger ice cream is all about that crispy, peanut-buttery crunch swirled into a sweet, rich base. It reminds me of being a kid, and bringing that flavor to life with the Ninja CREAMi is next-level. The best part about the CREAMi is how it makes everything so smooth and velvety. You just can’t get that texture with a regular ice cream maker. I’ve fine-tuned this recipe to be as simple as possible, so let’s get into it and make some frozen magic.
What to Expect
Making this ice cream is pretty easy, but you need a little patience. Think of it less as a quick afternoon project and more as a two-part process. The freezer and your Ninja CREAMi do most of the heavy lifting.
- Prep and Freeze Time: You’ll only spend about 5 minutes of active prep time. The rest is a hands-off, 24-hour freeze time to make sure your base is perfectly solid.
- Servings: This recipe makes one full pint. That’s perfect for a single serving or to share with a friend. Want more for a party? Just double or triple the recipe to fill more pint containers. I like to make a few at a time so I have a quick dessert ready whenever a craving hits.
- Difficulty: This is a super easy recipe for beginners. Just follow the simple steps, and you’ll be amazed at the professional-quality results.
- Gear You’ll Need: The star of the show is the Ninja CREAMi ice cream maker. You’ll also need the pint container that comes with it and a small blender for mixing the base. A simple whisk works too, but a blender gets you a perfectly smooth mixture with no lumps.
Make-Ahead? Yes, Please.
This recipe is a meal-prepper’s dream! The base can be made and frozen up to a week in advance. You can have a bunch of different bases ready to go. Then, when you’re in the mood for a sweet treat, all you have to do is grab a pint from the freezer and let the machine work its magic.
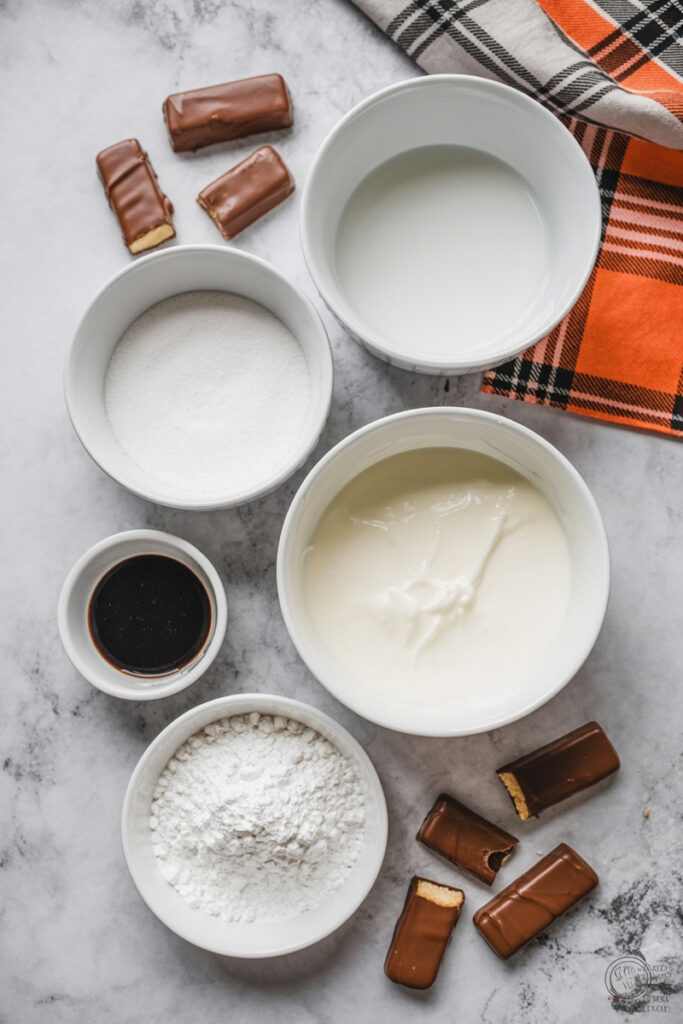
Ingredients
The key to great ice cream is a solid foundation. This recipe uses a classic, rich base that creates the perfect canvas for our Butterfinger mix-ins.
Ice Cream Base
- Whole Milk and Half and Half: This combo of 8 ounces of whole milk and 4 ounces of half and half gives our ice cream its rich, creamy texture.1 The higher fat content keeps ice crystals from forming, making it extra smooth.2
- Sugar: We’ll use ⅓ cup of granulated sugar for just the right amount of sweetness.
- Instant Pudding Mix (Vanilla): This is my secret weapon. Just 2 tablespoons of instant vanilla pudding mix act as a stabilizer and thickener. It helps the mixture freeze without getting icy and gives the final product a wonderfully smooth consistency.
- Vanilla Bean Paste: I love using 1 teaspoon of vanilla bean paste for its deep flavor and those beautiful little flecks, but regular vanilla extract works just as well.
Mix-Ins
- Butterfinger: You’ll need about 1.8 ounces of a Butterfinger bar, broken into small pieces. I find that crushing the candy with a rolling pin or the back of a spoon works best. It creates a mix of small bits and bigger chunks so you get that perfect crunch in every bite.
| Ingredient | Amount | Notes |
| Whole Milk | 8 fl oz | Use fresh for best flavor. |
| Half and Half | 4 fl oz | The fat content is key for a creamy texture. |
| Granulated Sugar | ⅓ cup | Sweetness for the base. |
| Instant Vanilla Pudding Mix | 2 tbsp | My secret stabilizer for a smooth result. |
| Vanilla Bean Paste | 1 tsp | For intense flavor and visual appeal. |
| Butterfinger Bar | 1.8 oz | Broken into pieces for a perfect crunch. |
| Extra Milk | 1-2 tbsp (optional) | Your insurance policy for a perfect re-spin. |
Step-by-Step Method
This is where we turn simple ingredients into a frozen dessert. I’ll walk you through each step and share the tips I’ve picked up along the way.
Making the Ice Cream Mixture
- Combine the Base: Grab your blender and pour in the milk, half and half, sugar, instant pudding mix, and vanilla. The liquid will look thin at first, but as you blend, the pudding mix will start to thicken it. Blend everything until it’s fully combined and there are no clumps of pudding mix left. The mixture should feel silky smooth and a little foamy.
- Pour and Freeze: Pour the mixture into your Ninja Creami pint container, making sure you don’t go past the “max fill” line. Now for the most important part: freezing. Place the container on a level surface in your freezer. This is crucial—if it freezes at an angle, the mixture will be uneven, and the machine might struggle. To avoid the “bump” on top of the frozen mixture, freeze it with the lid off. The perfect temp is between 9 and -7 degrees Fahrenheit. Let it freeze for a full 24 hours. Seriously, the wait is worth it!
Processing the Ice Cream
- First Spin: After a day, your base will be frozen solid. It might look like a block of milky ice, but don’t worry, that’s exactly what you want. Put the pint container into the outer bowl, secure the lid with the paddle, and lock it into the machine. Select the “ICE CREAM” function. This first churn will be loud, but the machine is doing all the hard work.
- The Re-Spin: Once the cycle is done, take a look at your ice cream. Is it a bit crumbly, like sand? Or is it a fluffy, creamy-looking powder? This is a common point of frustration, but I have a simple fix. If it looks dry and sandy, it needs a little more liquid. Add a tablespoon or two of milk right into the center of the pint and hit the “RE-SPIN” button. This will re-churn the mixture, and you’ll see it transform into a creamy, luscious consistency. If your ice cream already looks like little tiny ice cream balls, you can re-spin it without adding liquid. This process is a total game-changer for getting that perfect, smooth texture.
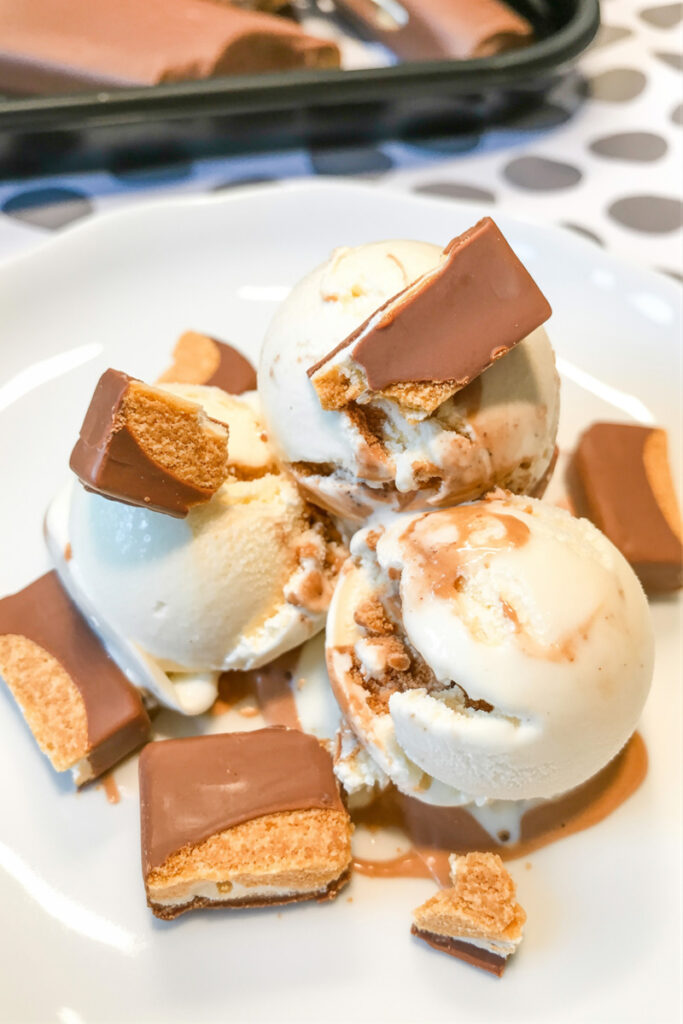
- Add the Mix-Ins: Now for the best part! With a spoon, dig a well down the middle of your creamy ice cream. Pour in your broken Butterfinger pieces. Put the pint back in the machine, and this time, select “MIX-IN.” This function will gently fold the crunchy candy bits into your ice cream without turning them to dust, so you get those amazing little surprises in every bite.3
Variations & Customization
This recipe is a great starting point, but it’s also a perfect canvas for you to get creative.
- Dietary Modifications: For a gluten-free version, make sure you use a certified gluten-free pudding mix, as some contain gluten. To make it vegan, you can swap the dairy for full-fat canned coconut milk and plant-based half-and-half alternatives, but remember to use a dairy-free pudding mix and be aware that Butterfinger bars are not vegan.
- Flavor Boosts: Want an extra layer of flavor? Try adding a tablespoon of peanut butter powder to the base mixture before you freeze it. Or, for a richer taste, use a butterscotch pudding mix instead of vanilla—it really goes well with the Butterfinger flavor!
- Everyday vs. Fancy: This recipe is already awesome for everyday indulgence, but you can dress it up by using high-quality vanilla bean paste and a mix of different nuts on top, or even a drizzle of homemade caramel sauce.
- Seasonal Adaptations: You can easily swap out the Butterfinger for other mix-ins to match the season. Think peppermint bark for a holiday treat or crushed chocolate eggs for an Easter-themed dessert.
Serving & Storage
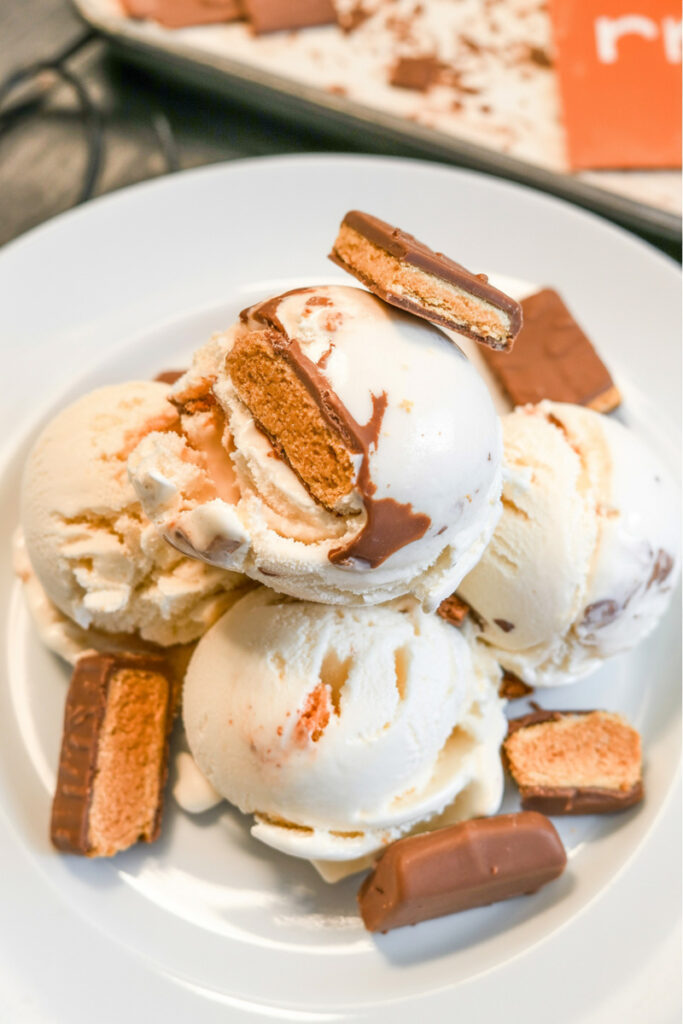
You did it! Your creamy, crunchy Ninja Creami Butterfinger Ice Cream is ready to be devoured.
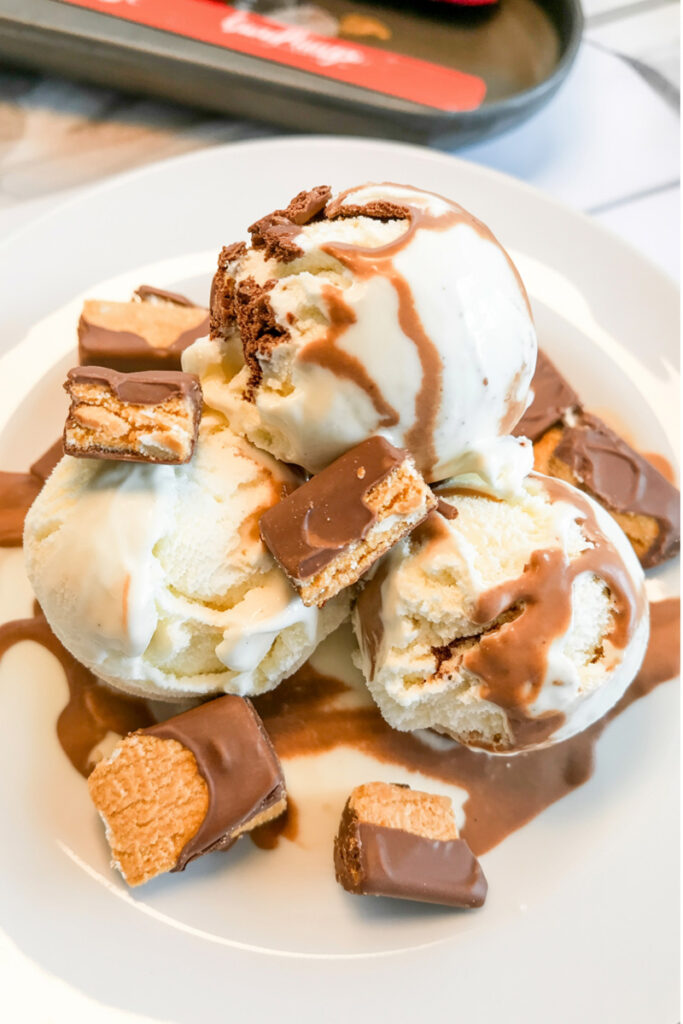
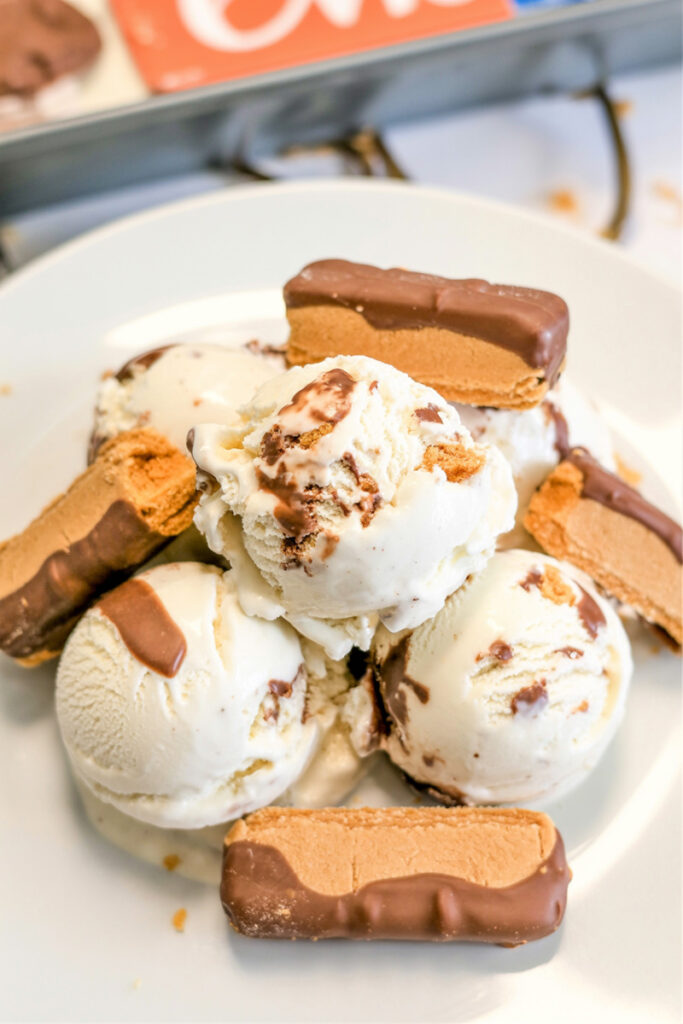
- Plating Suggestions: This ice cream is honestly best eaten right out of the pint! But if you want to get fancy, serve it in a fun bowl with an extra sprinkle of Butterfinger pieces on top. A drizzle of chocolate or caramel syrup also works wonders.
- Best Side Dishes: This ice cream is a complete dessert on its own, but it’s amazing paired with a warm brownie or a simple shortbread cookie.
- Storage: If you have any leftovers, just smooth the top of the ice cream in the pint container and put the lid back on. Store it in the freezer.
- Reheating? When you’re ready for more, you can soften the refrozen pint by running the “RE-SPIN” function again. This will bring it back to that perfect, soft-serve consistency in no time. For the best results, I’ve found it helps to let the pint sit on the counter for about 10-15 minutes before re-spinning.
Ninja Creami Butterfinger Ice Cream

This recipe is for all the Butterfinger lovers out there! Get ready to make a ridiculously creamy, crunchy, homemade ice cream that tastes just like the classic candy bar. With the Ninja Creami, you can get a perfect, velvety texture without any of the hassle.
- Prep Time: 5 minutes
- Cook Time: None
- Total Time: 1 day, 5 minutes (includes 24-hour freeze time)
- Yield: 1 pint 1x
- Category: Dessert
- Cuisine: American
Ingredients
Ice Cream Base
- 8 fl oz whole milk
- 4 fl oz half and half
- ⅓ cup granulated sugar
- 2 tbsp instant vanilla pudding mix
- 1 tsp vanilla bean paste (or vanilla extract)
Mix-ins
- 1.8 oz Butterfinger bar, broken into small pieces
- 1–2 tbsp extra milk (optional, for re-spin)
Instructions
- Blend the Base: In a small blender, combine the milk, half and half, sugar, pudding mix, and vanilla. Blend until everything is completely smooth and there are no clumps.
- Freeze: Pour the mixture into a Ninja Creami pint container, making sure not to fill it past the max line. Freeze the pint on a flat, level surface for a full 24 hours. Freezing it with the lid off helps prevent that pesky bump on top.
- Spin #1 (Ice Cream): After freezing, place the pint into the outer bowl, secure the lid, and lock it into the Ninja Creami machine. Select the “ICE CREAM” function.
- Re-Spin for Creaminess: Once the cycle finishes, check the texture. If it’s crumbly or sandy, add 1-2 tablespoons of milk to the center and hit “RE-SPIN.” This extra step is key to getting that super creamy consistency. If it’s already looking like small scoops of ice cream, you can re-spin without adding milk.
- Add the Mix-ins: Use a spoon to dig a small well in the middle of your ice cream. Pour in the broken Butterfinger pieces. Put the pint back in the machine and select “MIX-IN” to gently fold the candy in.
- Serve & Enjoy: Scoop it straight from the pint and dig in!
Notes
- Serving Suggestion: Serve your Butterfinger ice cream with a drizzle of chocolate or caramel sauce and an extra sprinkle of crushed Butterfinger. It’s also a perfect partner for a warm brownie!
- Tips & Tricks: The secret to the smoothest ice cream is the re-spin. Don’t skip it! Freezing the pint on a level surface is also crucial for an even churn.
- Storage & Reheating: Any leftovers can be stored right in the pint container in the freezer. When you want more, just run it on the “RE-SPIN” function to bring it back to a perfect soft-serve texture. For best results, let the pint sit out for 10-15 minutes before re-spinning.