
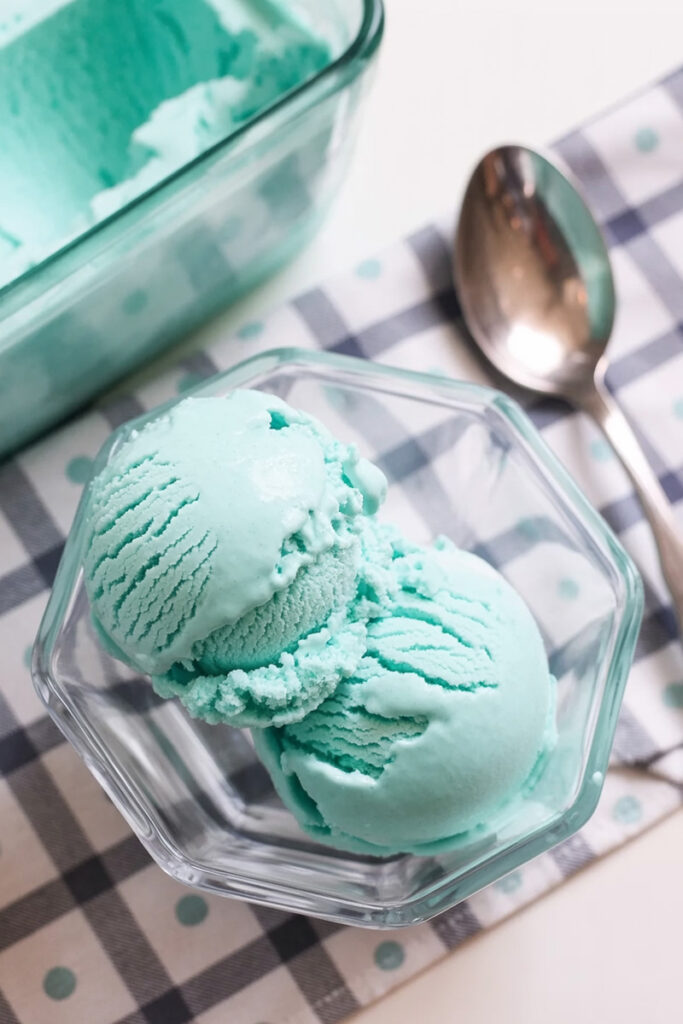
Hey there! Do you remember that weirdly bright, Smurf-blue ice cream from when you were a kid? The one that tasted like a Saturday morning cartoon? If you grew up in the Midwest, you know exactly what I’m talking about. For everyone else, let me introduce you to the legend: Blue Moon Ice Cream.
What does it actually taste like? Well, that’s the big secret!
Some people say it’s a fruity mix, maybe raspberry and lemon. Others swear it tastes exactly like the milk at the bottom of a bowl of Froot Loops or Fruity Pebbles. The real recipe is a secret that’s guarded like a treasure, which just makes it even cooler. It’s one of those flavors you can’t quite describe, but you never, ever forget.
For the longest time, this was a treat you could only get at special ice cream shops. But not anymore.
Today, we’re bringing that magic right into your kitchen. Thanks to the awesome Ninja Creami, we can skip the complicated old-school methods and make a super smooth, flavorful, and seriously creamy version at home. This recipe is my personal take on that mysterious flavor, and it’s practically foolproof. Let’s get started!
What to Expect
Before we dive in, here’s a quick rundown. This recipe is super simple. The machine does all the hard work for you. Honestly, the toughest part is waiting 24 hours for the base to freeze!
- Prep Time: About 7 minutes. Seriously, that’s it.
- Freeze Time: A full 24 hours. Don’t cheat on this!
- Servings: Makes one Ninja Creami pint, which is about 2 or 3 scoops.
- Difficulty: Beginner. A 1 out of 5. If you can use a whisk, you’ve got this.
The best part? You can make a bunch of bases at once. I usually have a few of these sitting in my freezer. You never know when you’ll need an emergency ice cream fix.
Your Toolkit
The star of the show is your Ninja Creami, of course. Here’s what you’ll need:
| Essential Equipment | Why You Need It | Possible Substitutes |
| Ninja Creami Machine | It shaves and churns the frozen base into creamy magic. | None. This recipe is made specifically for the Creami. |
| Ninja Creami Pint(s) | You’ll need these to freeze and spin the base. | None, these are essential. |
| Small Mixing Bowl | To mix everything together. | A large measuring cup works great too. |
| Whisk | To get that pudding mix fully dissolved. | A fork will do the job if you’re in a pinch. |
What You’ll Need (The Ingredients)
The secret to that classic Blue Moon flavor comes from a few simple things. Let’s talk about what they are and why they work.
First, the base. It’s just three things: 1 ½ cups of milk, ½ cup of heavy cream, and 4 tablespoons of instant vanilla pudding mix. I always use whole milk because it makes the ice cream richer, but 2% works fine too. The heavy cream is what gives it that super creamy, premium ice cream texture.
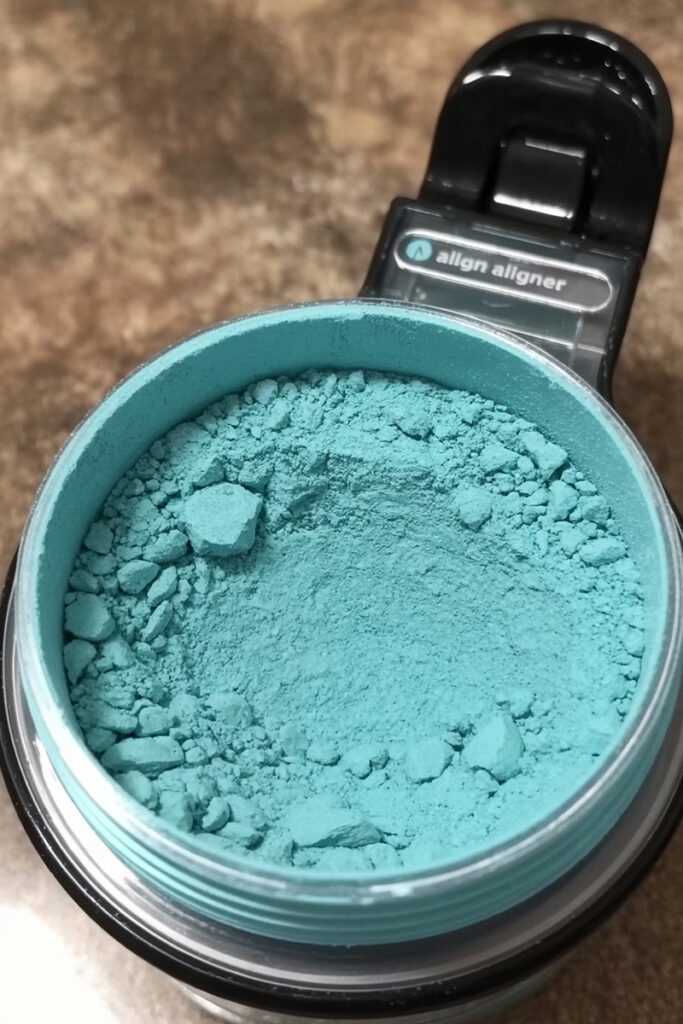
The real secret weapon here is the instant pudding mix. It acts as a stabilizer, which is just a fancy way of saying it stops ice crystals from forming. The result? Ultra-smooth ice cream, never grainy. Just make sure you get the instant kind, not the cook-and-serve box!
Now for that one-of-a-kind flavor. We’ll use 1 teaspoon of red raspberry extract and ½ teaspoon of lemon extract. This combo gets you incredibly close to the real Blue Moon taste. The raspberry brings the sweet fruitiness, and the lemon adds a little zing that makes the flavor pop.
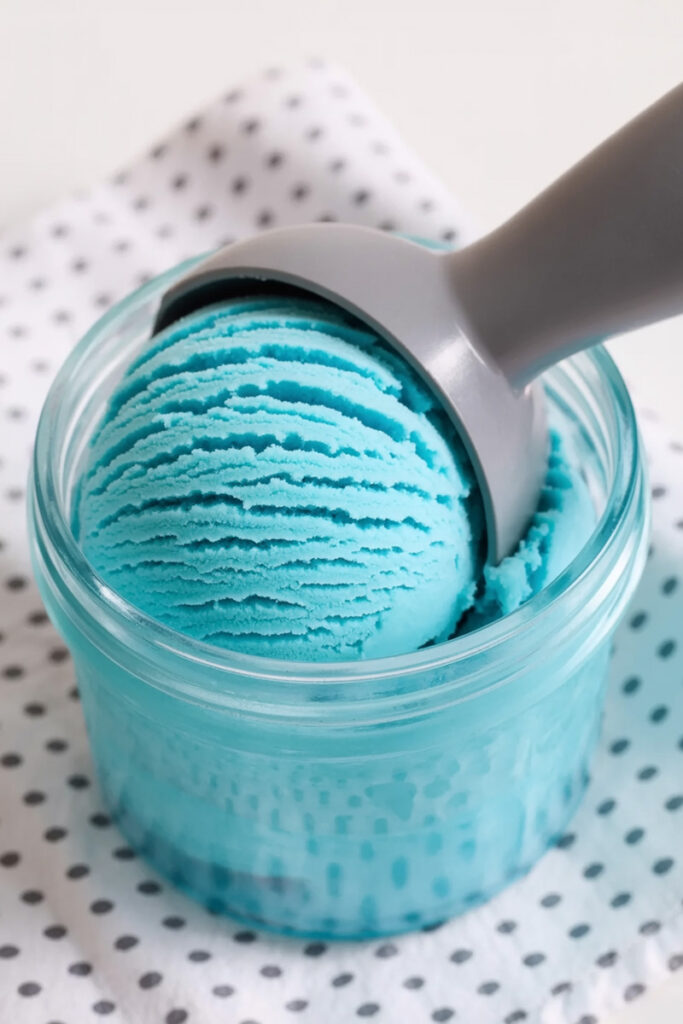
And of course, the color! You’ll need about 15-20 drops of blue food coloring to get that iconic vibrant blue. I like using gel coloring because the color is stronger, but liquid drops work perfectly well.
Scaling Your Recipe
Want to make more than one pint? Easy.
| Ingredient | 1 Pint (Standard) | 2 Pints (Double Batch) |
| Milk | 1 ½ cups | 3 cups |
| Heavy Cream | ½ cup | 1 cup |
| Instant Vanilla Pudding Mix | 4 Tablespoons | ½ cup |
| Red Raspberry Extract | 1 teaspoon | 2 teaspoons |
| Lemon Extract | ½ teaspoon | 1 teaspoon |
| Blue Food Coloring | 15-20 drops | 30-40 drops |
Step-by-Step: Let’s Make Ice Cream!
Alright, grab your bowl and whisk. Let’s do this. I’ll walk you through every single step.
Step 1: Make the Base
Pour the milk into your mixing bowl. Sprinkle the instant pudding mix right on top. Now, get whisking! Whisk for about a minute, making sure to scrape the bottom and sides. You want a totally smooth mix with zero clumps of dry pudding left. This step is key—any leftover powder will make your ice cream gritty.
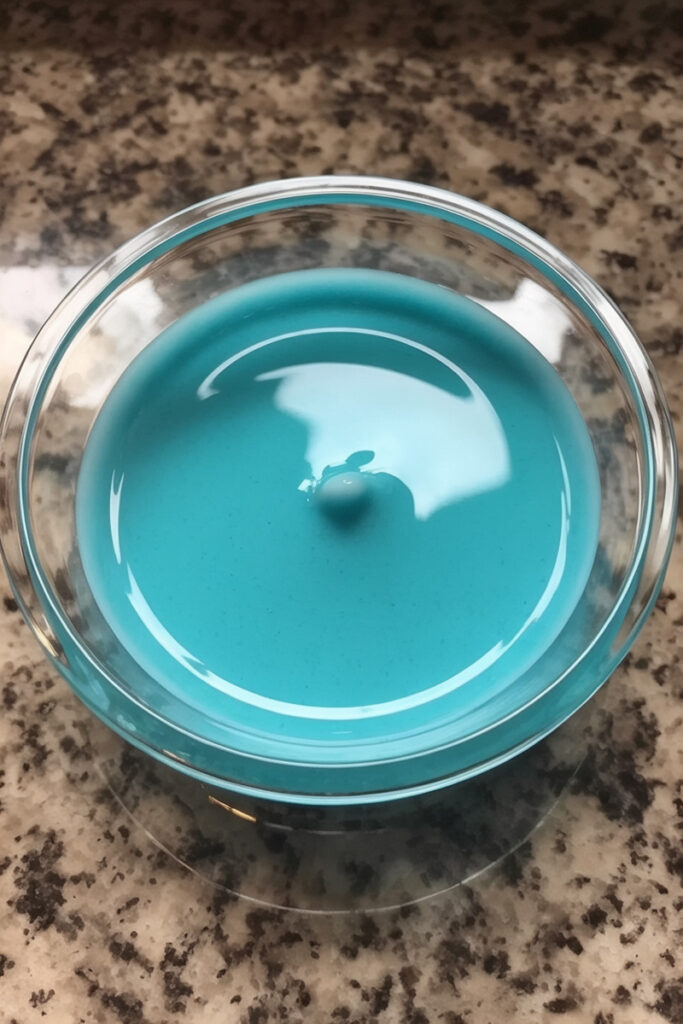
Step 2: Add Flavor and Color
Once the base is smooth, pour in the heavy cream, raspberry extract, and lemon extract. Give it a quick stir. Now for the fun part. Add the blue food coloring, just a few drops at a time. Stir it up and see how it looks. It’s always better to start with less and add more. You can always go darker, but you can’t go back! Your kitchen should be smelling pretty amazing right about now.
Step 3: Freeze It Solid
Carefully pour that pretty blue mix into your Ninja Creami pint. Important: Don’t fill it past the “Max Fill” line! The mixture needs room to expand. Snap on the lid and put it in the freezer. Here’s a pro tip I learned the hard way: make sure the pint is sitting on a perfectly level surface. This helps it freeze flat, which is exactly what you want for the Creami blade.
Now comes the hard part. Patience. Let it freeze for a full 24 hours. Don’t pull it out early! A rock-solid base is the secret to creamy ice cream.
Step 4: The First Spin
Time’s up! Take the pint out of the freezer and remove the lid. It should be frozen solid. Place the pint in the outer bowl, click on the lid with the blade, and lock it into your Ninja Creami. Press the “Ice Cream” button and let it do its thing. It gets loud, but that’s the sound of progress!
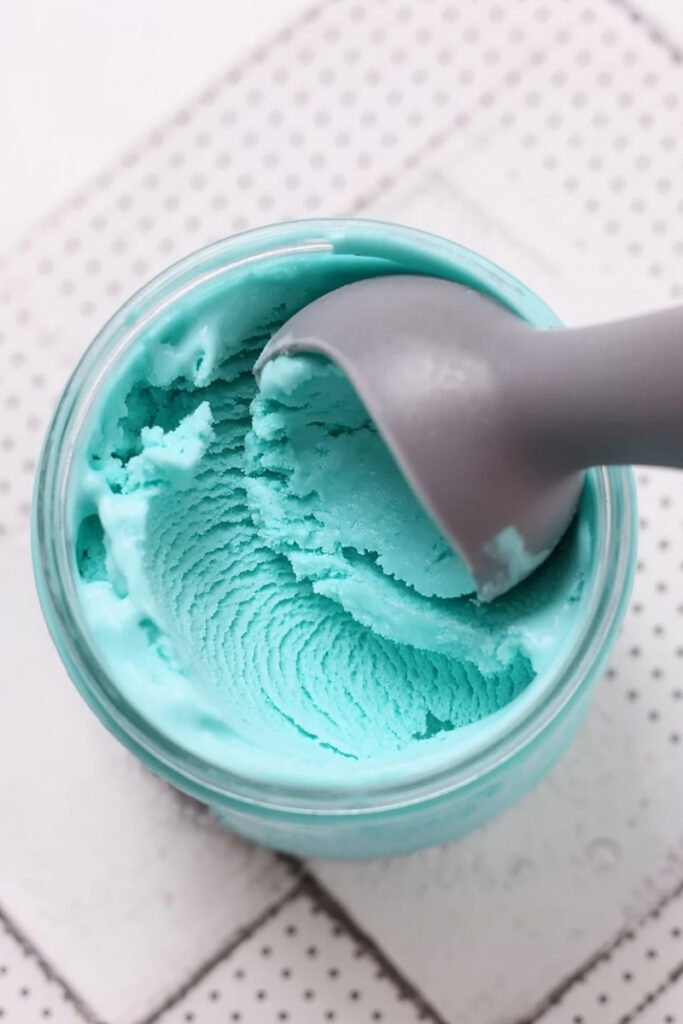
Step 5: Check and Re-spin
When the machine stops, take the pint out. Take a look. Does it look dry, powdery, or like a pint of blue sand? Don’t panic. This is completely normal and happens almost every time.
The “Re-spin” button is your best friend.
Just lock the pint right back into the machine and hit “Re-spin”. For me, this second spin almost always transforms that crumbly mess into perfect, scoopable ice cream.
Still a little crumbly after the re-spin? No problem. Here’s the final trick. Add one tablespoon of cold milk right on top of the ice cream. Put it back in and run the “Re-spin” cycle one last time. That tiny bit of liquid is usually all it needs to become unbelievably creamy.
Want to Mix It Up? Try These Ideas
One of the best things about making ice cream at home is you can add whatever you want!
- Make it Dairy-Free/Vegan: This is totally doable! Just swap the regular milk for a creamy plant-based one like oat or soy milk. Use full-fat canned coconut cream instead of heavy cream. And be sure to find a vegan-friendly instant pudding mix (Jell-O brand is often a good bet!).
- Add a Swirl: After the final spin, gently fold in a swirl of marshmallow fluff. It’s so good.
- Get Your Mix-ins Ready: The “Mix-in” button is perfect for this. Once the ice cream is creamy, dig a little hole in the center, add your stuff, and run the Mix-in cycle. Some ideas I love:
- Fruity Pebbles or Froot Loops
- Rainbow sprinkles
- Mini marshmallows
- Crushed vanilla wafers
Serving and Storing
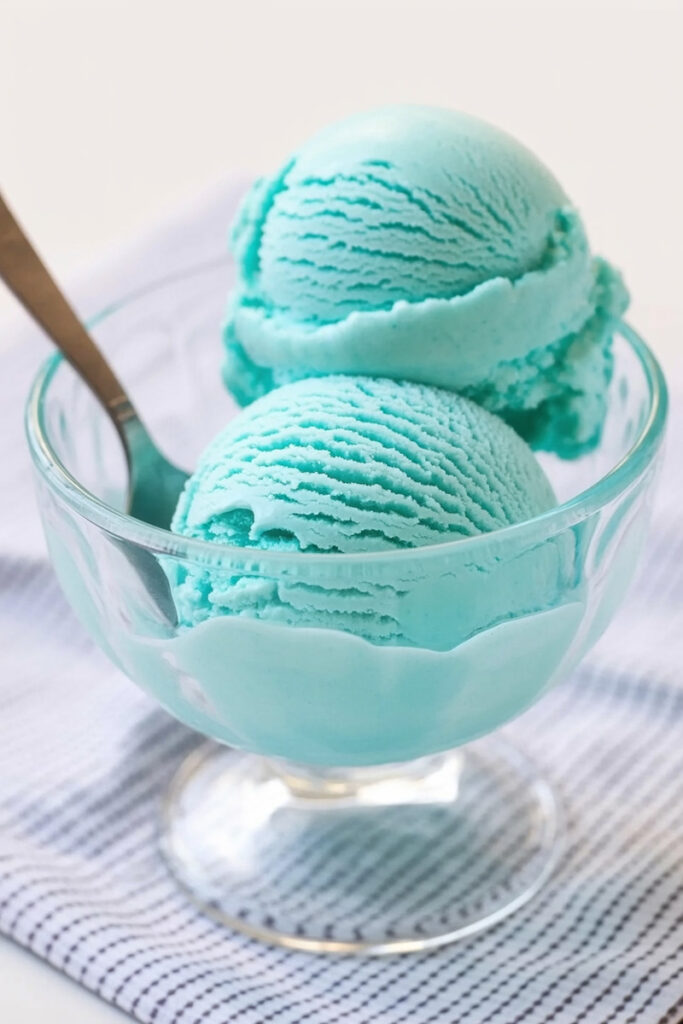
You did it! You have a perfect pint of homemade Blue Moon Ice Cream. My advice? Eat it right away. It’s at its creamiest best the moment it’s done. Scoop it into a chilled bowl or a waffle cone.
If you want to get really nostalgic, top it with whipped cream, more sprinkles, and a cherry. Or even better, make a Blue Moon float with some 7-Up or Sprite!
If you actually have leftovers (I’m always surprised when I do!), smooth the top with a spoon, pop the lid back on, and stick it back in the freezer. When you’re ready for more, you’ll probably need to process it again. Just pop it in the machine and run the “Re-spin” cycle to bring it back to life.
Enjoy every spoonful!
PrintNinja Creami Blue Moon Ice Cream

Whip up a taste of childhood with this vibrant Blue Moon Ice Cream! It’s a mysterious, fruity flavor—part Froot Loops, part raspberry-lemon—made incredibly easy in your Ninja Creami. Get ready for the creamiest, dreamiest blue treat you’ve ever made right at home.
- Prep Time: 5 minutes
- Cook Time: None
- Total Time: 24 hours 5 minutes (includes freeze time)
- Yield: 1 Pint (2–3 scoops) 1x
- Category: Dessert
- Cuisine: American
Ingredients
- 1½ cups whole milk
- ½ cup heavy cream
- 4 tbsp instant vanilla pudding mix
- 1 tsp red raspberry extract
- ½ tsp lemon extract
- 15−20 drops blue food coloring
Instructions
- Mix the Base: In a small bowl, whisk the whole milk and instant pudding mix together for about a minute until it’s completely smooth and there are no clumps.
- Flavor and Color: Stir in the heavy cream, raspberry extract, and lemon extract. Add the blue food coloring a few drops at a time, mixing until you reach that perfect, dreamy blue.
- Freeze: Pour the mixture into a Ninja Creami pint container, being careful not to fill past the max fill line. Secure the lid and place it on a level surface in your freezer for a full 24 hours.
- First Spin: Once it’s frozen solid, place the pint into the outer bowl, attach the blade lid, and lock it into your Ninja Creami. Process it using the “Ice Cream” function.
- Perfect the Texture: Don’t worry if it looks powdery—that’s normal! Just put the pint back in and run the “Re-spin” cycle. If it’s still a bit crumbly, add 1 tablespoon of cold milk and “Re-spin” one last time for an ultra-creamy texture.
Notes
- Tips & Tricks: For the absolute creamiest results, don’t rush the 24-hour freeze time! A rock-solid, flat base is the key to success. You can also make several bases at once and keep them in the freezer for ice cream on demand.
- Serving Suggestions: This ice cream is best enjoyed fresh! Scoop it into a waffle cone and top with rainbow sprinkles, Fruity Pebbles, or mini marshmallows. It also makes a fantastic ice cream float with some lemon-lime soda.
- Storage Instructions: If you have leftovers, smooth the top, cover with the lid, and return the pint to the freezer. To serve again, you will likely need to run the “Re-spin” cycle to bring back that just-made creamy texture.