
Let’s be real. If you’re into fitness, you’ve probably tried making protein ice cream at home. And if you’re like me, most of those attempts ended in sadness.
I remember my first few tries. I’d blend up some protein powder and almond milk, freeze it with high hopes, and end up with a solid, icy brick that could break a spoon. Or worse, it was chalky and just… disappointing. I thought enjoying a creamy, delicious dessert meant I had to ditch my health goals for the day.
Then the Ninja Creami came into my life. And everything changed.
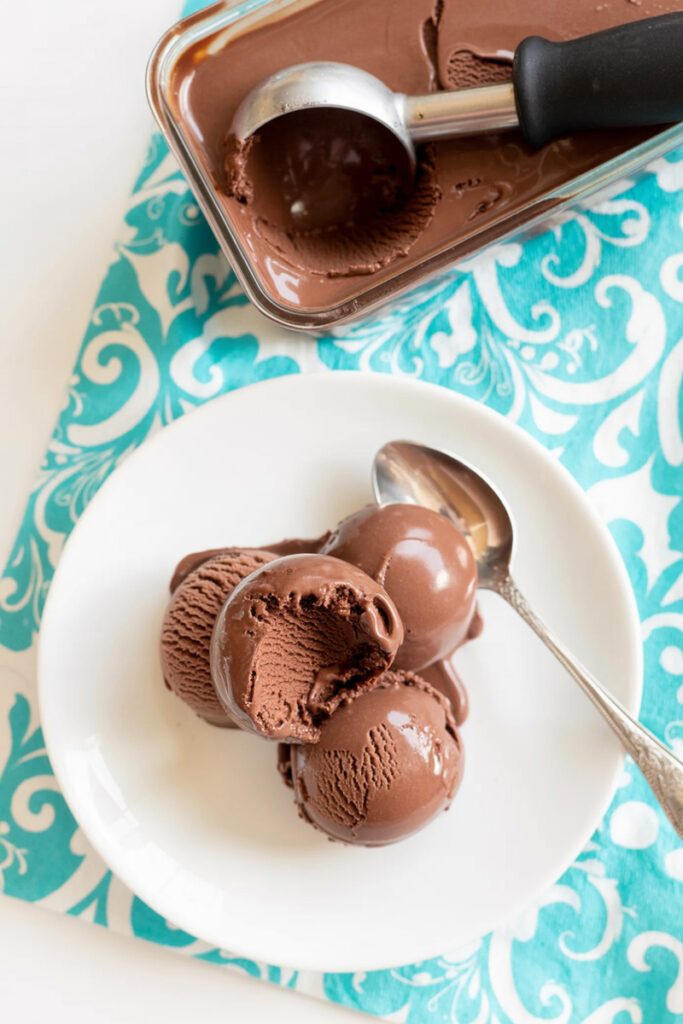
After a lot of experimenting in my kitchen (and eating a lot of so-so pints), I finally cracked the code. This Mocha Espresso Protein Ice Cream is the result. It’s got that deep, rich coffee kick mixed with dark chocolate, and the texture is so smooth and velvety you’ll forget it’s packed with protein.
The best part? It actually tastes like a treat, not a punishment. The secret isn’t some crazy, expensive ingredient. It’s a simple little trick I’ll share with you that keeps it from turning into that icy brick we all hate.
So, if you’re ready to stop being disappointed by homemade protein ice cream, you’re in the right place. Let’s make something amazing.
What You’re Getting Into
Before we start, here’s a quick look at the process. Don’t worry, it’s super simple. The freezer and the Creami do most of the heavy lifting.
- Prep Time: 5 minutes (Seriously, that’s it!)
- Freeze Time: 24 hours
- Total Time: 24 hours, 5 minutes
- Servings: 1 Pint (which is about 2 servings, or 1 if you’re like me)
- Difficulty: Easy. I promise.
Want to make more than one? Go for it! This recipe is for one pint, but you can easily prep a few at a time. Just mix each base in its own pint, or make a big batch in a blender and pour it into separate pints. Easy meal prep.
The Tools You’ll Need
The main event is the Ninja Creami, of course. Besides that, you just need a few things you probably already have.
- Ninja Creami Pint with a Lid: You need this to freeze and spin the base.
- A Small Blender or Immersion Blender: This is highly recommended to get the pudding mix fully dissolved. No lumps allowed! A lumpy base means gritty ice cream.
- No blender? Don’t panic. You can use a handheld milk frother or just a whisk and some serious arm power. Just make sure you mix it until it’s perfectly smooth. I mean it. No lumps.
- Measuring Spoons and Cups
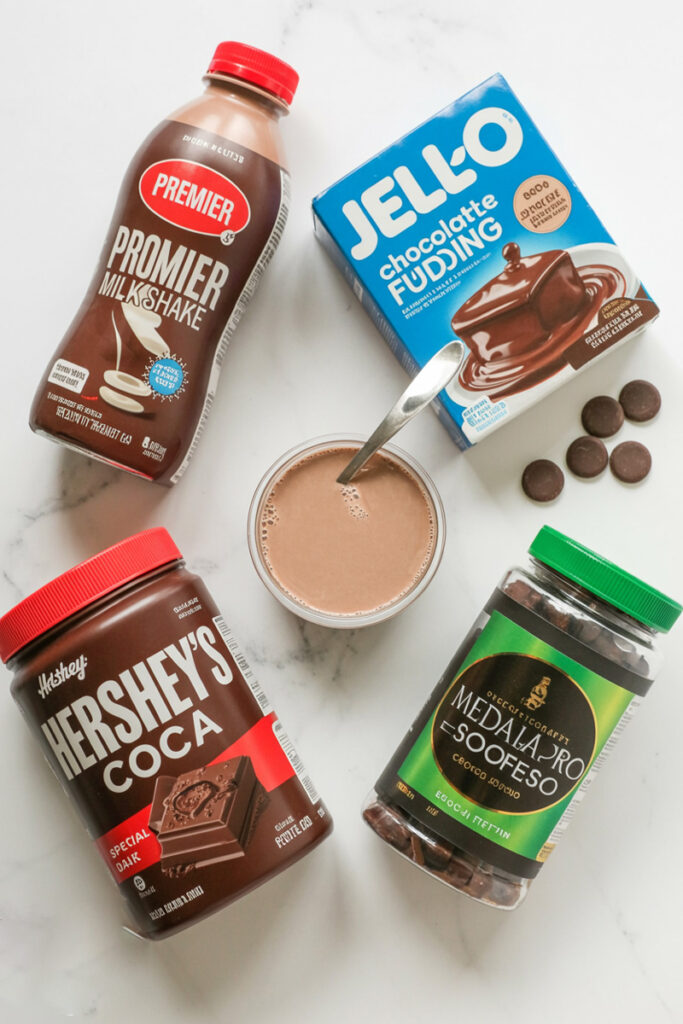
The Good Stuff: What’s Inside
The magic is in the ingredients. Using good quality stuff really makes a difference here.
For the Creamy Base:
- Chocolate Protein Shake: This is the heart of our ice cream. I swear by a ready-to-drink shake like Fairlife Core Power because it’s super smooth and has a ton of protein, which helps fight iciness. But you can totally use your favorite chocolate protein powder, just mix it with 11.5 ounces of milk first.
- Sugar-Free Instant Chocolate Fudge Pudding Mix: This is it. This is the secret weapon. Think of it like a bodyguard for your ice cream. It binds to the liquid and stops those big, crunchy ice crystals from forming. It’s the difference between a creamy scoop and a block of flavored ice.
For that Coffee-Shop Flavor:
- Instant Espresso Powder: This gives you that deep, bold coffee flavor. Don’t just use regular instant coffee—it’s not strong enough and the flavor will get lost. You want that espresso punch.
- Dark Cocoa Powder: We’re adding this for another layer of rich chocolate flavor. It cuts through the sweetness and just makes everything taste more complex and grown-up.
For the Finishing Touches:
- Zero Sugar Chocolate Chips: For that perfect crunch! I like to give them a rough chop before adding them. This way, you get little bits of chocolate in every single bite instead of just a few big chunks.
- Chocolate Almond Milk (Optional): This is your troubleshooter.1 Sometimes, after the first spin, the ice cream can look a little dry or crumbly. A tablespoon or two of this stuff fixes it right up.
Okay, Let’s Make This Thing!
Ready to go? Follow these steps, and you’ll be in ice cream heaven soon.
Step 1: Mix the Base
Grab your blender. Pour in the entire chocolate protein shake.
Now add the espresso powder, the dark cocoa powder, and the secret weapon—the instant pudding mix.
Put the lid on and blend for about 30 seconds. You’re looking for a smooth, consistent liquid. No specks, no lumps, nothing. This step is super important, so don’t rush it! A smooth base now means smooth ice cream later.
Pour the mixture into your Ninja Creami pint. Do not fill it past the max fill line.
Step 2: The Long Wait (aka Freezing)
This is the hardest part. You have to wait.
Put the pint in the freezer on a flat, level surface. Why level? Because if it freezes at an angle, the machine’s blade can get strained or even damaged. Trust me, I learned that one the hard way.
Pro tip: I freeze mine without the lid on. This helps prevent that weird hump from forming in the middle, so you get a nice flat surface to work with.
Let it freeze for at least 24 hours.
Step 3: The First Spin!
It’s time! Take the pint out of the freezer. It should feel like a rock.
Place the pint into the outer bowl, attach the paddle to the lid, and lock it all into place on your machine. Press the “LITE ICE CREAM” button and let the magic happen.
Now, wait. When it’s done, you might open it up and see a dry, crumbly, powdery mess.
Don’t panic! This is totally normal for high-protein recipes. This is where your almond milk comes to the rescue. Add just one tablespoon of milk to the pint, put it all back in the machine, and press the “RE-SPIN” button.
Watch the transformation. It’s amazing. If it’s still a little crumbly, add one more tablespoon and re-spin again. Now it should be perfectly smooth and creamy.
Step 4: Add the Goodies
You could stop here and have amazing mocha ice cream. But why would you?
Use a spoon to dig a little hole down the center of the ice cream, about an inch wide. Pour your chopped chocolate chips into that hole.
Put the pint back in the machine and press the “MIX-IN” button. This cycle will gently fold the chocolate chips into every bite.
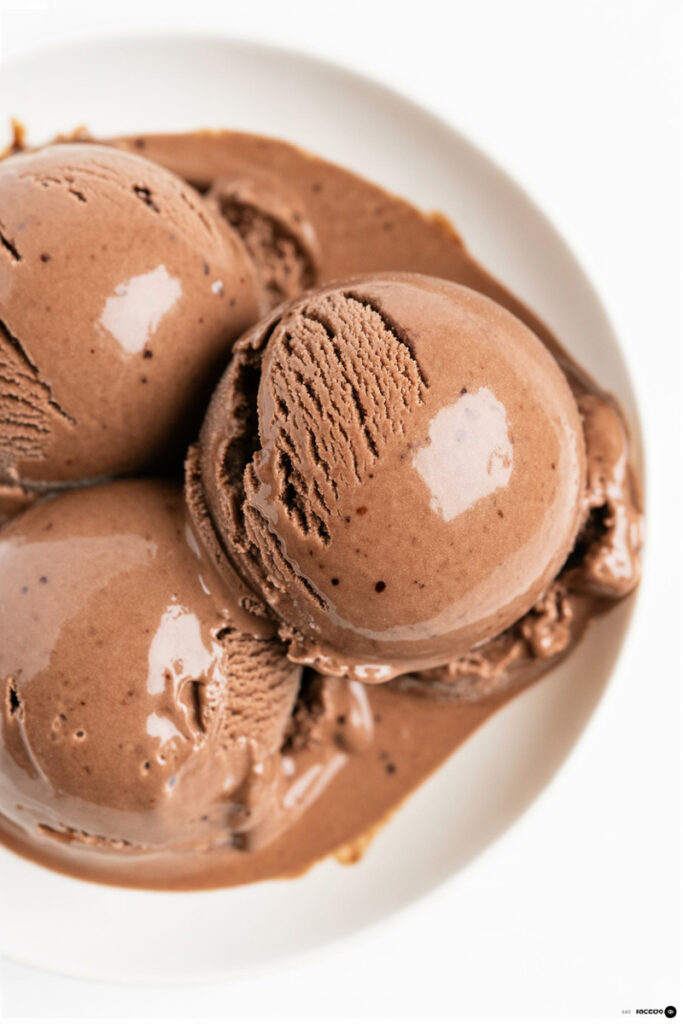
And that’s it! It’s done. You can dig in right now for the perfect soft-serve texture.
Want to Mix It Up? Try These.
This recipe is a great starting point. Feel free to get creative!
- Make it Dairy-Free: Easy peasy. Use a plant-based protein shake (almond or pea protein works great) and a dairy-free milk for the re-spin. Just make sure your pudding mix and chocolate chips are also dairy-free.
- Mexican Mocha Vibe: Feeling spicy? Add a pinch of cinnamon and a tiny dash of cayenne pepper to the base before you freeze it. It adds a subtle warmth that’s incredible.
- Make it Fancy: Instead of chocolate chips, use chopped chunks of a really good 70% dark chocolate bar. After the mix-in, drizzle it with some sugar-free caramel sauce and a sprinkle of flaky sea salt.
- Extra Flavor: A half-teaspoon of vanilla extract or even almond extract in the base can add a whole new layer of flavor.
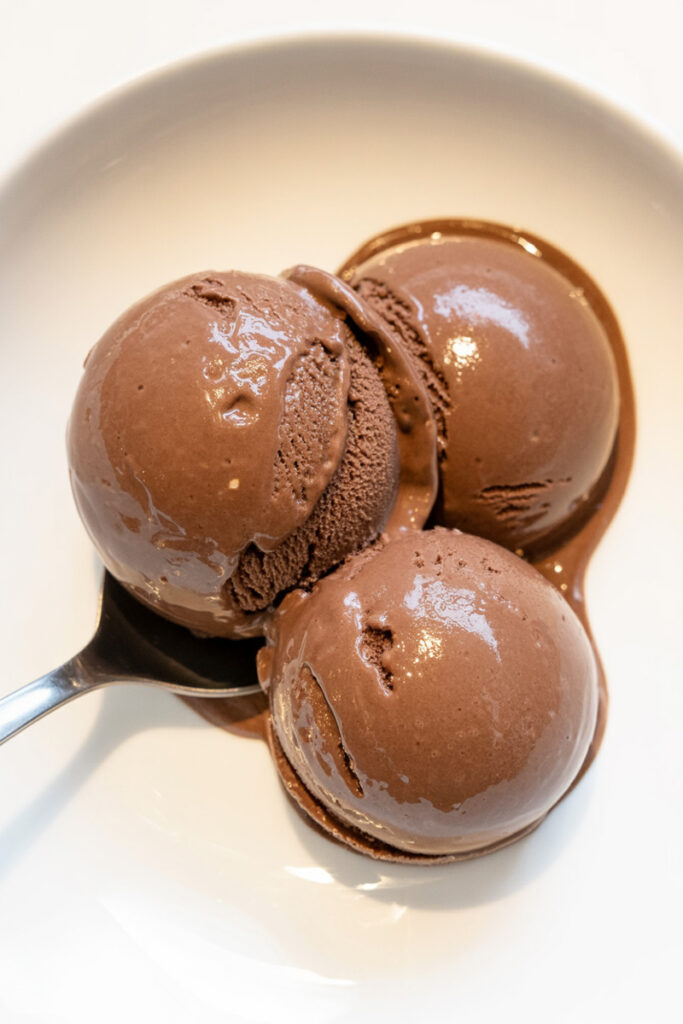
How to Eat It and Save It for Later
Honestly, this ice cream is at its absolute best right after the “MIX-IN” cycle. It’s creamy, soft, and perfect. I like to scoop it into a bowl that I’ve chilled in the freezer for a few minutes.
If you somehow have leftovers, just smooth out the top, pop the lid on, and put it back in the freezer.

One important thing: It will freeze rock solid again because it’s low in sugar and fat. Do not try to scoop it right out of the freezer later. You’ll just bend a spoon and be sad. When you want more, you have to process it again. Just pop it back in the machine and run the “LITE ICE CREAM” or “RE-SPIN” cycle to bring it back to life. Enjoy!
PrintNinja Creami Mocha Espresso Protein Ice Cream
Finally, a protein ice cream that’s actually creamy! This mocha espresso pint is rich, smooth, and tastes like a real dessert, but it’s packed with protein to fuel your day. No more icy, chalky disappointments.
- Prep Time: 5 minutes
- Cook Time: None
- Total Time: 24 hours 5 minutes (includes 24-hour freeze time)
- Yield: 1 pint (2 servings) 1x
- Category: Dessert, Healthy
- Cuisine: American
Ingredients
- 1 (11.5 oz) ready-to-drink chocolate protein shake (I use Fairlife Core Power)
- 1 ½ tbsp sugar-free instant chocolate fudge pudding mix
- 1 ½ tsp instant espresso powder
- 1 tsp dark cocoa powder
- 1 tbsp zero sugar chocolate chips, chopped
- 1–2 tbsp chocolate almond milk, for re-spinning
Instructions
- Blend the Base: In a small blender, combine the protein shake, pudding mix, espresso powder, and cocoa powder. Blend until perfectly smooth with absolutely no lumps.
- Freeze: Pour the mixture into a Ninja Creami pint, stopping at the max fill line. Place on a level surface in the freezer for a full 24 hours.
- First Spin: Place the frozen pint in your Creami and process using the ‘LITE ICE CREAM’ setting. Don’t worry if it looks powdery or crumbly—that’s normal!
- Re-Spin for Creaminess: Add 1 tablespoon of chocolate almond milk directly to the crumbly base. Install it back in the machine and process using the ‘RE-SPIN’ button. If needed, add one more tablespoon and re-spin again until it’s silky smooth.
- Add the Crunch: Use a spoon to create a small well down the center of the ice cream. Pour in your chopped chocolate chips. Process one last time using the ‘MIX-IN’ setting. Enjoy immediately!
Notes
- Serving Suggestion: This ice cream is best right after the final spin when it has that perfect, soft-serve texture. Scoop it into a chilled bowl to keep it from melting too fast.
- Tips & Tricks: Don’t have a blender? A milk frother or a simple whisk works too, just be sure you mix until all the powder has dissolved. For a perfectly flat top, try freezing the pint without the lid on.
- Storage Instructions: To save leftovers, smooth the top surface, secure the lid, and return the pint to the freezer. It will freeze rock solid. To enjoy again, you must re-process the pint on the ‘LITE ICE CREAM’ or ‘RE-SPIN’ setting to restore its creamy texture.