
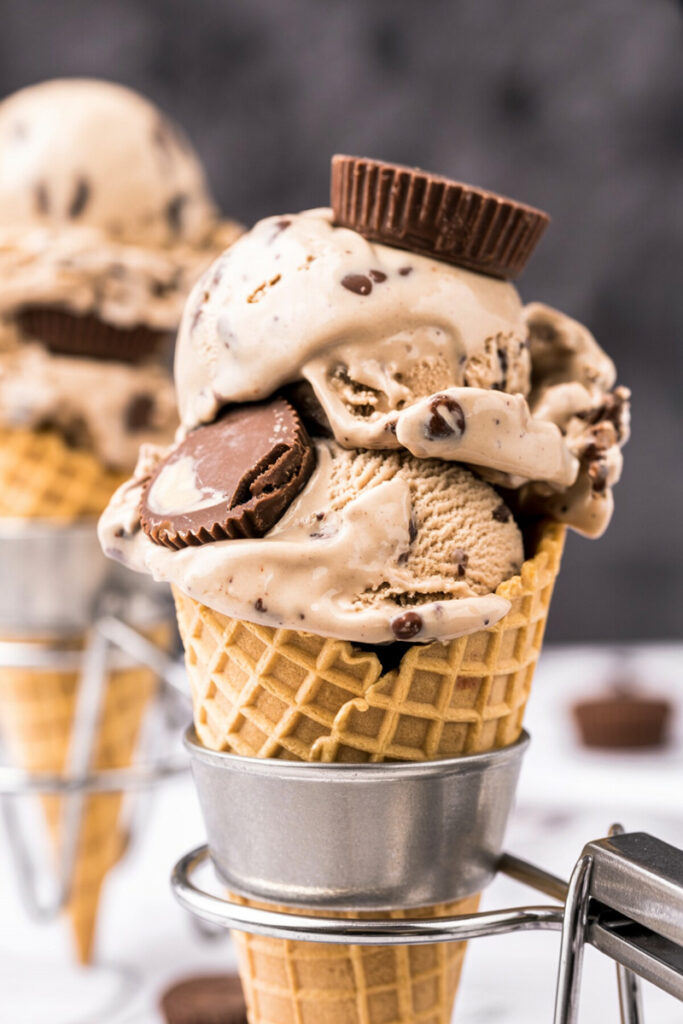
Hey there! Welcome to my kitchen. Today, we’re making something that tastes incredibly indulgent but is secretly packed with protein: a Ninja Creami Reese’s Ice Cream.
If you’re anything like me, chocolate and peanut butter is a top-tier flavor combo. It just hits different. It reminds me of being a kid and sneaking those famous peanut butter cups. The amazing thing about this recipe is how it nails that classic taste but in a super smooth, creamy ice cream. And it’s all thanks to the magic of the Ninja Creami machine.
I came up with this recipe because I wanted a treat that would crush my sweet cravings without totally derailing my fitness goals. By using Greek yogurt and a scoop of protein powder, we turn a simple base into something pretty special. You can forget about those icy, sad-tasting “healthy” ice creams from the store. The way the Creami works is by shaving tiny frozen particles into a texture so rich and smooth, you’ll think you bought it from a gourmet ice cream shop.
So, let’s get started. I promise this will become your new go-to dessert!
A Quick Look at What We’re Doing
Before we pull out the ingredients, let’s get a quick overview. This recipe is so simple. The machine does almost all the work for you. Honestly, the hardest part is just waiting for it to freeze.
The Time Commitment: The actual hands-on time is next to nothing.
- Prep: About 5 minutes to blend the base.
- Freeze: This is the non-negotiable part. It needs a full 24 hours.
- Spin: About 3 minutes for the Ninja Creami to do its thing.
So, all in all, you’re looking at about a day and 8 minutes from start to finish.
How Much Does It Make?: This recipe makes one full pint. The label says that’s 8 servings, which is perfect if you like small, satisfying scoops. For me, it’s usually more like 2 or 3 big dessert-sized bowls.
Quick Tip: If you want to make more, just prep a few pint containers at once! I often make a double batch of the liquid base and have them sitting in the freezer, ready to go whenever I get a craving.
| Pints to Make | Peanut Butter | Protein Powder | Greek Yogurt | Milk | Honey/Maple Syrup |
| 1 Pint | 1 cup | 2 tbsp | 1 cup | 1 cup | 2 tbsp |
| 2 Pints | 2 cups | 4 tbsp | 2 cups | 2 cups | 4 tbsp |
Difficulty Level: On a scale of 1 to 5, this is a solid 1. It’s perfect for beginners. If you can measure stuff and press a button on a blender, you’ve got this.
Equipment You’ll Need: The star of the show, of course, is the Ninja Creami Ice Cream Maker. You’ll also need at least one Ninja Creami Pint Container and its lid. A blender is pretty key for getting that perfectly smooth base. If you don’t have one, an immersion blender or even a whisk and some serious arm power can work, but a blender really is your best bet.
What You’ll Need (The Good Stuff)
The best part about this peanut butter ice cream is how simple the ingredients are. Each one has a special job to do to get the flavor and texture just right.
Let’s break it down:
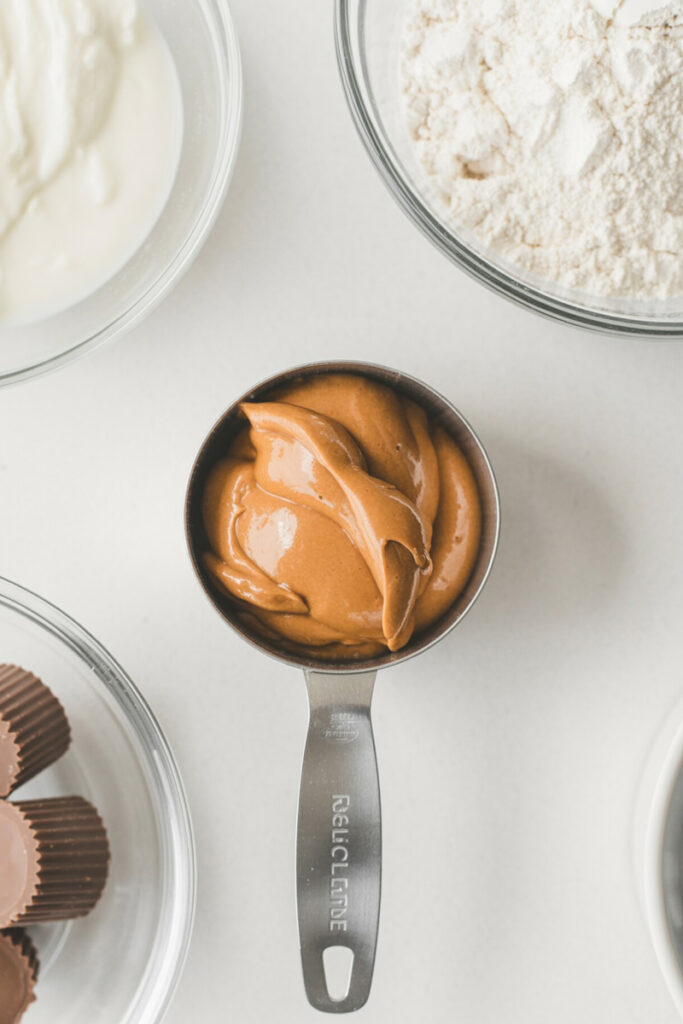
- Smooth Peanut Butter (1 cup): This is the heart of the recipe. I really recommend using a good quality, natural-style peanut butter. You know, the kind where the only ingredients are peanuts and salt. It tends to be a bit runnier and mixes in perfectly.
- Protein Powder (2 tbsp): For that protein kick! I use vanilla, but unflavored works great too. A little secret? The flavor of your protein powder will come through, so make sure it’s one you actually enjoy drinking on its own.
- Greek Yogurt (1 cup): This brings the creaminess and a little bit of tang. Full-fat Greek yogurt will give you the richest texture, but low-fat works just fine.
- Milk (1 cup): This gets our base to the right consistency. You can use whatever you like! Whole milk adds extra creaminess, but almond, soy, or oat milk are awesome dairy-free options.
- Honey or Maple Syrup (2 tbsp): Just a little something to sweeten the deal. Maple syrup is a great vegan option and adds a really nice flavor.
Don’t have something on hand? No problem. Here are a few easy swaps.
| Ingredient | Substitutes & Notes |
| Peanut Butter | Want more texture? Use chunky peanut butter. For a lower-fat option, you could try powdered peanut butter, but you might need to add a splash more milk. |
| Protein Powder | Chocolate protein powder is amazing here for a “double chocolate” Reese’s vibe. |
| Greek Yogurt | Dairy-free yogurts (like coconut or almond) work great. I’ve also tried subbing with 1/2 cup of full-fat cottage cheese for an even bigger protein punch. Sounds weird, but it’s super creamy! |
| Milk | Lots of people in the Creami community love Fairlife milk because it’s ultra-filtered and makes things incredibly smooth. But really, any milk works. |
| Honey | Maple syrup, agave, or a sugar-free sweetener like monk fruit will all do the trick. Just adjust the amount based on how sweet your protein powder is. |
Let’s Make Some Ice Cream! Step-by-Step
Alright, let’s do this together. I’ll share a few tips to make sure it comes out perfect every single time.
Step 1: Blend the Base
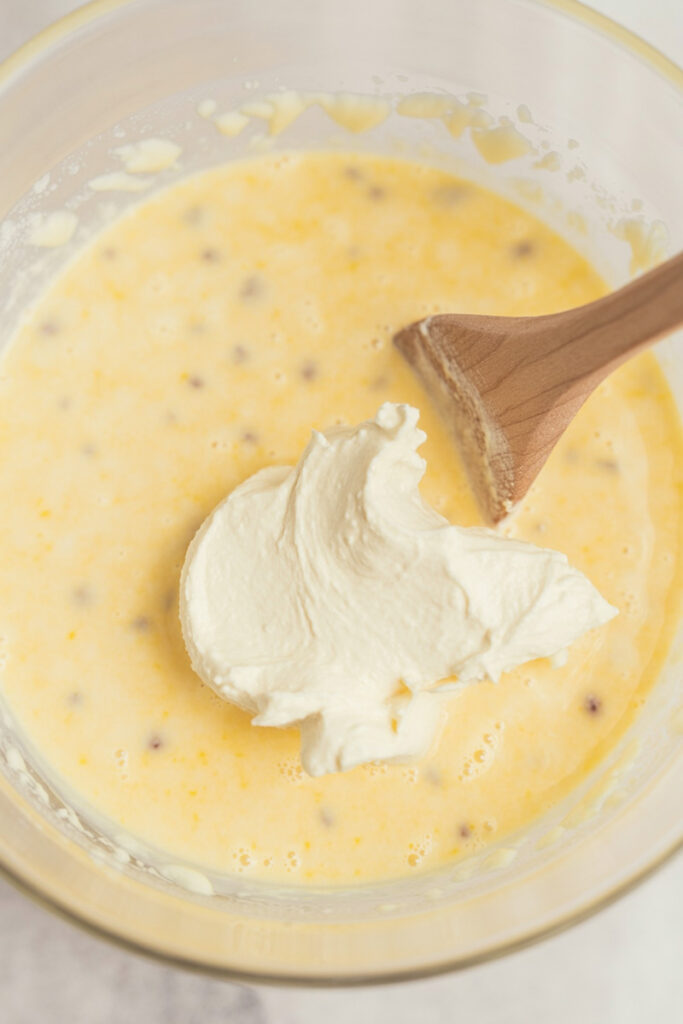
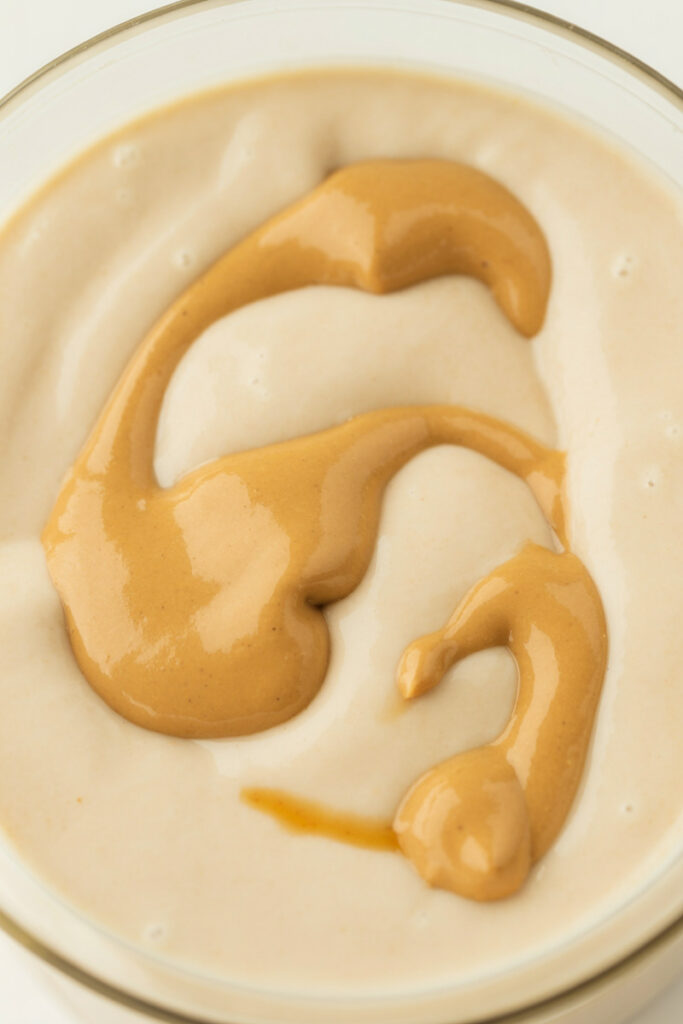
First, get all your ingredients ready. Toss the peanut butter, protein powder, Greek yogurt, milk, and your honey or maple syrup into your blender.
Now, blend it on high until it’s completely smooth. You want it to look like a really thick, rich milkshake. Make sure there are zero lumps or gritty bits from the protein powder.
Quick Tip: Don’t rush the blending! The first time I made this, I was impatient, and the texture was a little grainy. Give it a good 30-60 seconds in the blender to be safe.
Step 2: The Big Chill
Pour that smooth, delicious mixture into your Ninja Creami pint container. Be careful not to fill it past the “Max Fill” line because it will expand a bit as it freezes. Pop the lid on and stick it in the freezer.
Here’s a super important pro-tip: make sure the pint is sitting on a perfectly flat surface in your freezer. If it freezes at an angle, the top will be lopsided, and that can actually damage the Creami’s blade when you go to spin it.
Now for the hardest part…waiting. Let it freeze for a full 24 hours. This is key for getting that amazing texture.
Step 3: The Creami Transformation
After 24 long hours, it’s go time! Take the pint out of the freezer and remove the lid. It’s going to look like a solid brick of peanut butter. That’s good!
Place the pint into the outer bowl, attach the blade lid, and lock it into your Ninja Creami. Choose the “Lite Ice Cream” or “Ice Cream” setting and let it rip.
After the first spin, it will probably look dry and crumbly, almost like sand. Don’t panic! This is completely normal. To fix it, add one or two tablespoons of milk right into the middle of the pint. Then, put it back in the machine and hit the “Re-Spin” button. This second spin is where the real magic happens. The texture will transform into the rich, scoopable ice cream you’ve been waiting for.
Step 4: Add the Goodies and Serve
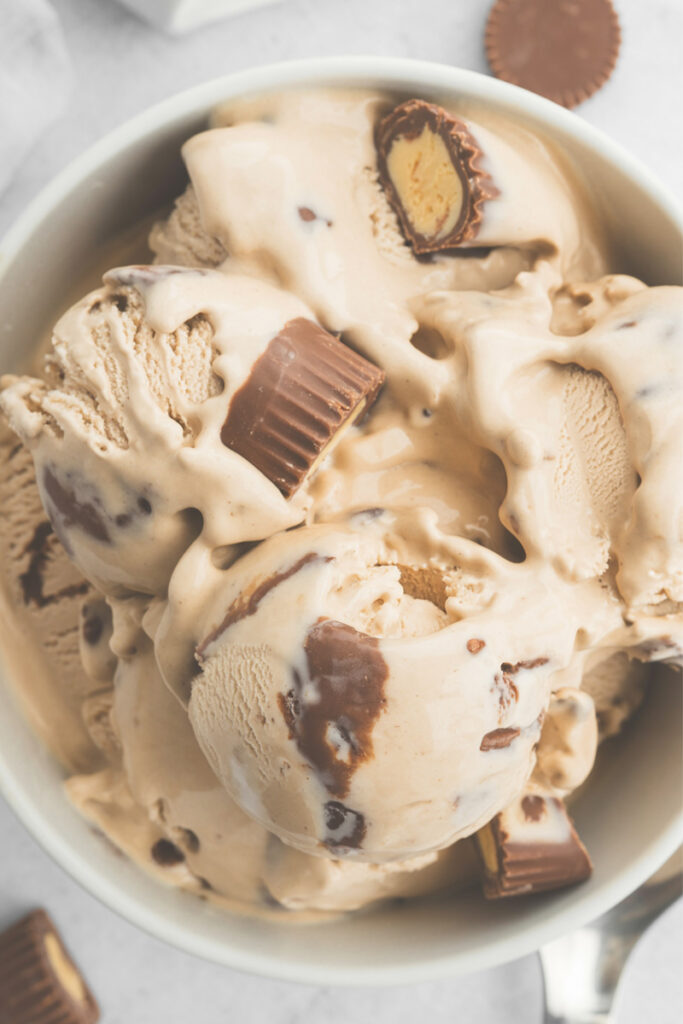
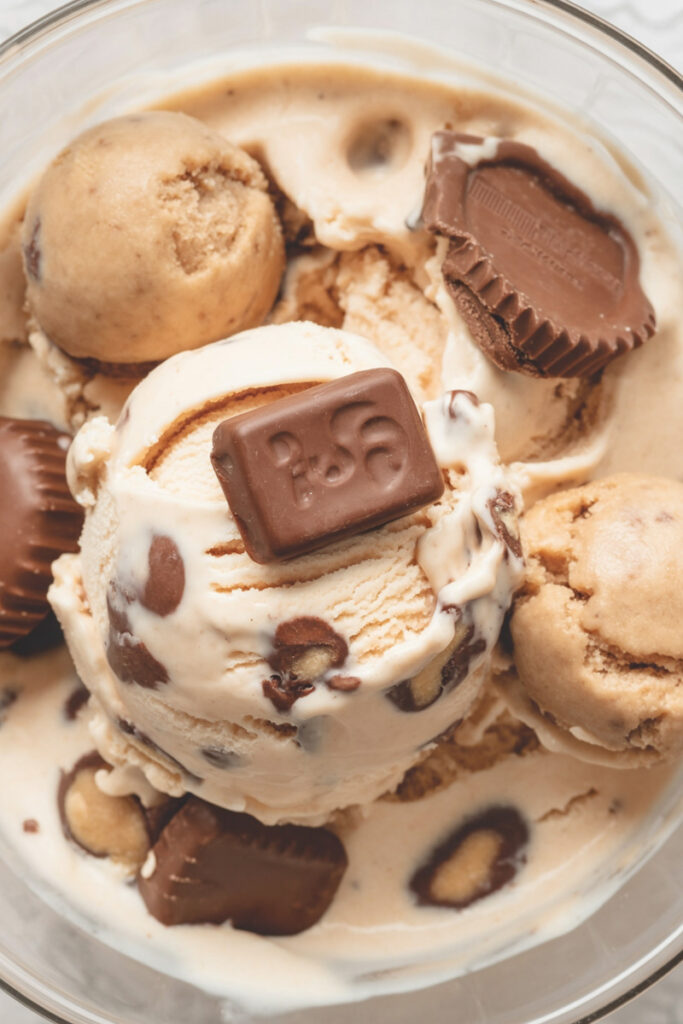
This is the best part. You can eat it as is, or you can go full Reese’s mode. Use the “Mix-In” function! With a spoon, carve out a hole about an inch wide all the way down the center. Drop in some chopped Reese’s Peanut Butter Cups, Reese’s Pieces, or even an extra swirl of peanut butter.
Put it back in the machine, press the “Mix-In” button, and watch it perfectly swirl everything together. Scoop it into a bowl and dig in immediately!
Make It Your Own
This recipe is a fantastic starting point, so feel free to get creative. Here are a few ideas:
- Go Vegan/Dairy-Free: This is an easy one. Just use your favorite plant-based protein powder, a dairy-free yogurt (coconut yogurt is especially rich), a plant-based milk like oat or almond, and stick with maple syrup.
- Make it “Fancy”: For an even creamier, smoother texture that holds up a little longer, add a tablespoon of vanilla pudding mix or a tiny pinch (1/4 teaspoon) of xanthan gum to the base before blending. It makes it feel like it came from a high-end ice cream parlor. For mix-ins, try crushed pretzels for a salty crunch or mini marshmallows for a “fluffernutter” vibe.
- Seasonal Twists: The base recipe is perfect for everyday. But in the fall, try adding a dash of cinnamon or pumpkin pie spice. Around the holidays, a little peppermint extract could be a fun and surprising combo with the peanut butter!
How to Serve and Store It
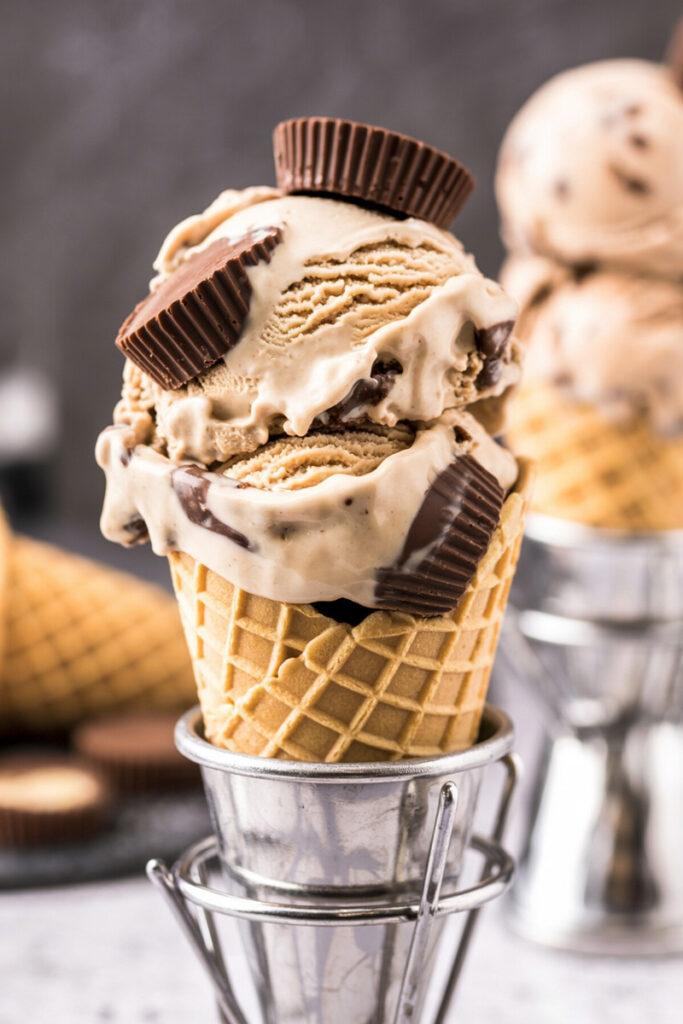
You did it! The absolute best time to eat this ice cream is right after it’s been spun in the Creami. That’s when it’s at its creamiest, dreamiest peak. I like to scoop it into a chilled bowl and add a drizzle of melted peanut butter or some mini chocolate chips.
If you somehow have leftovers, just smooth the top down in the pint container, put the lid back on, and pop it back in the freezer.
Important: When you want to eat it again, it will be frozen solid. Do not try to scoop it straight from the freezer—you’ll bend your spoon and be very sad. You have to re-process it. Just put the pint back into the Ninja Creami and run it on the same “Lite Ice Cream” or “Ice Cream” cycle. It will return to that perfect, creamy state. This is honestly one of the best features of the Creami!
Enjoy every single spoonful. You deserve it!
PrintNinja Creami Reese’s Ice Cream

Craving that perfect chocolate and peanut butter combo? This super easy Ninja Creami recipe whips up a rich, creamy, protein-packed ice cream that tastes just like a Reese’s cup. It’s the ultimate guilt-free treat that’s ready whenever you are!
- Prep Time: 5 minutes
- Cook Time: 3 minutes
- Total Time: 24 hours 8 minutes (includes freeze time)
- Yield: 1 Pint (2–3 servings) 1x
- Category: Dessert
- Cuisine: American
Ingredients
- 1 cup smooth natural peanut butter
- 1 cup Greek yogurt (full-fat for best results)
- 1 cup milk (any kind works)
- 2 tbsp vanilla or unflavored protein powder
- 2 tbsp honey or maple syrup
- Optional Mix-ins: Chopped Reese’s Peanut Butter Cups, Reese’s Pieces
Instructions
- Blend the Base: In a blender, combine the peanut butter, Greek yogurt, milk, protein powder, and honey. Blend on high until the mixture is completely smooth with no lumps.
- Freeze: Pour the mixture into your Ninja Creami pint container, making sure not to fill past the max fill line. Secure the lid and place it on a perfectly level surface in the freezer for 24 hours.
- First Spin: Once frozen solid, place the pint into the Ninja Creami and process it using the “Lite Ice Cream” or “Ice Cream” function.
- Re-Spin: After the first spin, the texture will likely be dry or crumbly. This is normal! Add 1-2 tablespoons of milk, place it back in the machine, and press the “Re-Spin” button. It will transform into a smooth, scoopable ice cream.
- Mix-In & Serve: If using, create a hole down the center, add your chopped Reese’s, and process using the “Mix-In” function. Serve immediately and enjoy!
Notes
- Serving Suggestion: This ice cream is best right after it’s made. Top it with a drizzle of melted peanut butter or a sprinkle of mini chocolate chips for an extra treat.
- Pro Tip: The flavor of your protein powder really comes through, so be sure to use one you love! For an even creamier result, try adding 1 tablespoon of instant vanilla pudding mix to the base before blending.
- Storage: Smooth the top of any leftover ice cream in the pint, cover, and return to the freezer. It will freeze solid again. To enjoy later, you must re-process it on the same “Ice Cream” setting. Do not attempt to scoop it while frozen solid!