
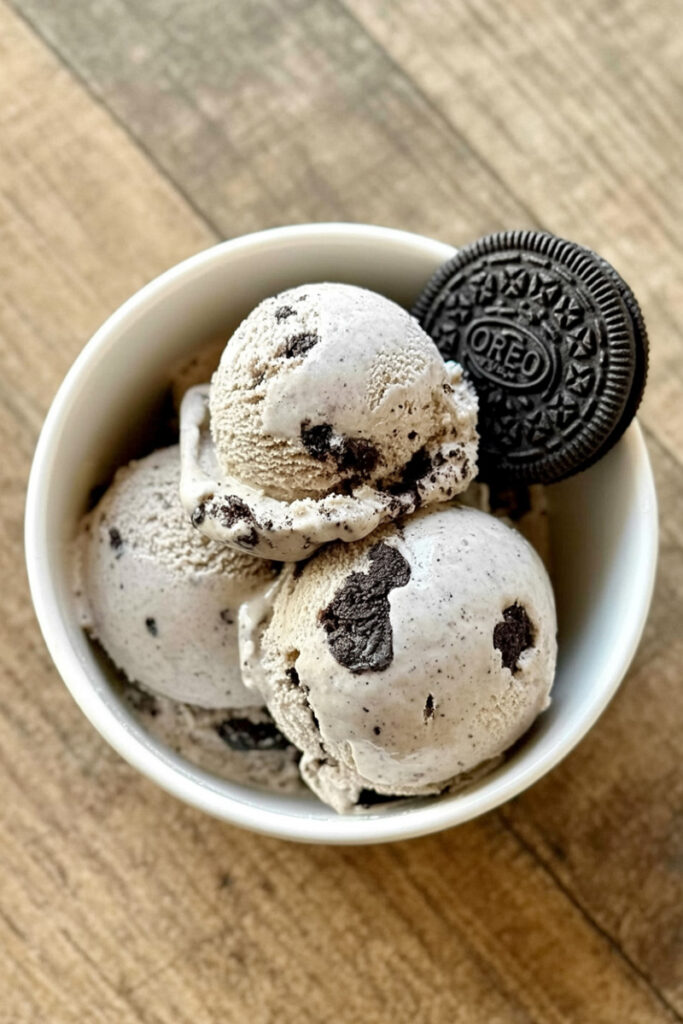
Hey there! So glad you stopped by my kitchen. Today, we’re making a true classic, a flavor that’s basically a hug in a bowl: Cookies and Cream Ice Cream.
There’s just something about that perfect mix of sweet, creamy vanilla and the dark, crunchy bite of a chocolate sandwich cookie. It’s pure nostalgia. People have been loving it since the 70s and 80s, and it’s still one of the most popular flavors out there. For good reason.
But what if you could make it at home? And what if it was even better than the stuff from the store?
That’s where the Ninja Creami comes in. I’ve become completely obsessed with this machine. It doesn’t just mix ice cream; it takes a solid frozen block and turns it into the smoothest, most incredible texture. It’s like magic.
After a lot of experimenting in my kitchen, I’ve finally landed on this recipe. It’s simple, it works every time, and it tastes amazing.
Ready? Let’s get started.
What You’re Getting Into
Before we jump in, here’s a quick rundown of the plan.
Time Commitment: You’ll only need about 5 minutes of actual hands-on prep time.1 Super quick. But here’s the catch… you have to be patient. The ice cream base needs to freeze for at least 24 hours. Trust me, the waiting is the hardest part, but it’s the most important step for getting that perfect texture.
How Much It Makes: This recipe makes one Ninja Creami pint. That’s enough for about four small scoops or two really generous bowls. I love making a few different bases at once so I can have fresh ice cream ready to go whenever a craving hits. Here’s a handy chart if you want to prep more than one.
| Pints to Make | Heavy Cream | Whole Milk | Powdered Sugar | Vanilla Extract |
| 1 Pint | ½ cup | 1¼ cups | ⅓ cup | 1 teaspoon |
| 2 Pints | 1 cup | 2½ cups | ⅔ cup | 2 teaspoons |
| 3 Pints | 1½ cups | 3¾ cups | 1 cup | 1 tablespoon |
Difficulty Level: I’d say this is a 1 out of 5 on the difficulty scale. Seriously. If you can measure ingredients and push a button, you can nail this recipe. The machine does all the heavy lifting.
Equipment: The star of the show is your Ninja Creami machine and the pint container that comes with it.2 You’ll also want a blender to get the base super smooth. Don’t have a blender? No problem. A bowl and a whisk work just fine, just make sure you whisk until that powdered sugar is completely gone!
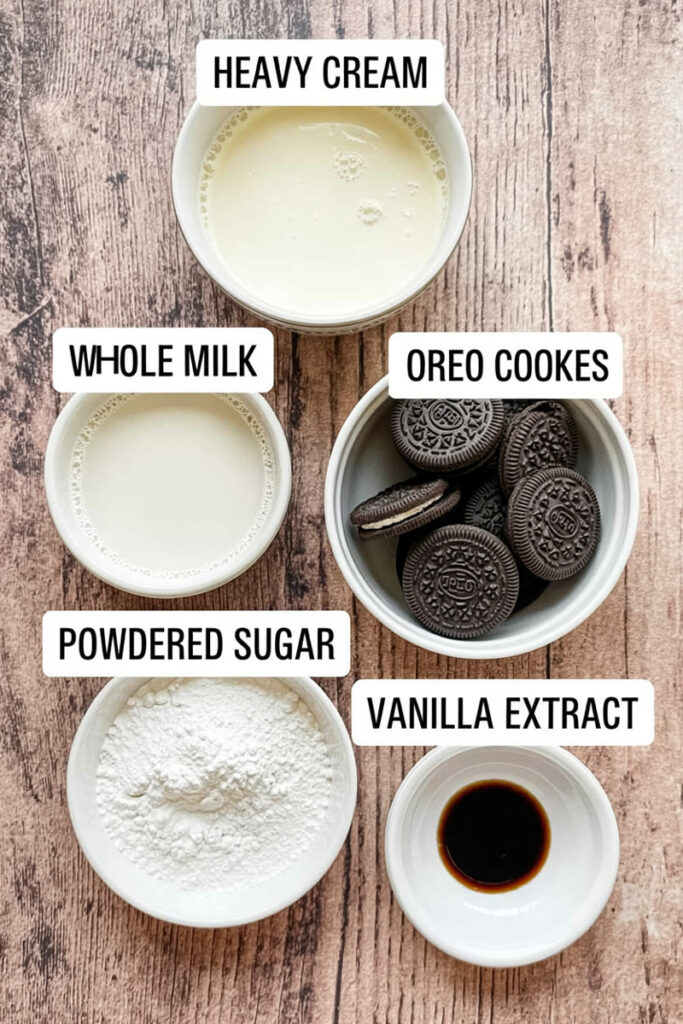
The Ingredients (And Why They Work)
Good ingredients make good food. It’s that simple. And while this list is short, each part plays a big role.
We start with our dairy dream team: ½ cup of heavy whipping cream and 1¼ cups of whole milk. This is the secret combo. The heavy cream brings the fat, which makes the ice cream rich and creamy instead of icy.3 The whole milk keeps it from being too heavy, giving it that perfect scoop-able feel.
For sweetness, we’re using ⅓ cup of powdered sugar. Why powdered? Because it dissolves instantly. No chance of a gritty texture. It’s a small detail that makes a big difference.
Then comes the flavor. One teaspoon of pure vanilla extract. If you have the good stuff, use it here. The flavor really pops.
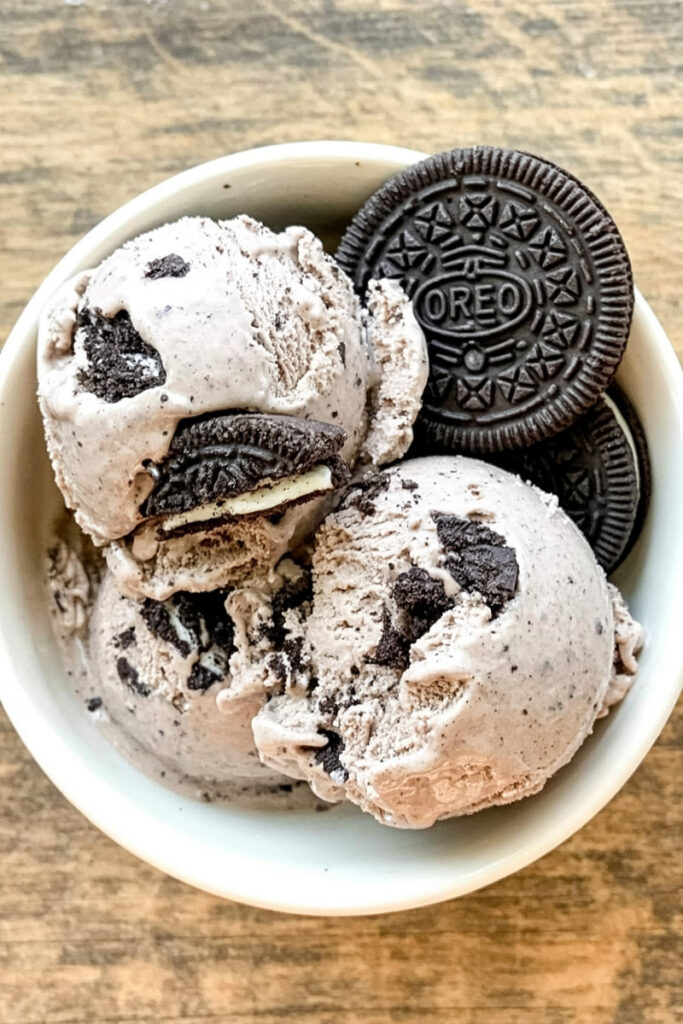
And now, for the main event! The cookies. You’ll need 3 classic Oreo cookies, broken up a bit. They are the go-to for a reason—that deep chocolate flavor is the perfect partner for the sweet cream.
My Secret Tip? Okay, here’s a little trick I’ve learned. Add one tablespoon of softened cream cheese to your base. It’s totally optional, but it adds a tiny bit of tang and makes the ice cream unbelievably creamy. It’s that little something that will make people ask for your secret.
Let’s Make Some Ice Cream!
Alright, grab your stuff and let’s walk through this together.
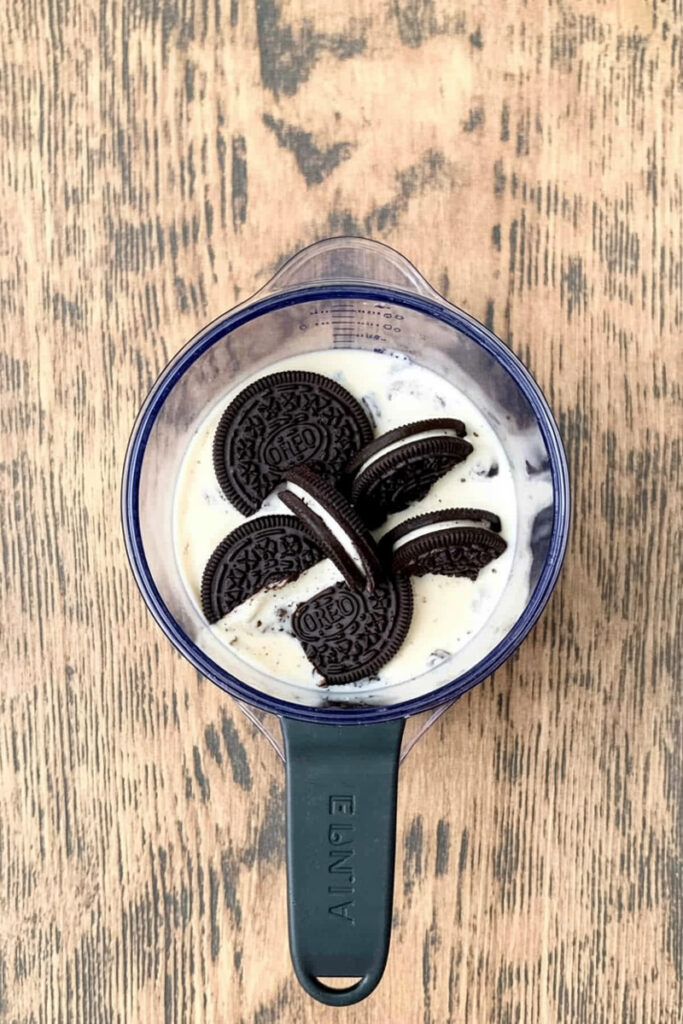
Step 1: Mix the Base
First up, let’s make the liquid base. Toss the heavy cream, whole milk, powdered sugar, and vanilla extract into your blender. If you’re using my cream cheese trick, add that in now, too.
Blend for just 10-15 seconds. You’re not trying to make whipped cream, just get everything mixed together until it’s smooth.
Pour the mixture into your Ninja Creami pint container. See that “MAX FILL” line? Don’t go past it. The mix will expand when it freezes, kind of like a can of soda you forgot about in the freezer.
Step 2: The Big Freeze
Now comes the hard part. Put the lid on the pint and pop it in the freezer. Make sure it’s sitting on a flat surface so it freezes evenly. Leave it in there for at least 24 hours. Don’t cheat on this! The base needs to be frozen solid for the Creami to work its magic.
Step 3: The First Spin (And the Powdery Panic!)
It’s time! Take the pint out of the freezer and remove the lid. It should look like a block of ice. Place the pint into the outer bowl, click the blade lid on top, and lock it into your Ninja Creami.
Press the “Ice Cream” button. It’s going to get loud—that’s the sound of power!
When it’s done, take a look. It will probably look dry and powdery, kind of like frozen crumbs. Do not panic! I promise, this is totally normal.
Step 4: The Re-Spin Fix
Here’s where we fix that crumbly texture. Use a spoon to dig a little hole in the center of the pint and pour in one tablespoon of milk or cream.
Put it all back in the machine and press the “RE-SPIN” button. This second spin brings it all together into a smooth, creamy dream. It’s a crucial step that makes all the difference.
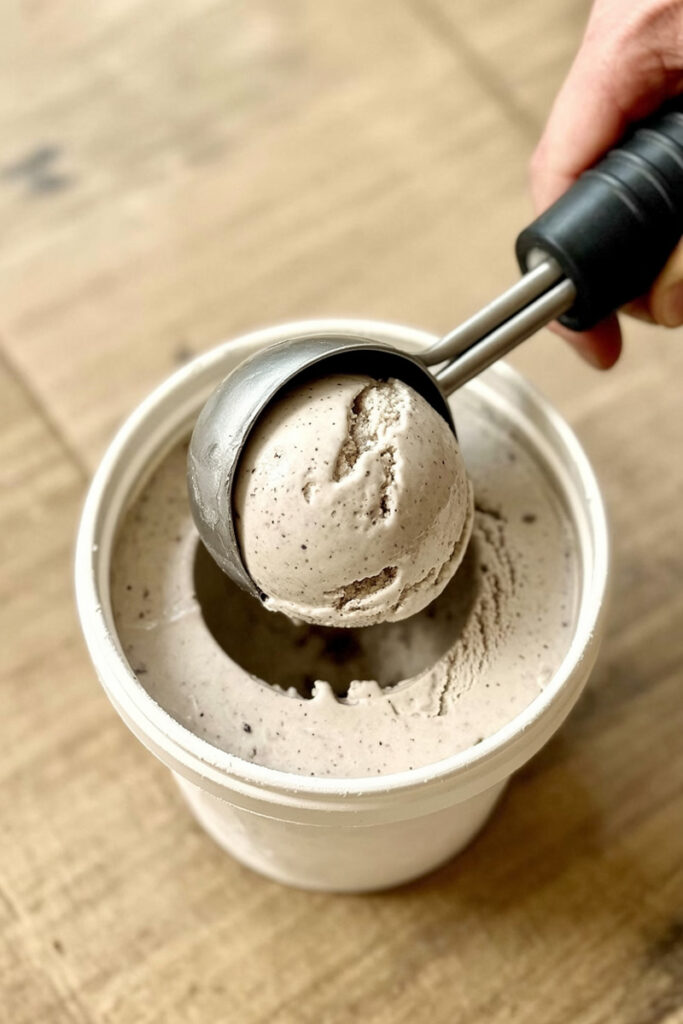
Step 5: Time for the Mix-In!
Now for the best part. Your ice cream base is perfectly creamy. Take a spoon and make a hole all the way down to the bottom of the pint. Drop your broken Oreo pieces into that hole. This helps the machine mix them in evenly.
Lock it back into the machine and hit the “MIX-IN” button. This cycle is gentle, so it will fold the cookies in without turning them into dust. You’ll be left with amazing cookie chunks in every bite.
And that’s it! Your homemade Cookies and Cream is ready to eat. Serve it right away!
Want to Mix It Up? Try These Ideas.
This classic recipe is amazing on its own, but it’s also a great starting point. Feel free to get creative.
- Make it Gluten-Free or Vegan: Easy! Just use gluten-free chocolate sandwich cookies. For a vegan version, try full-fat coconut cream and a creamy oat or cashew milk instead of the dairy.
- Go on a Flavor Adventure: Why not? Add ¼ teaspoon of peppermint extract for a mint-cookie vibe. Or swirl in a spoonful of peanut butter before the final freeze. You could even add a tablespoon of cocoa powder to the base for a double-chocolate experience.
- Simple vs. Fancy: For a fancier dessert, definitely use that cream cheese trick. You can also use vanilla bean paste instead of extract to get those pretty vanilla specks, and top it all off with a drizzle of hot fudge.
How to Serve and Store Your Masterpiece
You did it! Now let’s enjoy it.
Serve the ice cream right after you make it. The texture is at its absolute best—soft, creamy, and perfect. I like to scoop it into bowls that I’ve chilled in the freezer for a few minutes.
If you somehow have leftovers, just smooth the top down in the Creami pint, put the lid on, and stick it back in the freezer.
When you want more, it will be frozen solid again. But here’s the final amazing trick of the Ninja Creami: just put the pint back in the machine and run the “Ice Cream” cycle one more time. It will be just as creamy as when you first made it. Fresh ice cream, every time.
Enjoy every single scoop!
PrintNinja Creami Cookies and Cream Ice Cream

Whip up the creamiest, dreamiest Cookies and Cream ice cream right at home! This super simple Ninja Creami recipe gives you that perfect scoop-shop texture with a classic cookie crunch in every single bite. It’s practically foolproof and ridiculously delicious.
- Prep Time: 5 minutes
- Cook Time: None
- Total Time: 24 hours 10 minutes (includes freeze time)
- Yield: 1 Pint (about 3–4 scoops) 1x
- Category: Dessert
- Cuisine: American
Ingredients
- 1¼ cups whole milk
- ½ cup heavy whipping cream
- ⅓ cup powdered sugar
- 1 tsp vanilla extract
- 3 Oreo cookies, roughly broken
Instructions
- Make the Base: In a blender or bowl, mix the whole milk, heavy cream, powdered sugar, and vanilla until smooth and the sugar has completely dissolved.
- Freeze: Pour the base into the Ninja Creami pint container, secure the lid, and freeze on a level surface for at least 24 hours. The base must be frozen completely solid.
- First Spin: Place the frozen pint into the outer bowl, attach the blade lid, and install it in the Ninja Creami. Press the ICE CREAM button. The mixture will likely look dry or powdery after this first spin—this is normal!
- Re-Spin: Add 1 tablespoon of milk or cream to the pint. Place it back in the machine and press the RE-SPIN button. It should now be smooth and creamy.
- Mix-In: Create a hole down the center of the ice cream and add your broken Oreo cookies. Reinstall the pint and press the MIX-IN button.
- Serve: Enjoy your homemade ice cream immediately for the best soft-serve texture!
Notes
- Pro Tip for Extra Creaminess: For an even richer, tangier ice cream, add 1 tablespoon of softened cream cheese to the base in Step 1. It’s a small change that makes a huge difference!
- Serving Suggestion: Scoop into chilled bowls and top with extra cookie crumbles or a drizzle of chocolate sauce.
- Storing Leftovers: Smooth the top of any leftover ice cream in the pint, secure the lid, and return it to the freezer. When you’re ready for more, simply put it back in the machine and run the ICE CREAM cycle again to restore its perfect creamy texture.