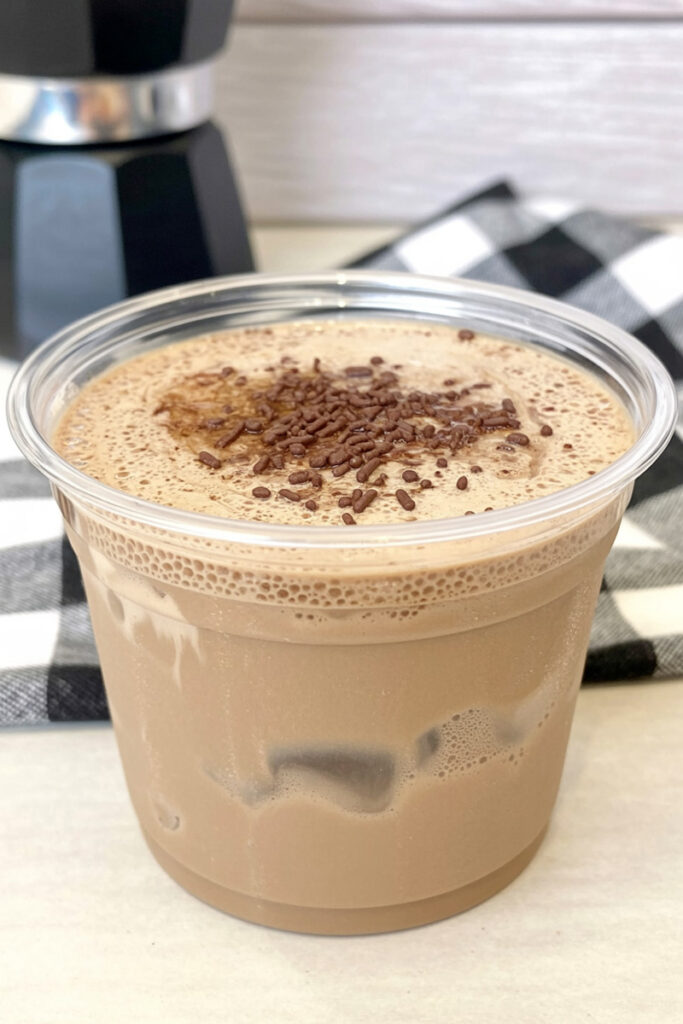
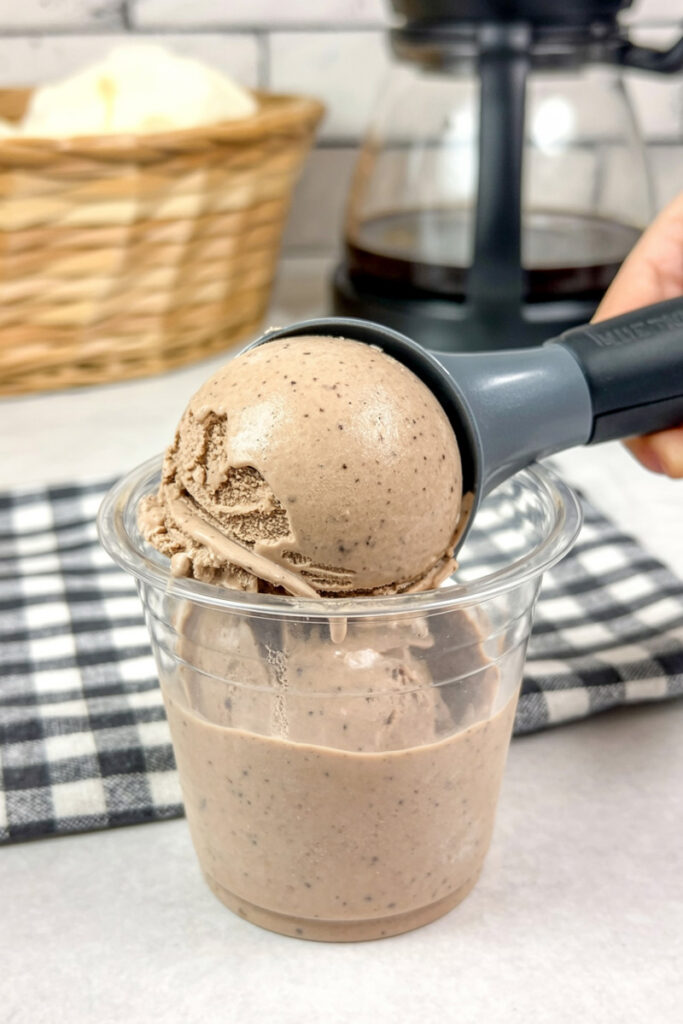
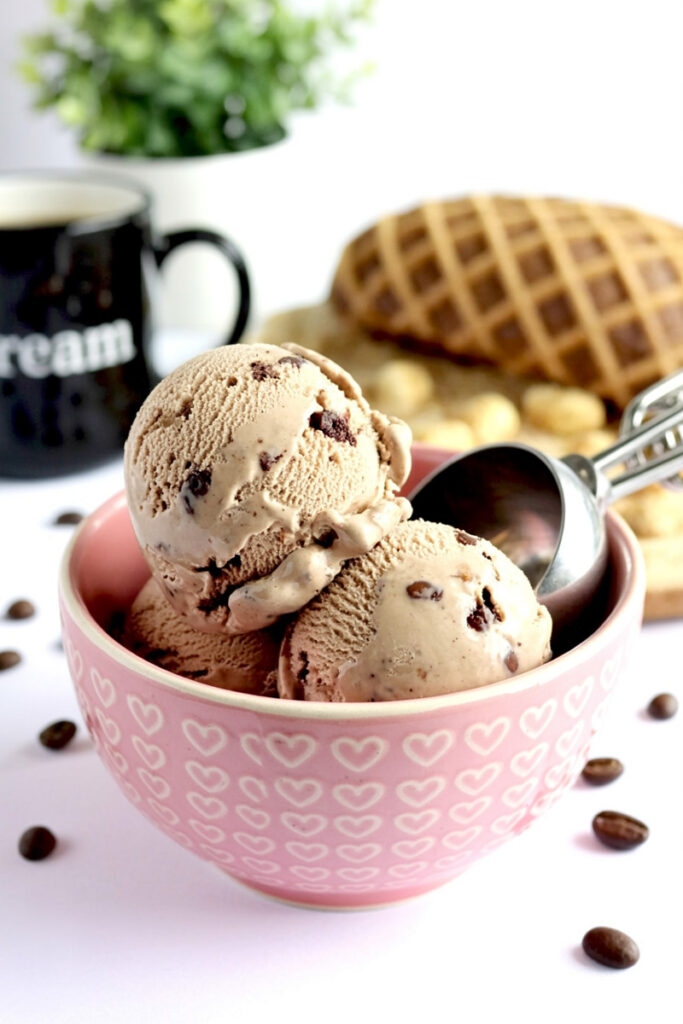
Hey there! If you’re like me, two things can make any day instantly better: a really good cup of coffee and a perfect scoop of gelato.
So, what if we could combine them? What if you could make that rich, dense, café-style gelato right in your own kitchen?
Well, get ready. Because with a little help from the Ninja Creami, that’s exactly what we’re about to do.
Now, gelato isn’t just a fancy word for ice cream. It’s different. It has way less air whipped into it, which makes it denser and lets the flavor just scream. It’s less about being super sweet and more about that pure, intense taste. This coffee gelato recipe is built on that idea. We’re going to make a classic custard base—that’s the real secret to getting that authentic, silky-smooth texture—and pack it with a deep coffee flavor.
This isn’t just a dessert. It’s an experience.

What to Expect
Before we get our hands dirty, here’s a quick rundown of the journey ahead. It’s a mix of old-school cooking and new-school tech.
A Quick Glance at Your Gelato Journey
| Time & Servings | Details |
| Prep Time | 10 minutes |
| Cook Time | 5-7 minutes (this part needs your attention!) |
| Freeze Time | 24 hours. Seriously, don’t rush this part. |
| Total Time | About 24 hours, 20 minutes |
| Servings | 1 Pint (makes about 3-4 decent scoops) |
| Difficulty | Pretty easy, but you need to follow the steps. |
A little tip on making more: The Ninja Creami is very particular about its pint-sized containers. You can’t just double the ingredients in a bigger bowl. If you want more gelato, you’ll have to make separate pints. It’s a little extra work, but believe me, it’s worth it.
The Tools for the Job
Having the right gear makes everything smoother. Here’s what you’ll need:
- Ninja Creami Machine: Obviously, this is the star of the show.
- Medium Saucepan: For cooking our delicious custard base.
- Whisk: A simple whisk is all you need for a lump-free mix.
- Fine-Mesh Sieve: This is your secret weapon for that silky texture. Don’t skip this. It catches any tiny bits you don’t want in your final product.
- Thermometer: A clip-on candy thermometer or an instant-read one is a must. It’s the difference between a perfect custard and sweet, scrambled eggs. I learned that the hard way once.
- Ninja Creami Pint Container: This is where the magic freezes.
Plan Ahead Like a Pro
One of the best things about this recipe? You have to make the base ahead of time. This is my secret weapon for dinner parties. I’ll prep the custard base a day or two before, and then I can spin up fresh gelato for dessert in just a few minutes. My friends think I’m some kind of dessert wizard.

The Ingredients (The Heart of the Matter)
Great gelato starts with great ingredients. Let’s chat about what we’re using and why it’s important.
The foundation of our gelato is a classic custard. You’ll need 2 large egg yolks. These are the key to a rich, dense, and creamy final product. They work to prevent ice crystals from forming. We’ll mix those with 1/3 cup of granulated sugar for the perfect amount of sweetness.
For the liquid, we’re using 1 cup of whole milk and 3/4 cup of heavy cream. My advice? Stick with the full-fat stuff here. The fat content is absolutely vital for getting that luxurious, non-icy texture that makes gelato, well, gelato.
Now for the main event: the coffee! We need 1 ½ Tablespoons of instant coffee. If you have a high-quality espresso powder, that’s even better for a deeper, more robust flavor. Then, we’ll add 1 teaspoon of vanilla extract. It doesn’t make it taste like vanilla; instead, it just rounds out the coffee notes and makes everything taste more complete.
And for the grand finale… an optional but highly recommended mix-in: 1/4 cup of chocolate-covered espresso beans. This adds a perfect crunch and an extra burst of coffee and chocolate. It takes the whole thing to another level.
Let’s Make Some Gelato! A Step-by-Step Guide
Alright, time to roll up our sleeves. I’ll walk you through every step.
Step 1: Make the Custard Base (No Heat Yet!)
First, grab your saucepan, but don’t put it on the stove. This is important. In the cold pan, whisk together the egg yolks and sugar. Keep whisking until they’re combined and turn a little pale. Doing this first prevents the eggs from cooking the second you add liquid.
Now, slowly pour in the whole milk and heavy cream while you keep whisking. A slow, steady stream is key to a smooth mixture. It should look like pale, liquid sunshine. Finally, whisk in the vanilla and the instant coffee until it’s all dissolved.

Step 2: Time for Some Gentle Heat
Place your pan over medium heat. This is the part where you need to pay attention. You have to whisk gently but constantly as it heats up. We’re aiming for a temperature between 165°F and 175°F (that’s 74°C to 79°C).
Pro-Tip: Whatever you do, do not let it boil! If it gets too hot, the eggs will curdle. Your thermometer is your best friend here. You’ll feel the mixture start to thicken up a bit. A great way to check is to see if it coats the back of a spoon. If you can run your finger through it and it leaves a clean line, you’re golden.
Step 3: Strain, Chill, and Freeze
The moment you hit that magic temperature, take the pan off the heat immediately. Pour the hot custard through your fine-mesh sieve directly into the Ninja Creami pint. This step is a game-changer for a perfectly smooth result.
To cool it down quickly, I like to put the pint in a small bowl filled with ice and water (an “ice bath”). Once the base is at room temperature, dry off the pint, screw on the lid, and place it on a perfectly level surface in your freezer. Let it freeze for at least 24 hours. A lopsided frozen base can actually damage the Creami’s blade, so this little detail really matters!
Step 4: The Ninja Creami Magic
This is the moment we’ve been waiting for!
Take the frozen pint out of the freezer, remove the lid, and pop it into the outer bowl. Lock the paddle lid on top and twist the whole thing into your Ninja Creami. Press the “Gelato” button and let the machine do its thing.
After the first spin, it might look a little crumbly or powdery. Don’t panic! This happens to me almost every single time. Just add a tablespoon of milk, put it back in the machine, and press the “Re-spin” button. That second spin almost always brings it to a perfectly creamy, scoopable texture.

Step 5: The Grand Finale (The Mix-in!)
If you’re using the chocolate-covered espresso beans (and I really hope you are), use a spoon to make a narrow hole down the center of your gelato. Drop the beans into that well, put it back in the machine, and hit the “Mix-in” button. The machine will gently fold them in, so you get a bit of crunch in every single bite.
Make It Your Own
This recipe is a fantastic starting point, but feel free to play around! Here are a few ideas:
- For a texture twist: Instead of espresso beans, try brownie chunks, a swirl of salted caramel, or some toasted hazelnuts.
- For a boozy kick: A tablespoon of Kahlua or Amaretto added to the base before freezing is incredible.
- For a touch of spice: A pinch of cinnamon or cardamom in the custard adds a wonderful warmth.
- For the coffee snob (like me!): Use a freshly pulled shot of high-quality espresso instead of instant coffee. The depth of flavor is next-level.
Serving and Storing Your Creation
You did it! Now let’s talk about how to enjoy it.
For a true cafe experience, I love to serve a scoop next to a crispy biscotti for dipping. But my absolute favorite way to eat this? Turn it into an Affogato. Just pour a hot shot of fresh espresso over a scoop of the gelato. It’s simple, it’s elegant, and it will transport you straight to a plaza in Rome.

What about leftovers?
If you somehow have any left, smooth the top and press a small piece of parchment paper directly onto the surface before putting the lid back on. This helps stop ice crystals from forming. It’ll keep in the freezer for up to a week.
When you take it out again, it’ll be a rock-solid brick. That’s totally normal. Just pop the pint back in the machine and run it on the “Gelato” cycle again. It will return to its original creamy glory, ready to be devoured.
I hope you enjoy every moment of making—and eating—this gelato. It’s a process that is just as rewarding as it is delicious. Happy churning!
PrintNinja Creami Coffee Gelato
Skip the coffee shop! This easy Ninja Creami recipe turns simple ingredients into a rich, dense, and incredibly smooth coffee gelato. It’s the perfect grown-up treat that tastes like it came straight from an Italian café.
- Prep Time: 10 minutes
- Cook Time: 7 minutes
- Total Time: 24 hours 17 minutes (includes 24-hour freeze time)
- Yield: 1 Pint 1x
- Category: Dessert
- Cuisine: Italian-inspired
Ingredients
- 2 large egg yolks
- 1/3 cup granulated sugar
- 1 cup whole milk
- 3/4 cup heavy cream
- 1 ½ tbsp instant coffee (or espresso powder for a richer flavor)
- 1 tsp vanilla extract
- 1/4 cup chocolate-covered espresso beans (optional mix-in)
Instructions
- Mix the Base: In a medium saucepan off the heat, whisk together the egg yolks and sugar until pale and combined. Slowly whisk in the milk, heavy cream, instant coffee, and vanilla until the mixture is completely smooth.
- Cook the Custard: Place the saucepan over medium heat. Whisk constantly until the mixture thickens and reaches 165°F to 175°F (74°C to 79°C) on a thermometer. Do not let it boil.
- Strain and Chill: Immediately pour the hot custard through a fine-mesh sieve directly into your Ninja Creami pint container. Let the base cool to room temperature.
- Freeze Solid: Secure the lid and place the pint on a level surface in your freezer for at least 24 hours. The base must be completely frozen solid.
- Spin It: Place the frozen pint into your Ninja Creami and process it using the “GELATO” function. If the texture is powdery or crumbly after the first spin, add 1 tablespoon of milk and use the “RE-SPIN” function.
- Add Mix-Ins (Optional): If using, create a small hole down the center of the gelato, add the chocolate-covered espresso beans, and process using the “MIX-IN” function. Enjoy right away!
Notes
Tips & Tricks:
- Use a Thermometer: This is the best way to ensure a perfect, silky custard without accidentally scrambling the eggs.
- The Re-Spin is Key: Don’t worry if your gelato looks like powder after the first spin! This is very common. The re-spin cycle is what brings it to that perfectly creamy consistency.
- Freeze Flat: Always freeze your pint on a completely level surface. An angled base can damage the machine’s blade.
Serving Suggestions:
- Classic Affogato: Pour a fresh, hot shot of espresso over a scoop for an incredible dessert.
- With a Crunch: Serve alongside a crispy biscotti for dipping.
Storage Instructions:
- Smooth the top of any leftover gelato and press a small piece of parchment paper directly onto the surface before replacing the lid. To enjoy again, simply place the pint back in the machine and run the “GELATO” cycle to restore its creamy texture.
