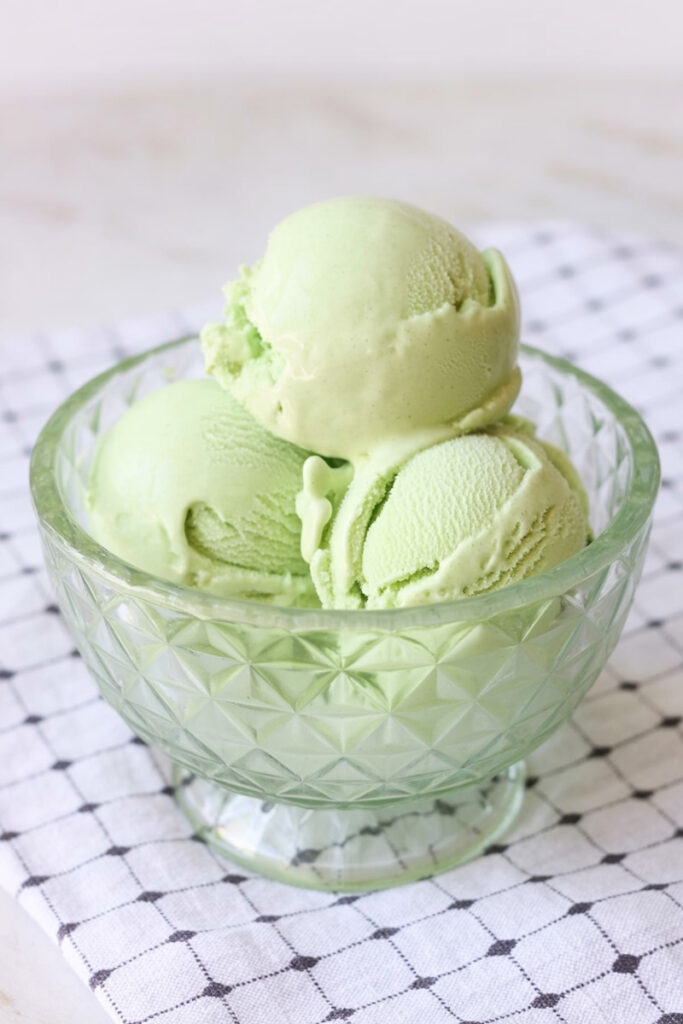
Hello, friend! Today, we’re going to make something truly special. We’re making pistachio gelato. And not just any gelato. We’re talking about the creamy, dreamy, intensely nutty kind that instantly makes you feel like you’re sitting in a sunny square in Italy.
I’ll never forget the first time I had real pistachio gelato in Rome. It was a complete game-changer. That perfect balance of sweet and nutty flavor, with a texture so rich and creamy… it was pure heaven. For years, I thought I could never recreate that at home.
The secret to amazing gelato is its density and intense flavor. Unlike American ice cream, which is made with a lot of cream and churned fast to whip in air, true Italian gelato uses more milk and is churned slowly. The result? Something much richer and more flavorful.
So, how do we get that authentic taste in our own kitchen? We’re going to use a classic, old-school technique—making a cooked custard base—and combine it with the fantastic power of the Ninja Creami. This little machine is a wizard at spinning a frozen base into something unbelievably smooth.
This recipe is my pride and joy. Let’s make some magic together!
What to Expect
Before we roll up our sleeves, here’s a quick peek at what we’re getting into. This recipe takes a little more effort than just dumping ingredients into a pint, but the extra 15 minutes of work pays off big time. I promise.
| Stage | Estimated Time | Notes |
| Prep & Cook | ~12 minutes | Making the custard base on the stovetop. |
| Cool Down | ~30 minutes | Using an ice bath to cool the base quickly. |
| Freezing | 24 hours (minimum) | The base needs to be frozen solid. Don’t rush this! |
| Spin Time | ~5 minutes | The final step where the Ninja Creami does its thing. |
Difficulty Level: I’d call this Intermediate. But don’t let that word scare you! The only tricky part is cooking the custard, and you just need to keep an eye on the temperature. I’ll be here to guide you through every single step.
Yield: This makes one Ninja Creami pint, which is about 2 or 3 servings. Honestly, sometimes it’s just one serving for me if I’m having a bad day. Since you have to make the base ahead of time anyway, I highly recommend making a few pints at once. Just double or triple the ingredients and have gelato ready to go whenever a craving hits.
The Tools for the Job
You don’t need a lot of fancy gear, just a few kitchen basics:
- Ninja Creami Machine
- A small or medium saucepan
- Whisk
- Fine-mesh strainer (don’t skip this!)
- Candy or instant-read thermometer
- Your Ninja Creami pint container
- A large bowl for an ice bath
The Ingredients List
The beauty of great gelato is how simple ingredients create something incredible. Each one has a very important job.
- For the Flavor and Sweetness: We’ll use regular granulated sugar and a box of sugar-free pistachio pudding mix. I know, the pudding mix might sound strange, but it’s a brilliant shortcut. It adds a nice boost of pistachio flavor, a lovely color, and helps keep the gelato smooth.
- For That Rich, Velvety Texture: This is where the magic happens. We’ll use three large egg yolks. They are the key to getting that dense, luxurious mouthfeel that makes gelato so different from ice cream. We’ll also add a little corn syrup. Think of it as texture insurance. It’s fantastic at preventing ice crystals, so you’re guaranteed a silky spin.
- For Creaminess: A classic gelato combo of heavy cream and whole milk. Using more milk than cream is the secret to that dense, less-fatty texture.
- The Secret Weapon: A tiny bit of almond extract. No, it won’t make your gelato taste like almonds! It just makes the pistachio flavor brighter and more intense. It’s a trick I learned a while back, and it works wonders.
- For Color (Optional): A few drops of green food coloring can give your gelato that iconic pistachio look. It’s totally optional, but it does make it look pretty.
Step-by-Step: Let’s Make Some Gelato!
Alright, time for the fun part. Follow these steps, and you’ll be scooping up amazing gelato in no time.
Part 1: Making the Custard Base
- First, grab your saucepan, but don’t turn on the heat yet. Add the sugar and the pistachio pudding mix. Whisk them together right in the dry pan. This little trick helps prevent the pudding mix from getting lumpy later.
- Now, add the egg yolks and corn syrup. Whisk it all together. It should form a thick, shiny paste.
- Next up, the dairy. While you keep whisking, slowly pour in the heavy cream and whole milk. Keep going until the mixture is totally smooth.
- Finally, stir in the almond extract and the green food coloring if you’re using it.
Part 2: Cooking the Custard (The Important Part!)
- Place the pan on the stove over medium heat. Now, you need to be a good babysitter. Whisk slowly and constantly. You’re just trying to keep the liquid moving so the eggs at the bottom don’t scramble.
- As the mixture heats up, you’ll feel it start to thicken. Get your thermometer ready. We’re looking for a temperature between 165°F and 175°F (that’s 74-79°C). This is the sweet spot where the eggs are cooked and the custard is perfect.
- Whatever you do, do not let it boil! If you don’t have a thermometer, you’ll know it’s ready when it’s thick enough to coat the back of a spoon.
Part 3: Strain, Chill, and Freeze
- The second your custard hits the right temperature, take it off the heat. Immediately pour it through your fine-mesh strainer directly into the Ninja Creami pint. This step is not optional—it catches any sneaky bits of cooked egg and guarantees a perfectly smooth result.
- Now we need to cool it down fast. Put the pint in a big bowl and fill the bowl with ice and cold water to create an ice bath. Let the pint hang out for about 20-30 minutes, until it’s cool to the touch.
- Once it’s cool, dry off the pint, screw on the lid, and pop it in the freezer. Make sure it’s on a flat surface. It needs to freeze for at least 24 hours. Seriously, don’t cheat on this time!
Part 4: The Ninja Creami Spin!
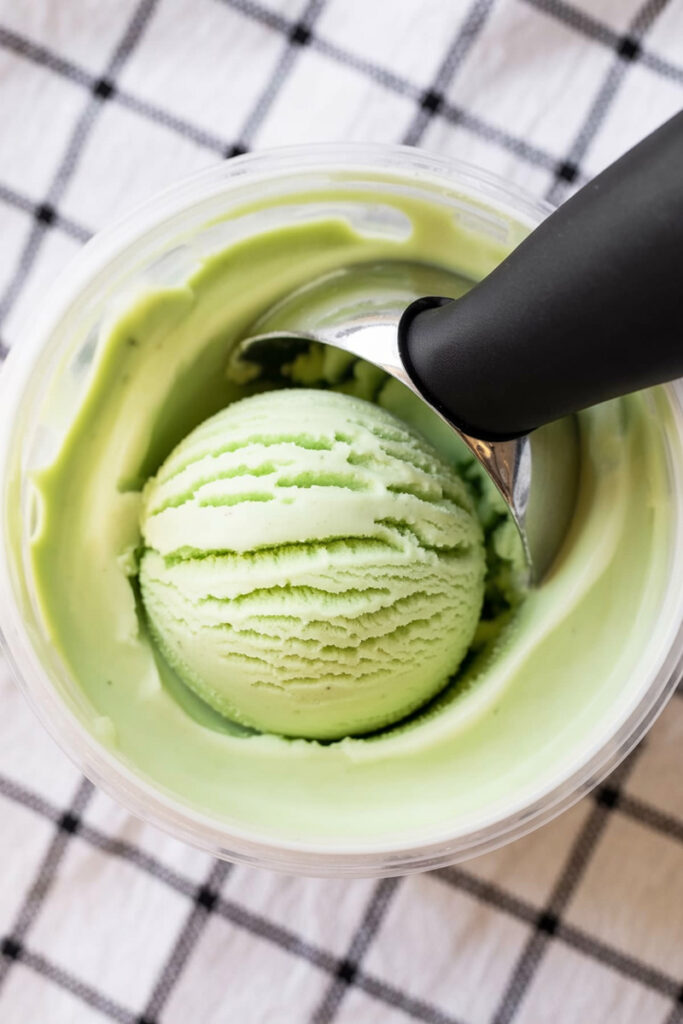
- This is the moment you’ve been waiting for! Take the pint out of the freezer, remove the lid, and place it in the Creami’s outer bowl. Lock it all up and press the GELATO button.
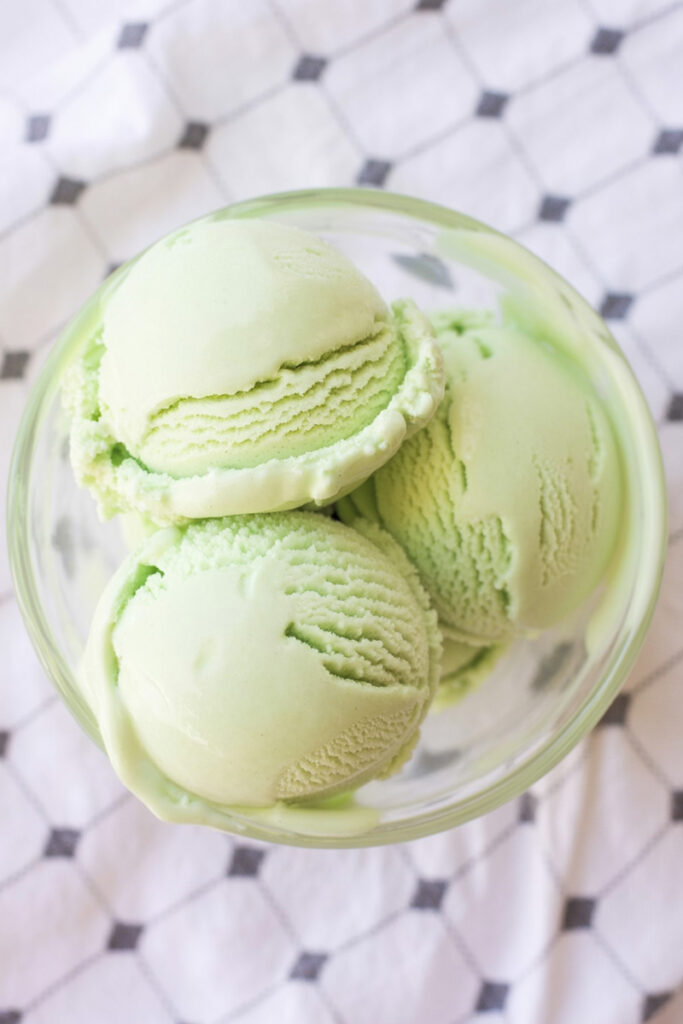
- After the first spin, take a look. It will probably look dry and crumbly, almost like sand. Don’t panic! This is 100% normal.
- My go-to solution is to just use the RE-SPIN button. That usually does the trick. If it still looks a little crumbly after that, add one tablespoon of cold milk and hit RE-SPIN one more time. That should turn it into the rich, creamy gelato of your dreams.
Want to Mix It Up?
Now that you’ve got the classic recipe down, feel free to get creative. My family’s favorite thing to do is add mix-ins!
- Add some crunch: Use the “Mix-in” feature to add a handful of chopped roasted pistachios or white chocolate chips.
- Go for extra decadence: Swirl in a spoonful of pistachio cream (sometimes called pistachio butter) after the final spin.
Serving and Storing Your Masterpiece
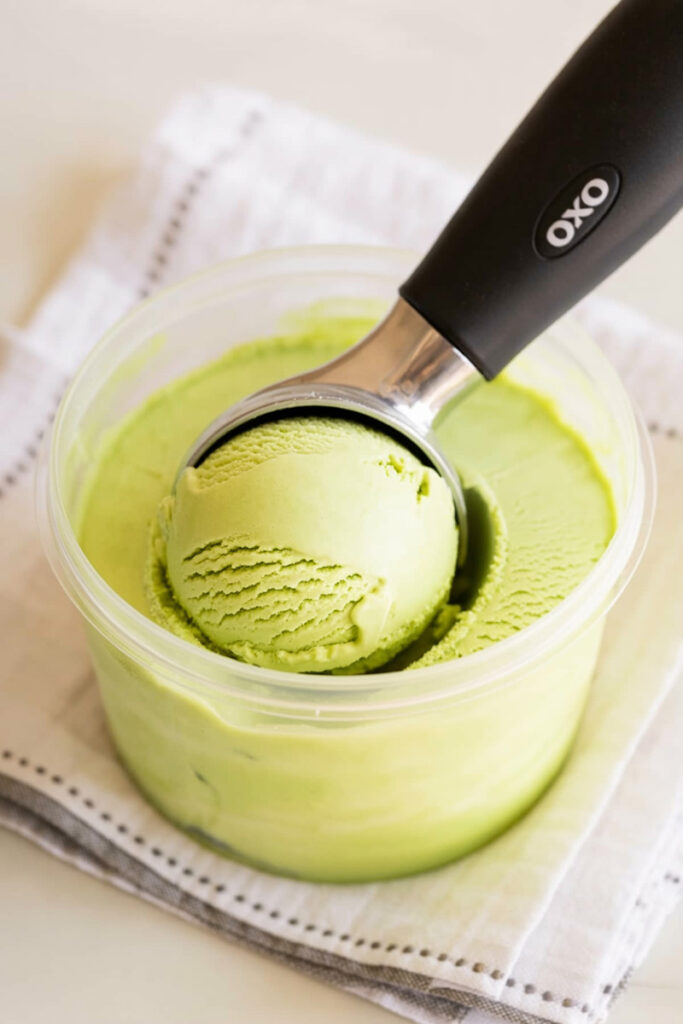
For the best experience, serve the gelato right away in chilled bowls. I like to garnish mine with a few more chopped pistachios.
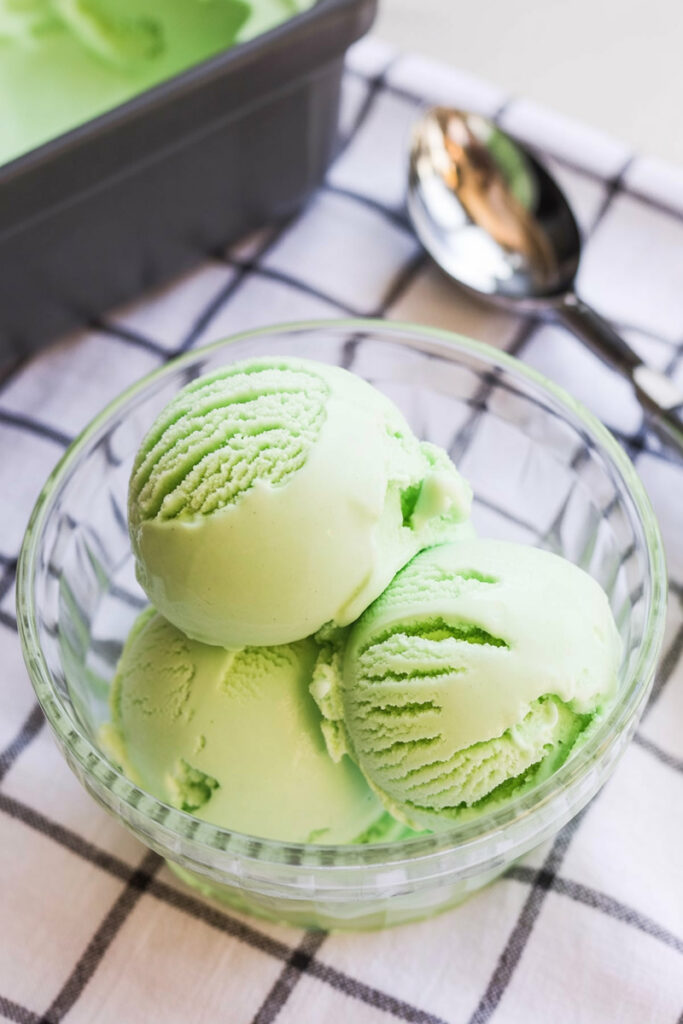
If you somehow have leftovers, smooth the top flat in the pint, press a piece of plastic wrap right onto the surface, and then put the lid on. This helps keep ice crystals away. Store it way in the back of your freezer where it’s coldest.
Because this is homemade with no weird stabilizers, it will freeze rock-solid. The good news? When you want another scoop, just pop it back in the Ninja Creami and run the RE-SPIN cycle to bring it back to life.
Enjoy every single spoonful! You made this!
PrintNinja Creami Pistachio Gelato
This recipe brings the authentic taste of an Italian gelateria right to your kitchen. By creating a simple cooked custard base, you’ll get the richest, smoothest, and most flavorful pistachio gelato—far better than anything from a store. It’s the real deal!
- Prep Time: 15 minutes
- Cook Time: 12 minutes
- Total Time: 24 hours 30 minutes (includes freezing)
- Yield: 1 Pint (2–3 servings) 1x
- Category: Dessert
- Cuisine: Italian
Ingredients
- ¼ cup Granulated Sugar
- 1 tbsp Sugar-Free Pistachio Pudding Mix
- 3 Large Egg Yolks
- 1 tbsp Corn Syrup
- ¾ cup Heavy Cream
- 1 cup Whole Milk
- ¼ tsp Almond Extract
- 2–3 drops Green Food Coloring (optional)
Instructions
- Combine Base: In a small saucepan (off the heat), whisk together the sugar and pudding mix. Add the egg yolks and corn syrup, whisking until a thick paste forms.
- Add Dairy: Slowly stream in the heavy cream and whole milk while whisking continuously until the mixture is completely smooth. Stir in the almond extract and optional food coloring.
- Cook the Custard: Place the saucepan over medium heat. Whisk constantly until the base thickens enough to coat the back of a spoon, reaching a temperature of 165-175°F (74-79°C). Do not let it boil.
- Strain and Chill: Immediately pour the hot custard through a fine-mesh strainer into your Ninja Creami pint. Place the pint in an ice bath to cool completely, about 20-30 minutes.
- Freeze Solid: Secure the lid on the pint and place it on a level surface in your freezer for at least 24 hours.
- Spin It: Place the frozen pint into your Ninja Creami and select the GELATO program. If the texture looks powdery (which is normal!), use the RE-SPIN cycle. If it’s still crumbly, add 1 tbsp of cold milk and RE-SPIN one last time for a perfectly creamy finish.
Notes
- Serving Suggestion: Enjoy immediately in chilled bowls! Garnish with chopped roasted pistachios for a lovely crunch.
- Pro Tip: Don’t skip straining the custard! This is the key to catching any tiny cooked egg bits and guaranteeing a perfectly smooth texture.
- Storage: To store leftovers, smooth the top flat in the pint and press plastic wrap directly onto the surface before replacing the lid. It will freeze very hard. When you’re ready for more, just run it through the RE-SPIN cycle to bring it back to that scoopable, creamy texture.
