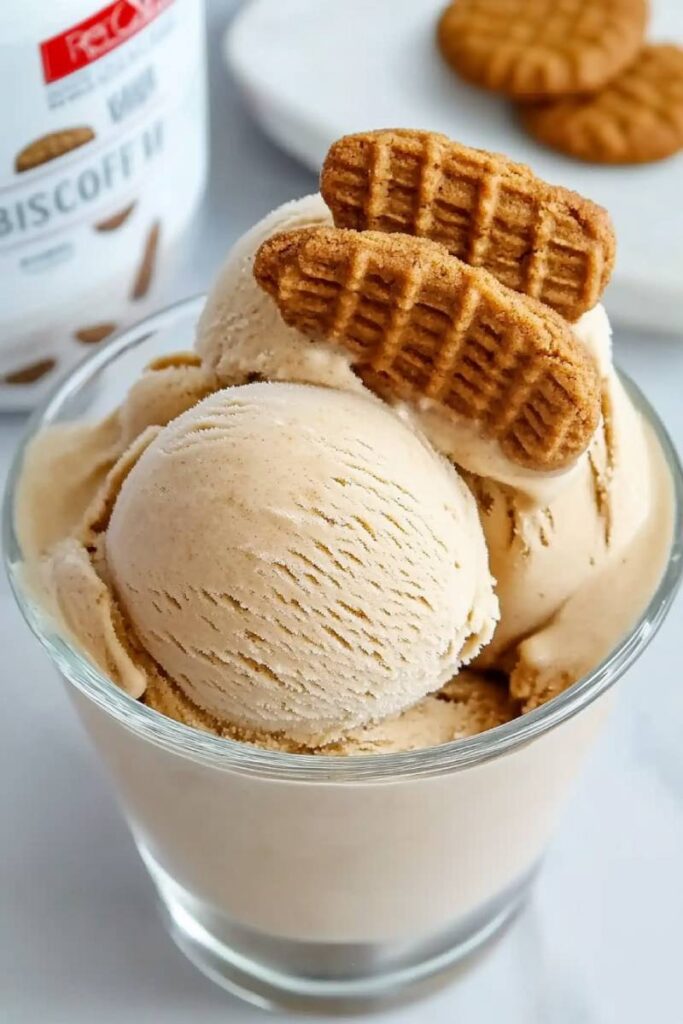
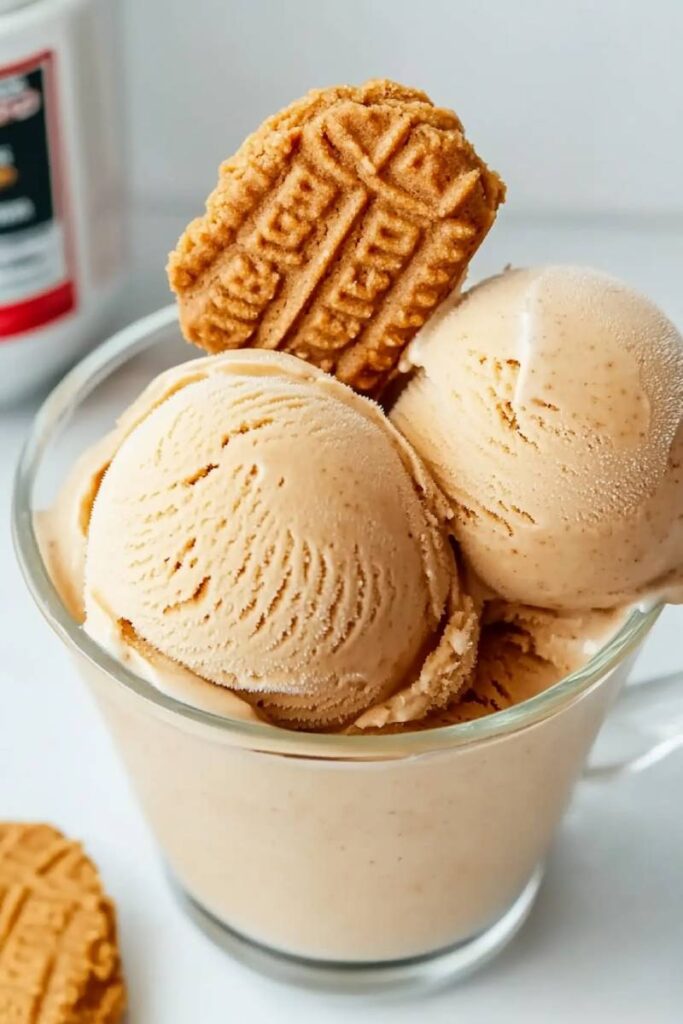
There’s something special about cookie butter ice cream, isn’t there? It’s rich, creamy, and packed with that warm spiced flavor you get from Biscoff cookies. One bite, and you’re instantly transported to a cozy café somewhere in Europe. The best part? You can make it right at home using the Ninja Creami.
Don’t worry—it’s super easy, even if you’re new to homemade ice cream. Plus, you can tweak the recipe to fit dietary needs or add fun mix-ins to make it your own. Ready to dive in? Let’s do this!
Recipe At A Glance
Prep & Freeze Time
- Prep Time: 10 minutes
- Freezing Time: 1 day
- Total Time: 1 day + 10 minutes
Servings
This makes one pint—perfect for two or three people (or one, if you’re treating yourself!). Need more? You can easily double or triple the ingredients and use extra pint containers.
Skill Level
Beginner-friendly. The Ninja Creami does most of the work!
What You’ll Need
Tools
- Ninja Creami Ice Cream Maker
- Microwave-safe bowl (or a small pot if you prefer stovetop)
- Whisk
- Measuring cups and spoons
- Ninja Creami pint container (included with the machine)
No microwave? No problem—just melt the cookie butter on low heat on your stove.
Ingredients
What Goes Into It
- 1 cup whole milk
- 2 tablespoons instant vanilla pudding mix
- ½ cup cookie butter (such as Biscoff)
- ½ cup heavy whipping cream
Swaps & Substitutions
- Whole Milk: Sub with almond, oat, or coconut milk for a dairy-free option.
- Heavy Cream: Use coconut cream (vegan) or half-and-half (lighter option).
- Cookie Butter: Any brand works, but Biscoff really nails that spiced flavor. Want something different? Try Nutella for a chocolatey twist.
Pro Tip: Choose fresh, high-quality ingredients for the best results—especially the cookie butter!

How to Make It
Step 1: Whisk the Base
In a small bowl, whisk together the milk and instant pudding mix until it’s smooth. No lumps allowed! This step gives your ice cream that creamy texture.
Step 2: Melt the Cookie Butter
Microwave the cookie butter for about 15–20 seconds, or until it’s soft and pourable. Stir it well to get rid of clumps.
Not sure if it’s ready? It should flow easily but still be thick enough to coat a spoon.
Step 3: Combine Everything
Pour the melted cookie butter into your milk mixture. Whisk until it’s fully blended. Then, add the heavy cream and mix until it’s silky smooth.
Quick Tip: Scrape down the sides of your bowl to make sure no cookie butter gets left behind.
Step 4: Freeze
Carefully pour the mixture into your Ninja Creami pint container. Seal the lid tightly and place it in your freezer. Let it freeze flat for at least 24 hours.
Important: Don’t tilt the container while freezing, or the texture could get wonky.
Step 5: Process in the Ninja Creami
After freezing, pop the pint into your Ninja Creami machine. Select the “Ice Cream” setting and let it do its thing.
Pro Tip: If the texture looks crumbly after the first spin, just use the “Re-spin” function or add a splash of milk before spinning again.
Step 6: Add Mix-ins (Optional)
Want to take it up a notch? Add crushed Biscoff cookies, chocolate chips, or even caramel chunks. Use the “Mix-in” function to blend everything evenly.
Heads-up: Don’t go overboard with mix-ins. A little goes a long way!
Variations to Try
Diet-Friendly Tweaks
- Vegan/Dairy-Free: Use plant-based milk and coconut cream.
- Gluten-Free: Double-check that your cookie butter is gluten-free—some brands are!
Flavor Boosters
- Add a pinch of cinnamon or nutmeg for extra warmth.
- Try a drizzle of caramel sauce before serving.
Seasonal Inspirations
- Fall vibes? Throw in some pumpkin spice.
- Summer treat? Pair it with fresh berries or a hint of lemon zest.

How to Serve & Store
Serving Ideas
Scoop the ice cream into a chilled bowl or a waffle cone for a little extra crunch. Fancy things up with cookie crumbs, whipped cream, or caramel drizzle.
Perfect Pairings
This ice cream is amazing alongside a hot cup of coffee or tea. Or, serve it with warm brownies or apple pie—it’s a match made in heaven.
Storing Leftovers
Keep the ice cream in its original Ninja Creami pint container with the lid sealed tight. It’ll stay fresh for up to two weeks in the freezer.
Quick Tip: Let leftovers sit at room temp for 5–10 minutes before scooping. This softens it up just enough.
And that’s it! You’re ready to whip up the most indulgent, creamy cookie butter ice cream ever. Whether you stick to the classic recipe or get creative with mix-ins and variations, this dessert is guaranteed to hit the spot. Enjoy!